

Gretsch Identification Guide
Gretsch Knobs, Switches And Control Layouts
Map the controls before you date the knobs. The number and position of switches often tell you more than a loose knob’s appearance.
Back To The Gretsch Serial LookupPhotograph The Whole Control Layout
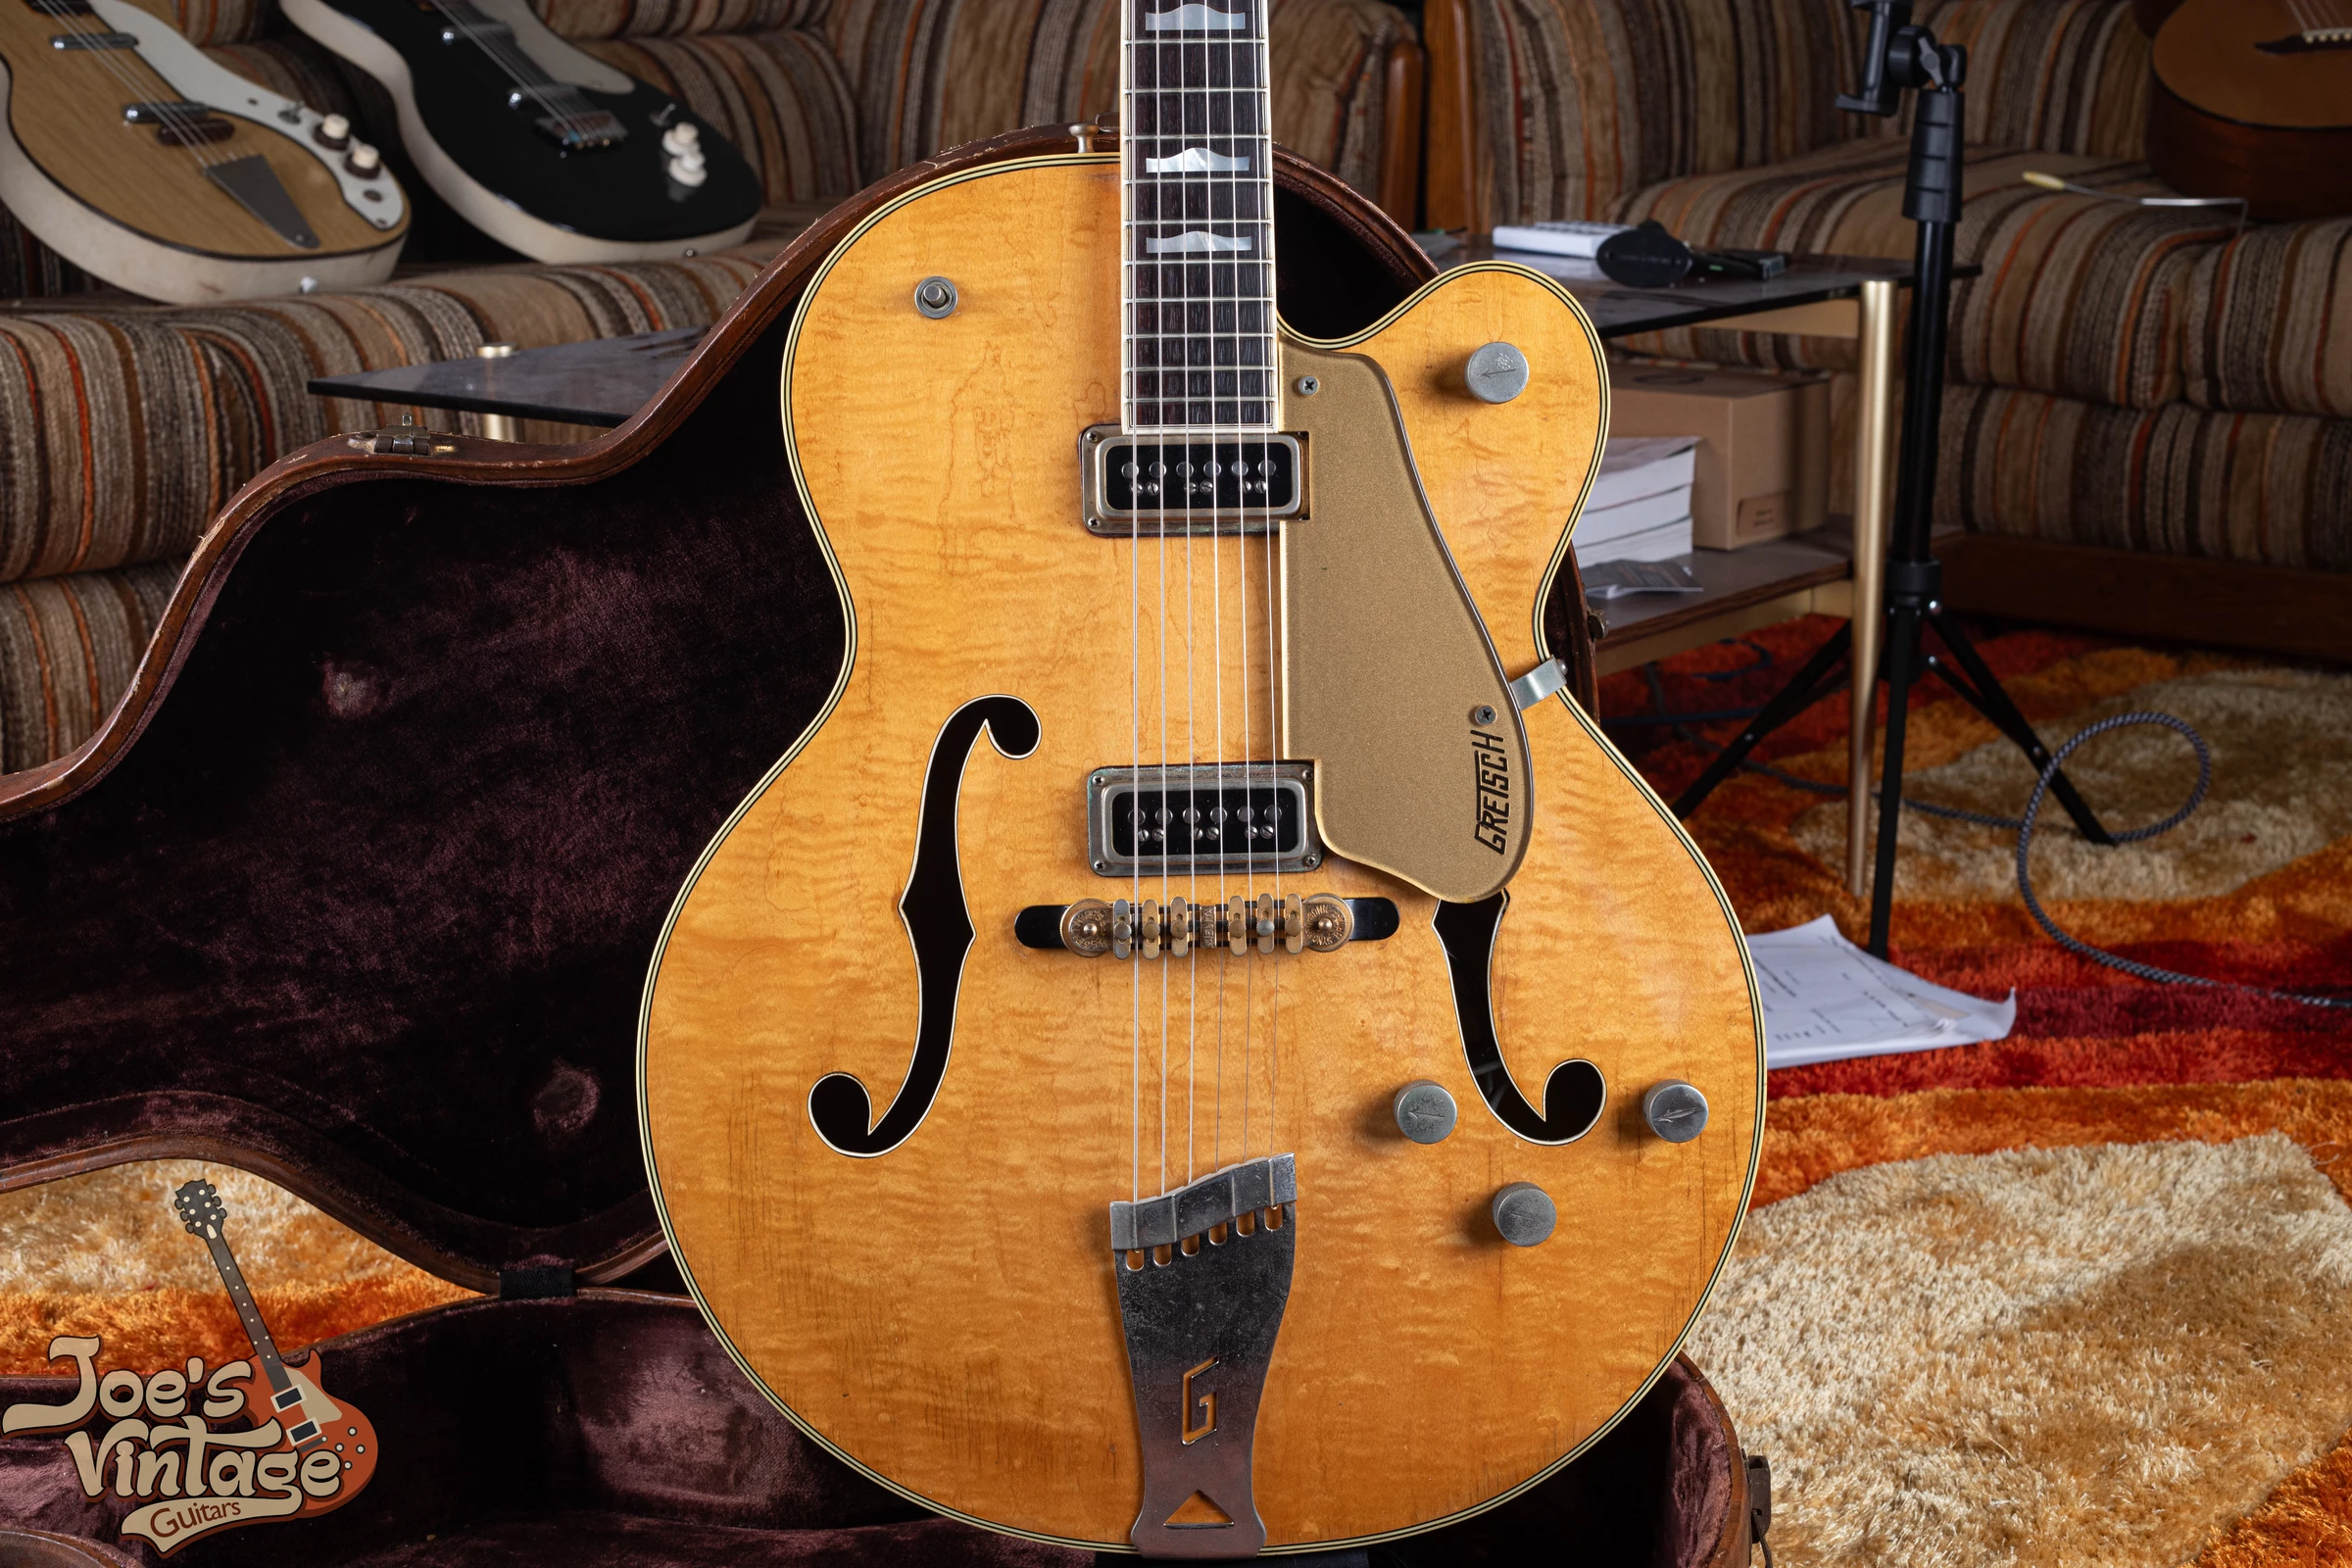
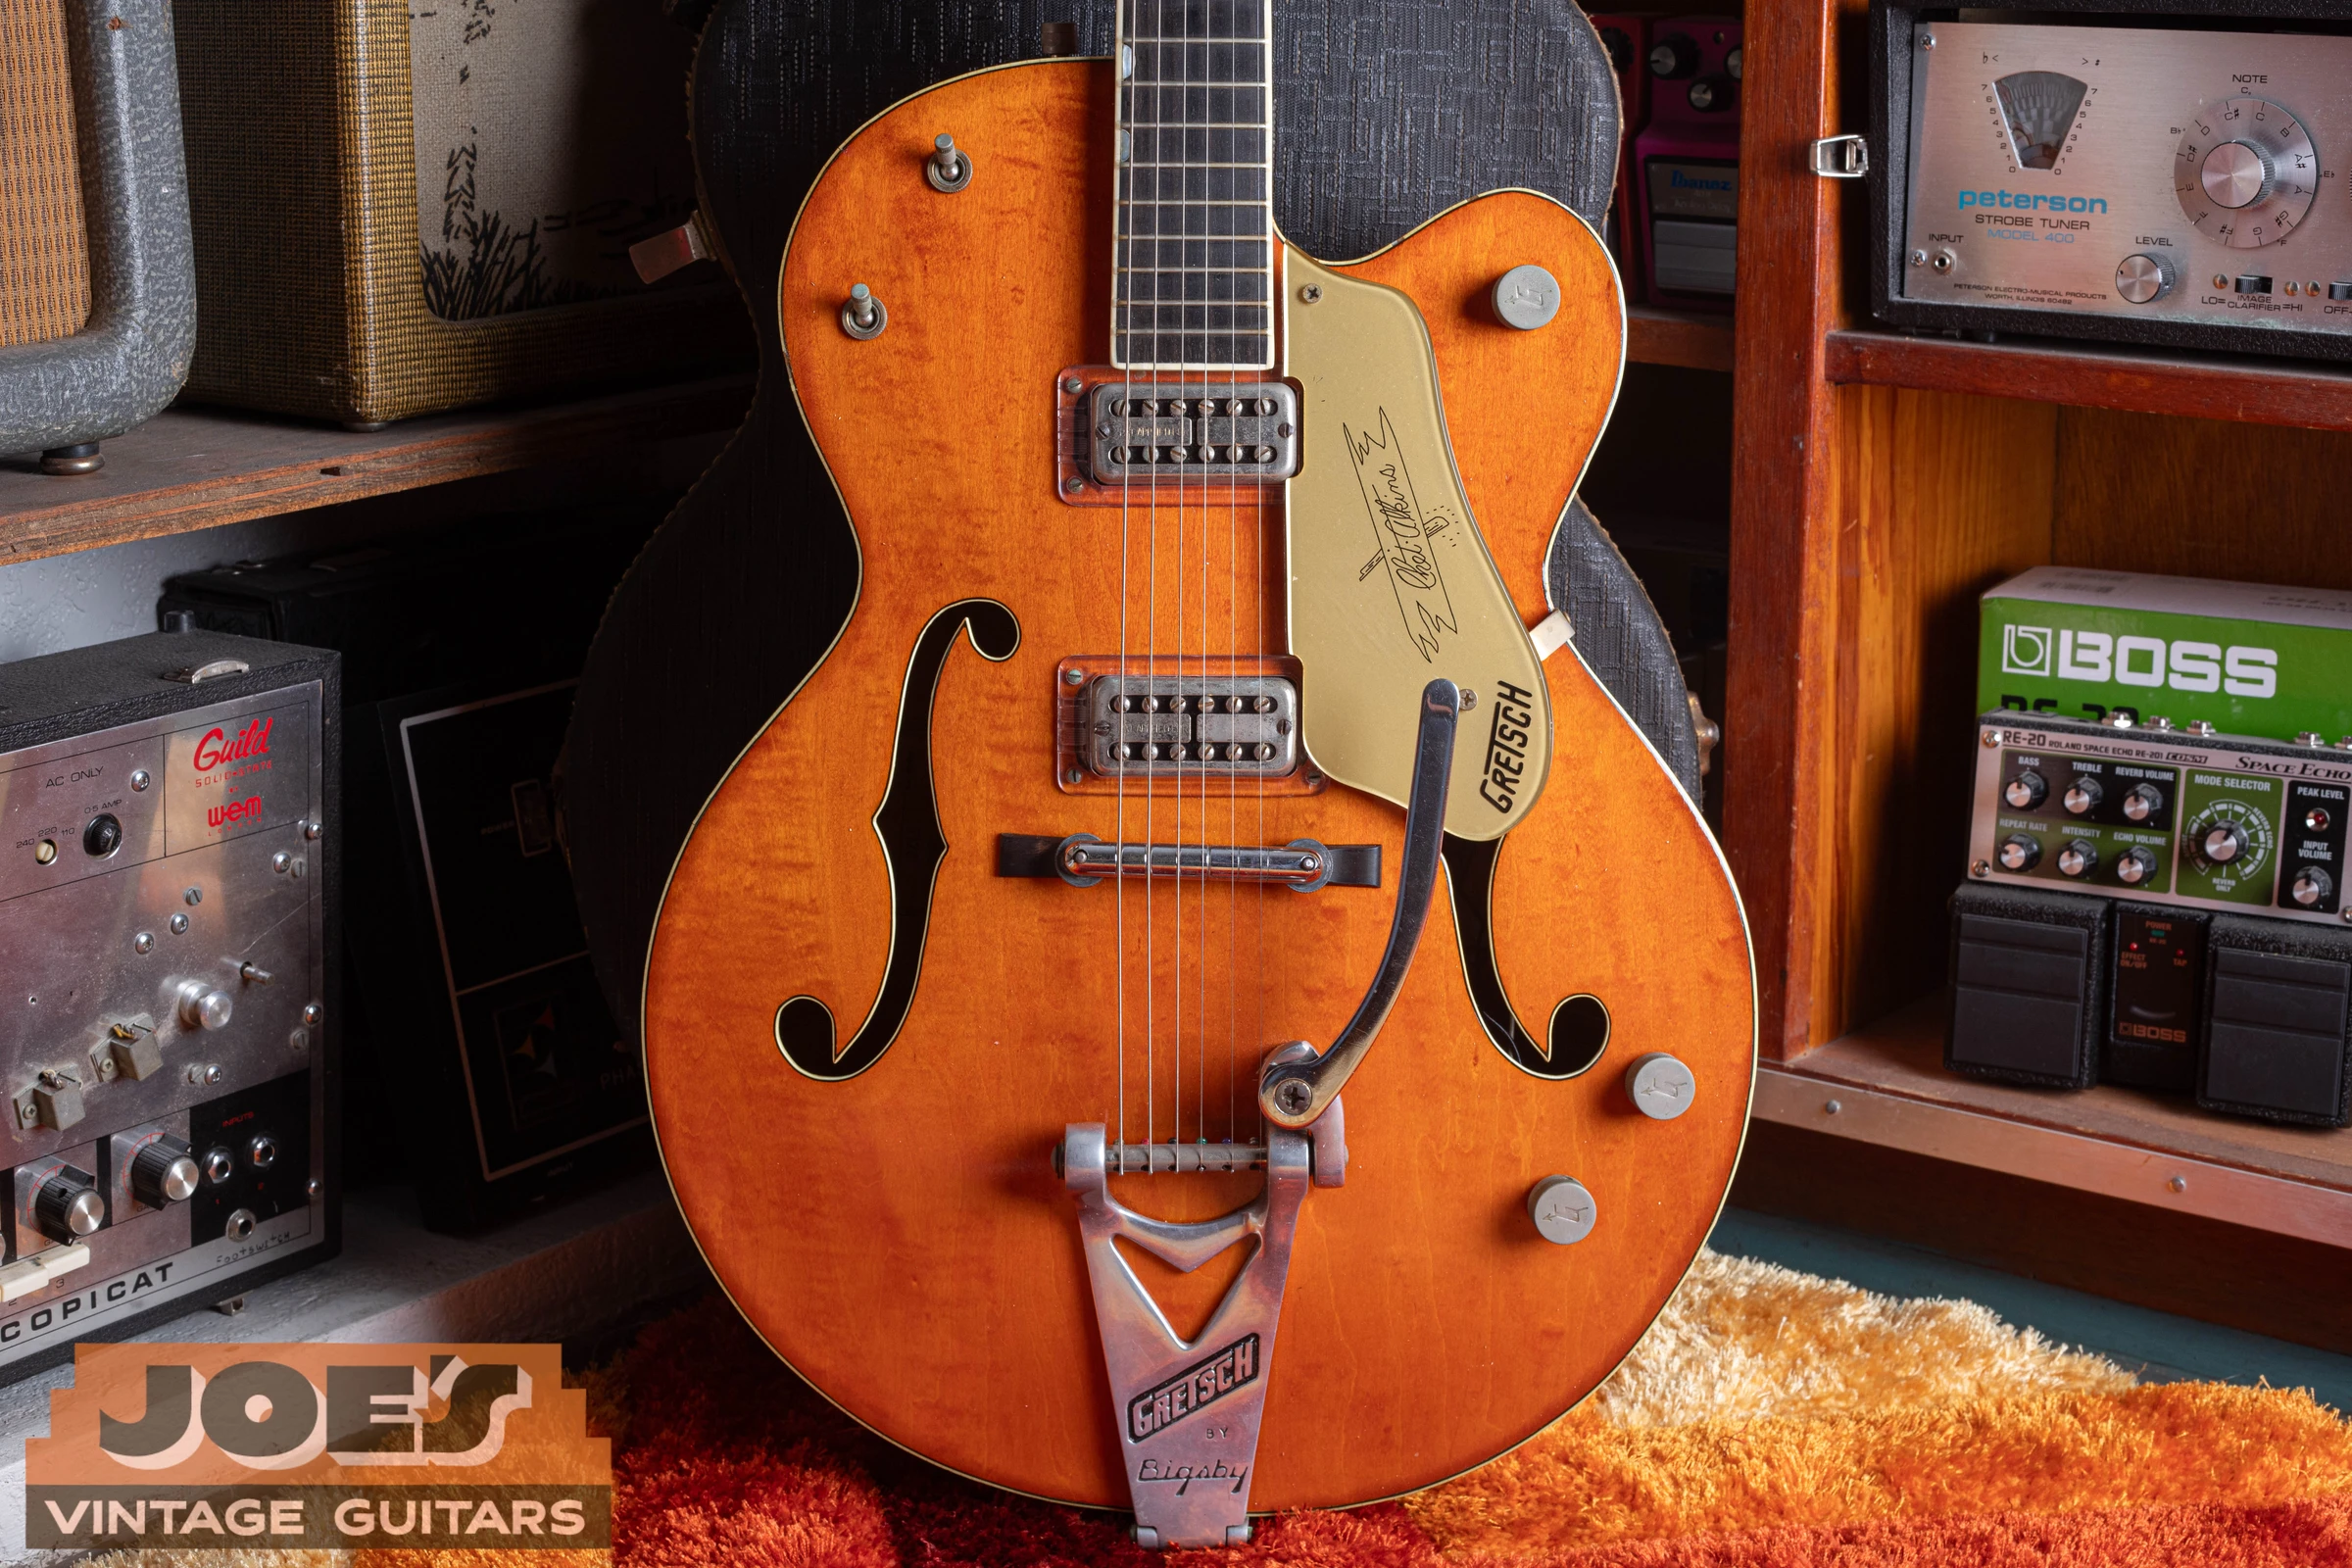
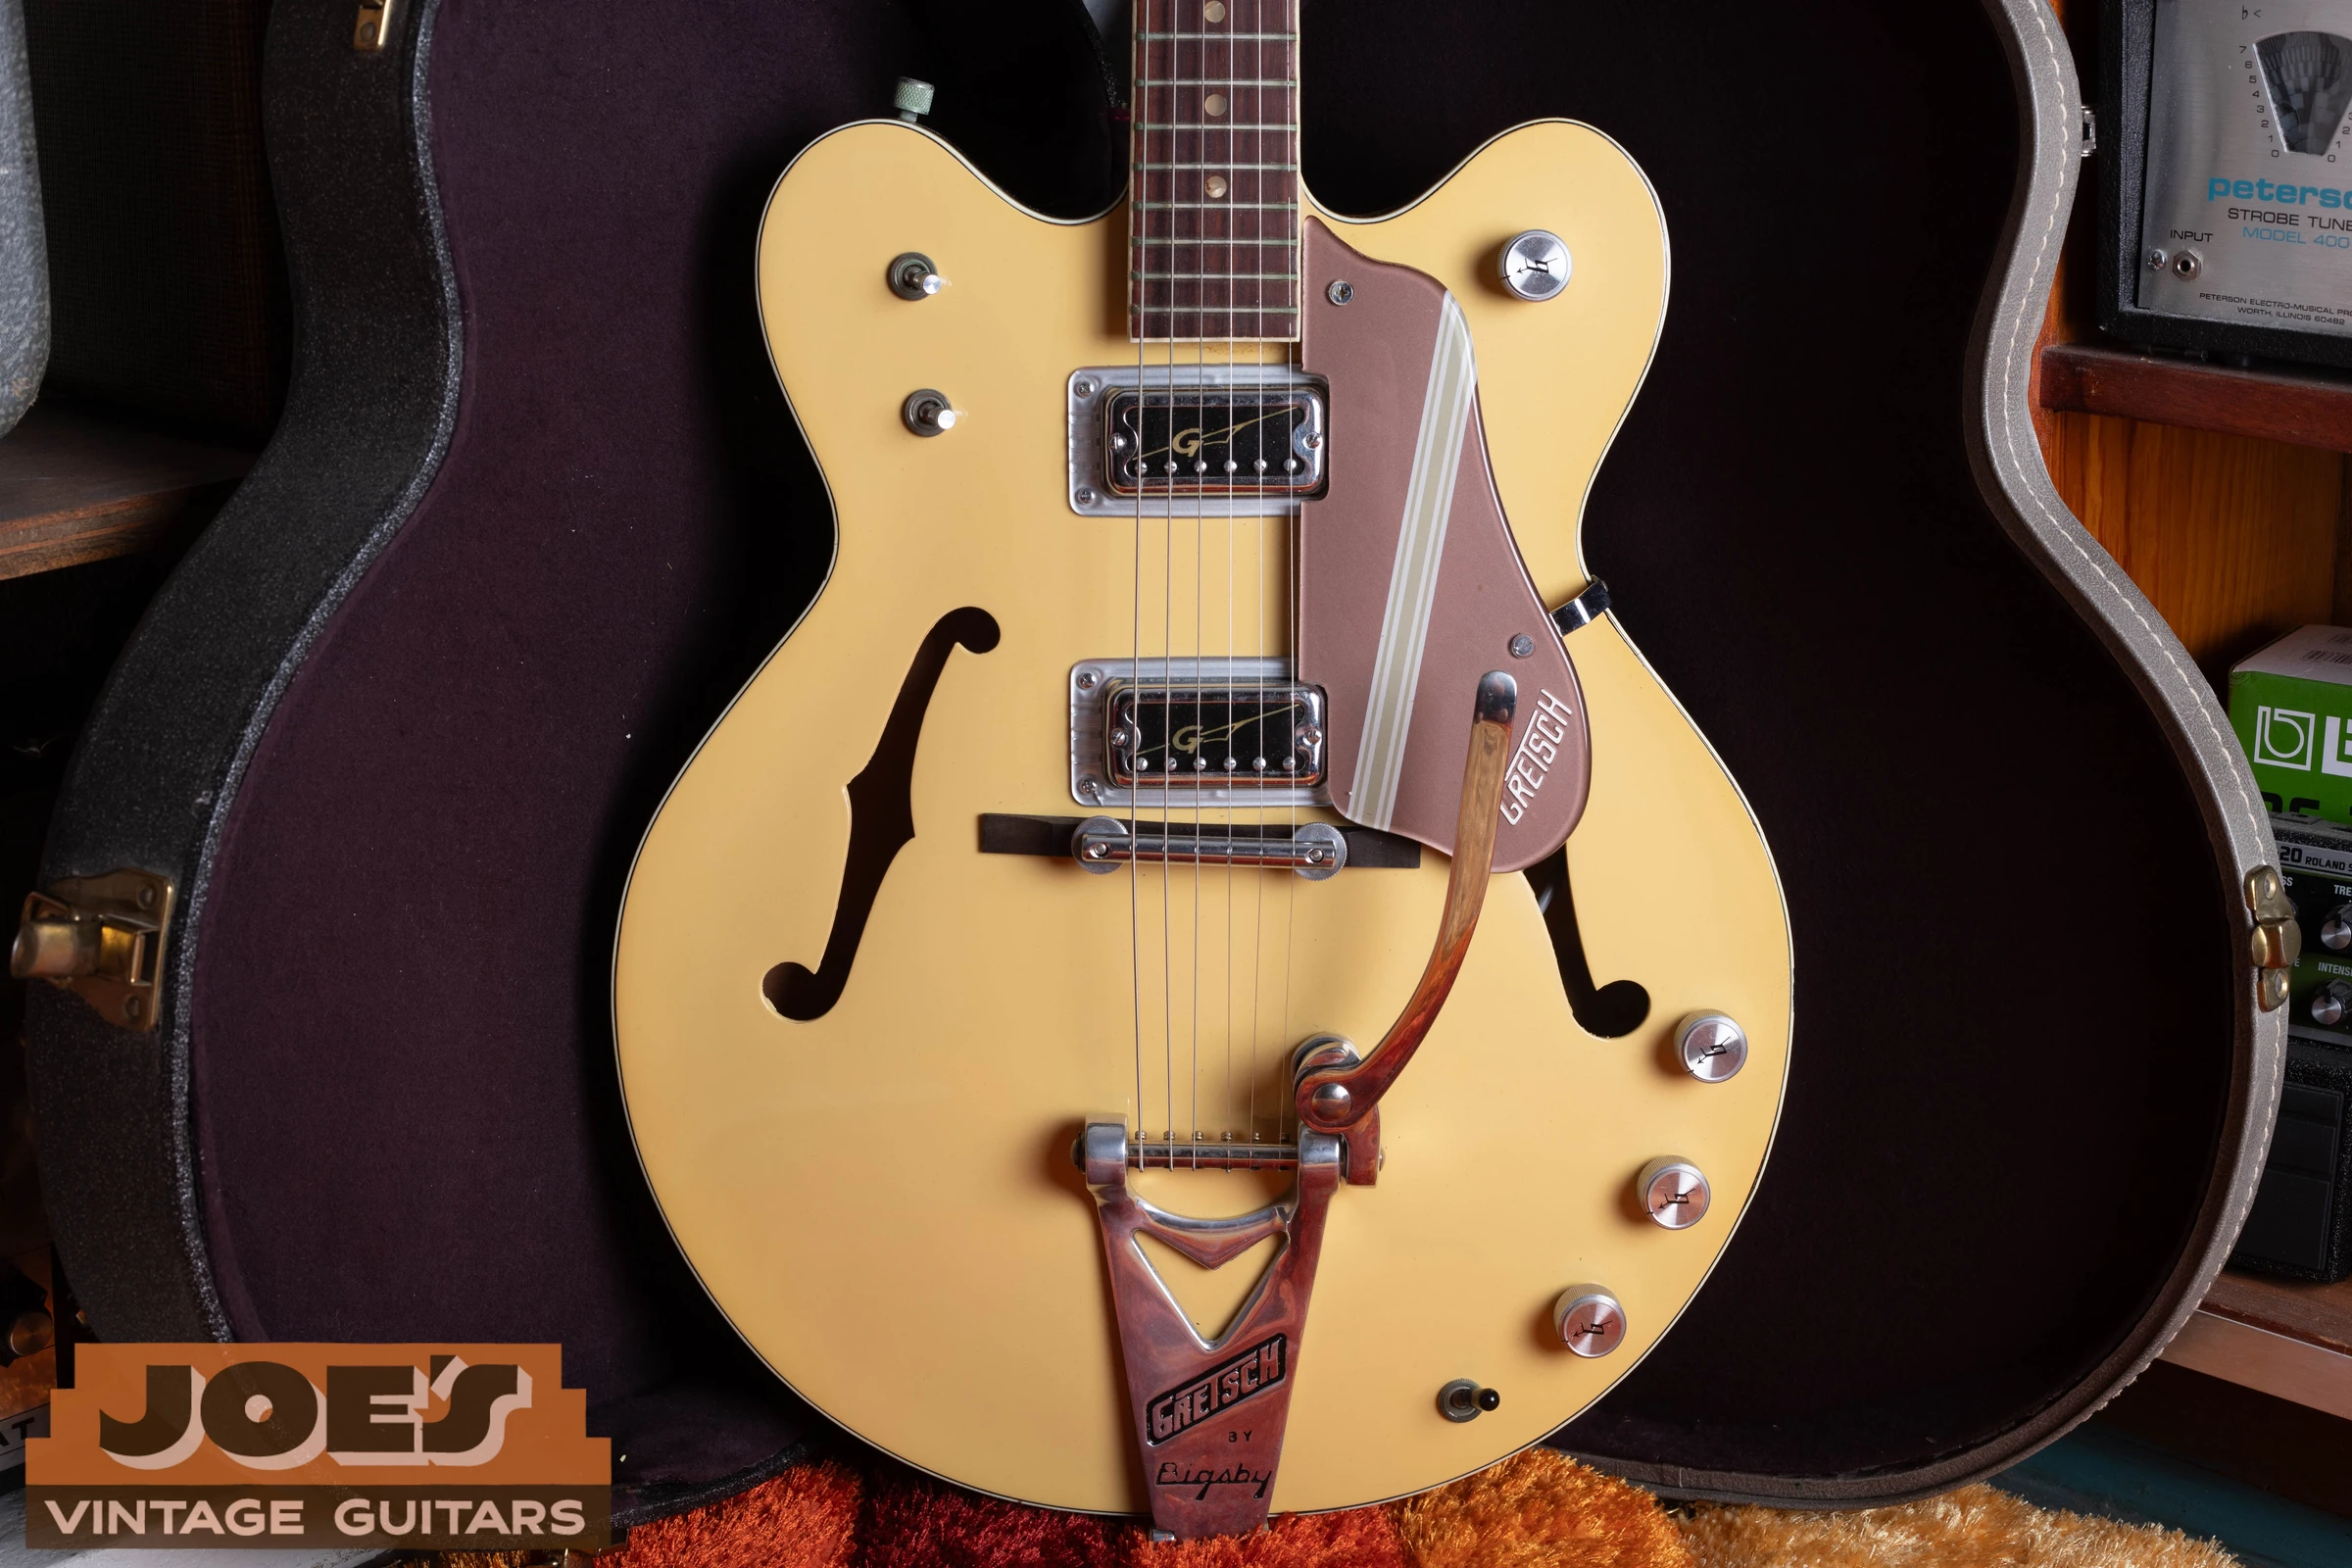
Start with the entire front of the guitar. Count the knobs and switches, note which side of the body they occupy, and keep any mute levers in view. A close photograph of a G-arrow knob may identify a style, but it can’t show whether the surrounding circuit is correct for a 6120, Country Club or Viking.
On many two-pickup Gretsches, the knob near the cutaway is the master volume, while individual pickup volumes sit lower on the body. Tone may be controlled by a knob or a separate selector switch. The exact arrangement varies. Use the manufacturer’s control diagrams for the circuit family and compare the actual model.
Return to the serial lookup if the body appears older or newer than the controls suggest. Gretsch has used familiar layouts on later instruments, and players also change wiring. The visible number of knobs doesn’t reveal which capacitors or potentiometers are inside.
G-Arrow Knobs And Other Gretsch Styles
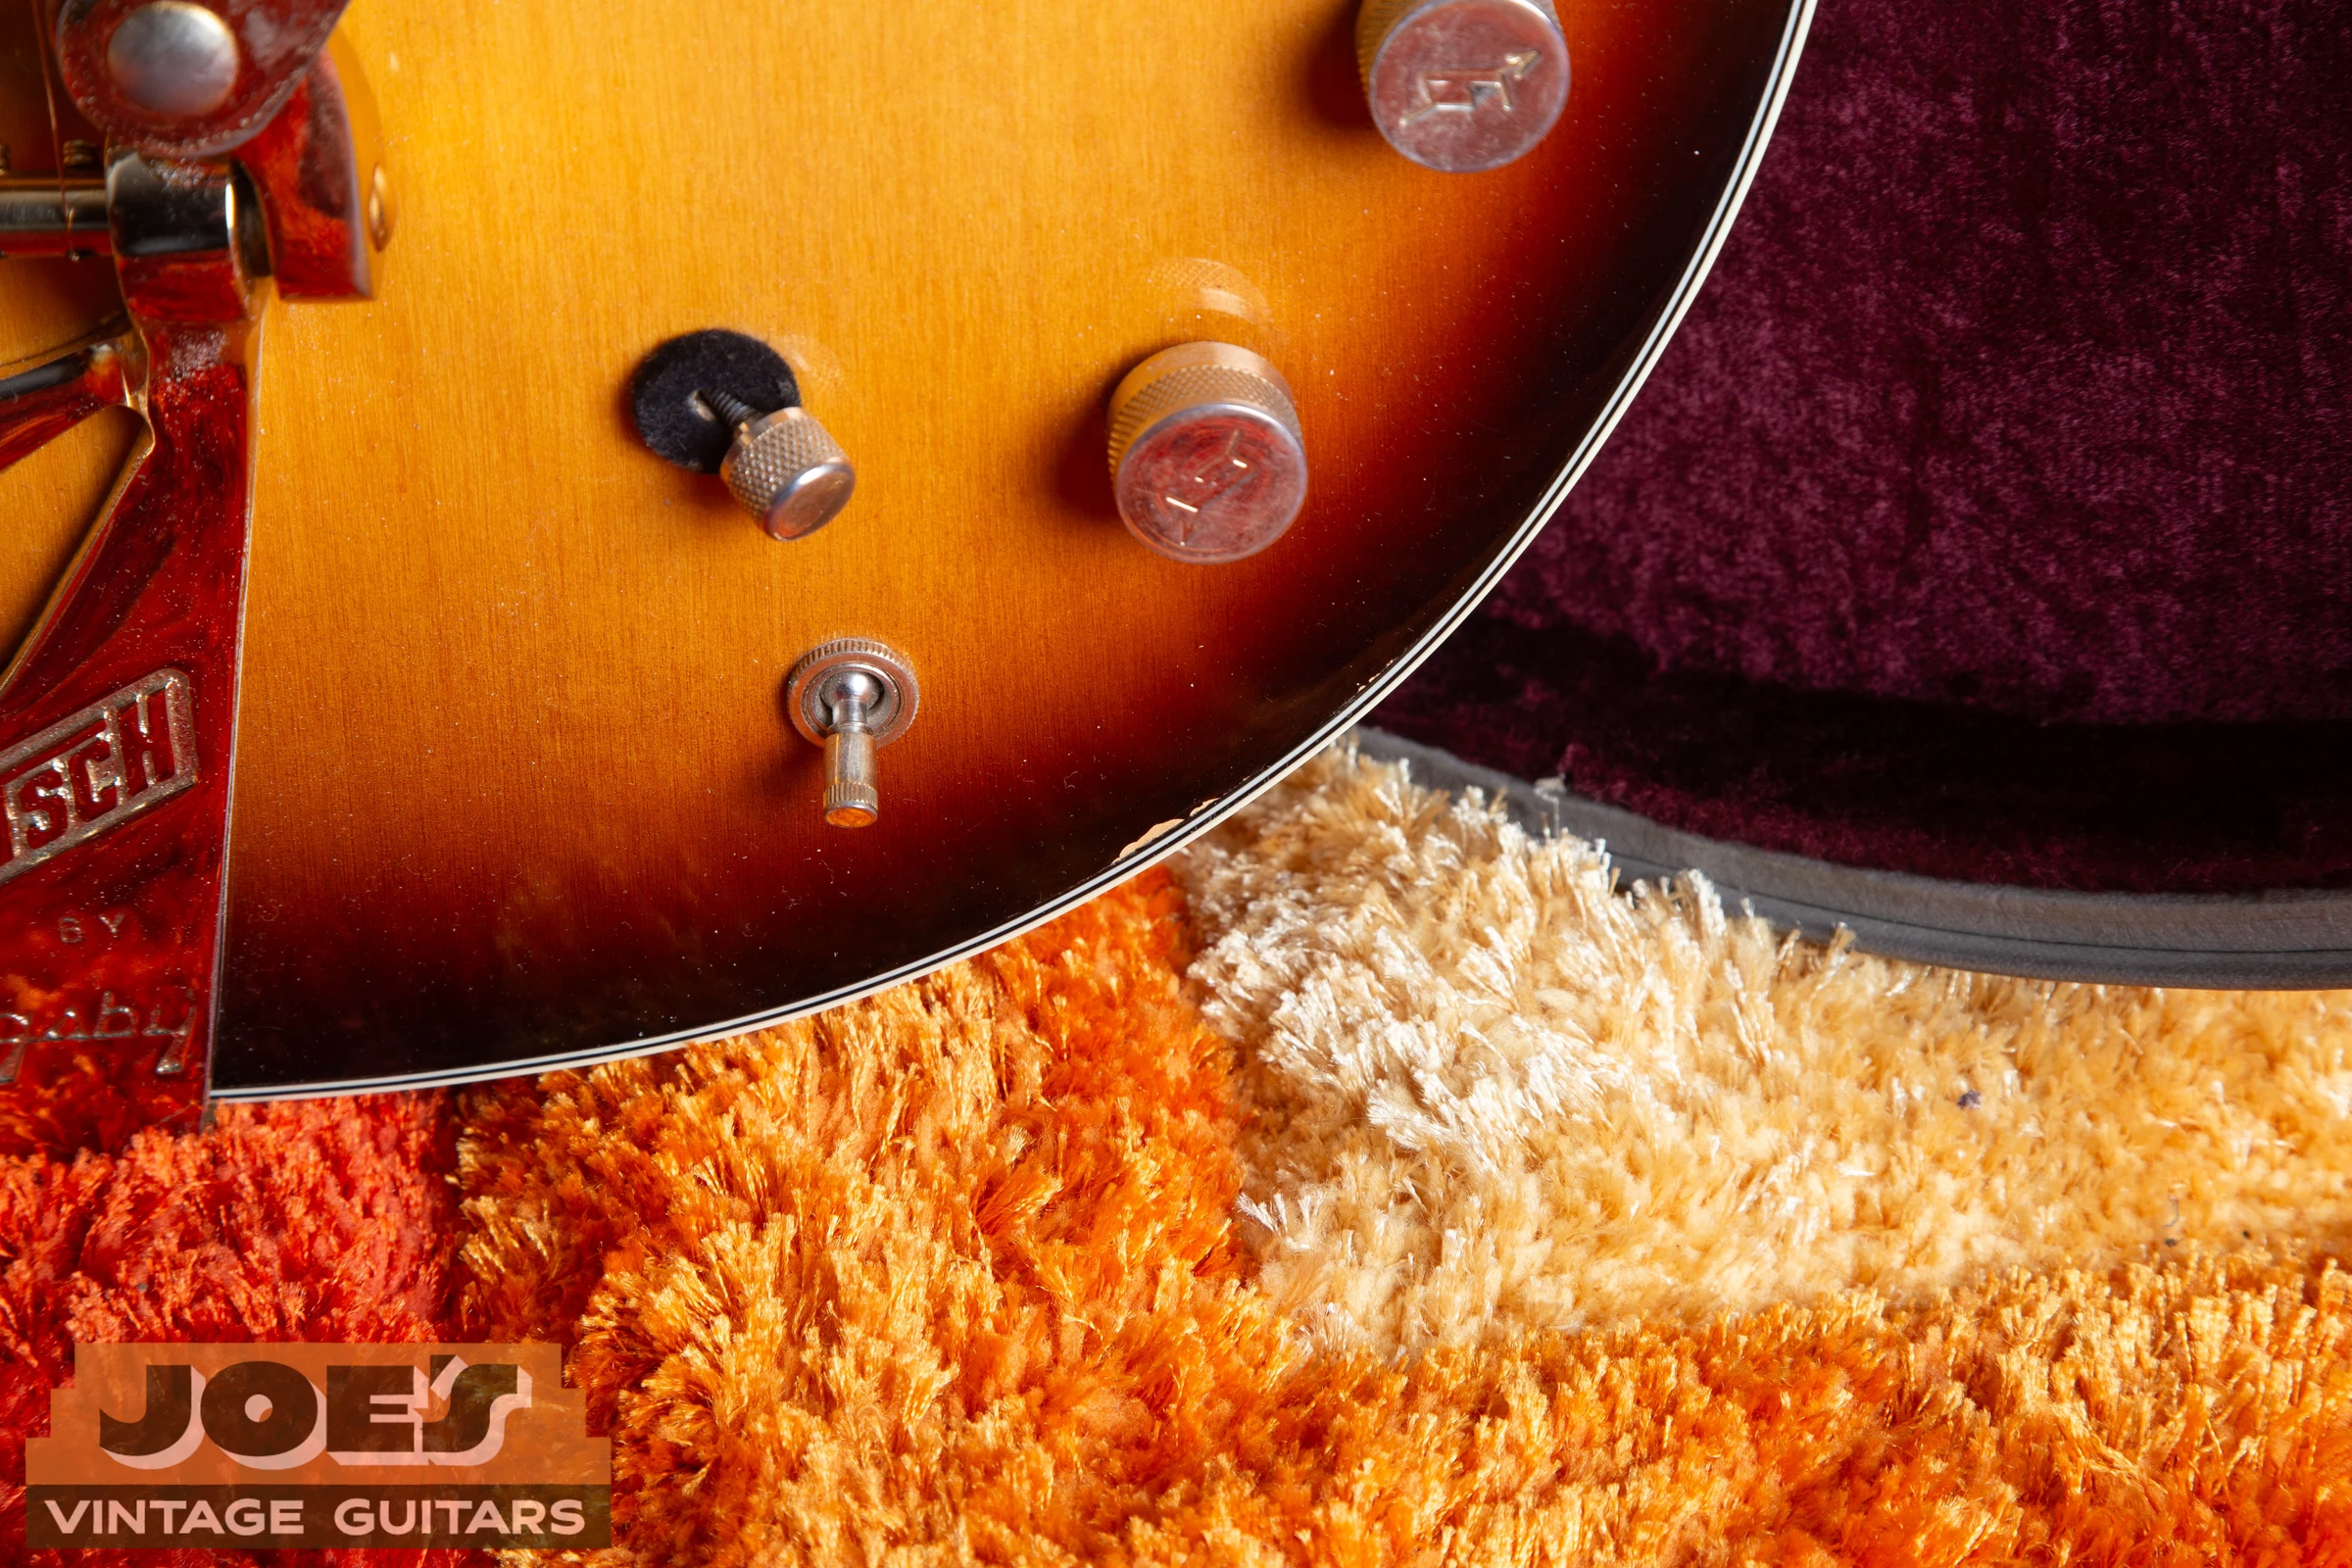
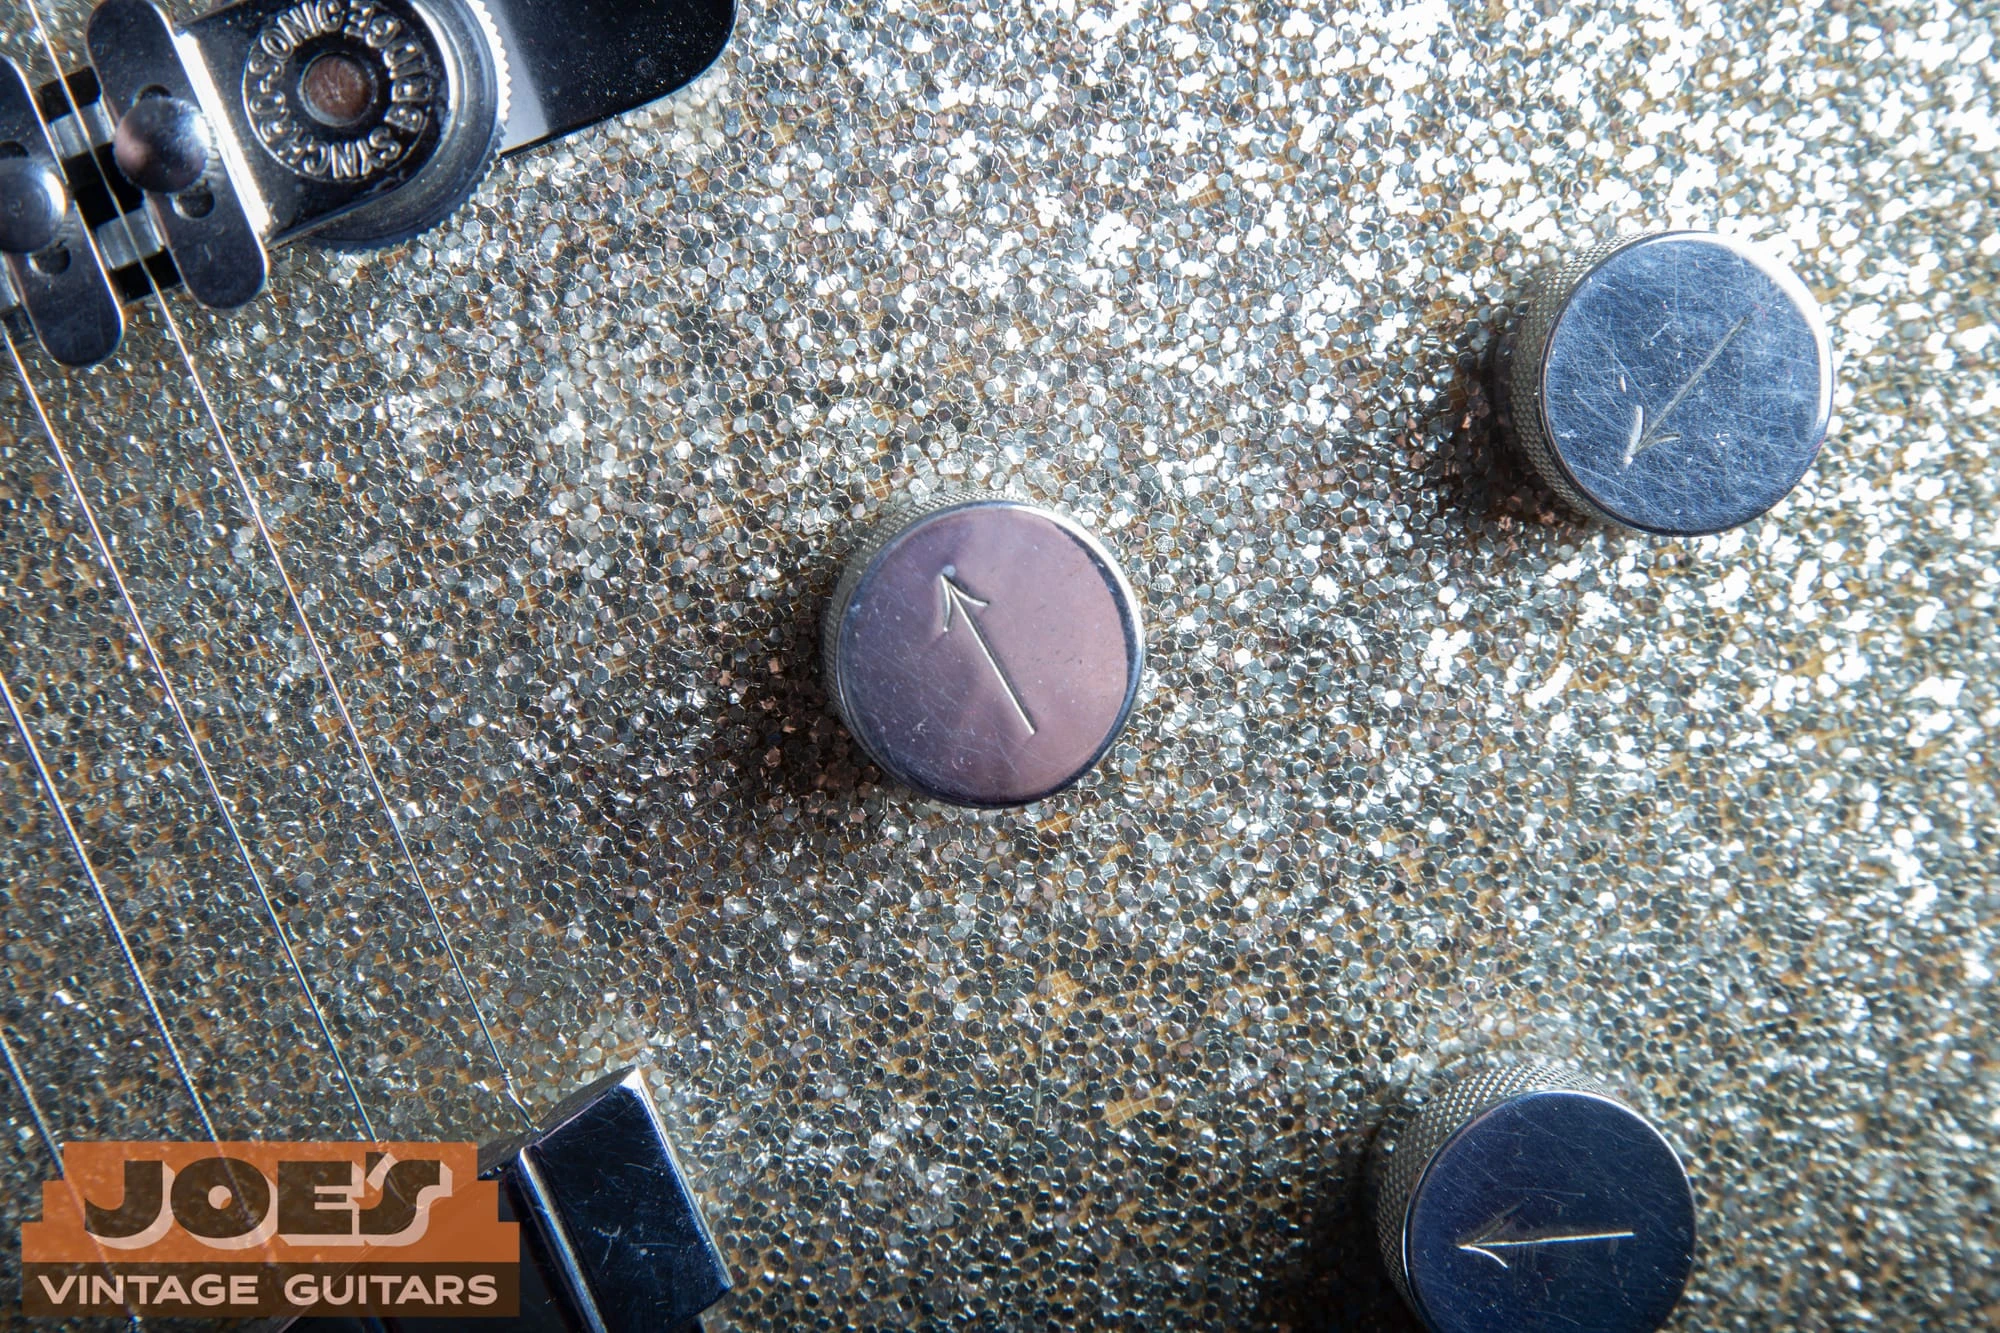
The G-arrow top is one of the best-known Gretsch knob designs. Photograph the top, side knurling and any visible set screw. Finish color, size and wear can help compare a set, but the symbol isn’t a date code. Modern replacement parts and reissues use related shapes.
Inspect all the knobs on the guitar together. A single brighter knob may be a replacement, or it may simply have seen less handling. A mismatched screw or a different skirt profile is more specific evidence than a vague impression that one knob “looks new.” Avoid removing a stuck knob just to investigate its underside.
Falcon appointments can include jeweled knobs, and artist models may use dice or other distinctive designs. Those choices identify a specification more readily than a manufacture year. The Stephen Stills Falcon specification documents jeweled G knobs on a later model. The guitar still needs its own serial date.
Tone Switches And Tone Knobs
A tone-pot circuit gives a continuously variable tone adjustment. A tone-switch circuit selects preset tonal settings with a three-position switch. On a typical Gretsch tone-switch arrangement, the middle position leaves the pickup response more open while the outer positions change the high-frequency response. Exact wiring and component values depend on the model and any later work.
Two switches on the upper bout are therefore not necessarily two pickup selectors. Identify the pickup selector and tone selector separately. If a guitar sounds unexpectedly dark, check the switch position before assuming the pickups are failing. A changed capacitor or rewired switch can also make a vintage-looking circuit behave differently.
The pickup guide helps distinguish the installed pickup family. Pair that information with the control diagram, then describe what the controls actually do. “Three knobs and two switches” is a useful visual inventory; a claim about original wiring needs more evidence.
Standby Switches, Mutes And Extra Controls
A standby switch can silence the guitar without changing the volume settings. Mechanical string mutes perform a different job by contacting the strings near the bridge. An extra control beside the bridge may operate a mute rather than alter the electrical circuit. A close-up should show both the control and the hardware it is associated with.
Country Gentleman and other more elaborate models can combine several of these features. Gretsch’s G6122T-62 specification documents a later recreation with string mutes and standby switching. Their presence doesn’t, on its own, establish a 1962 build.
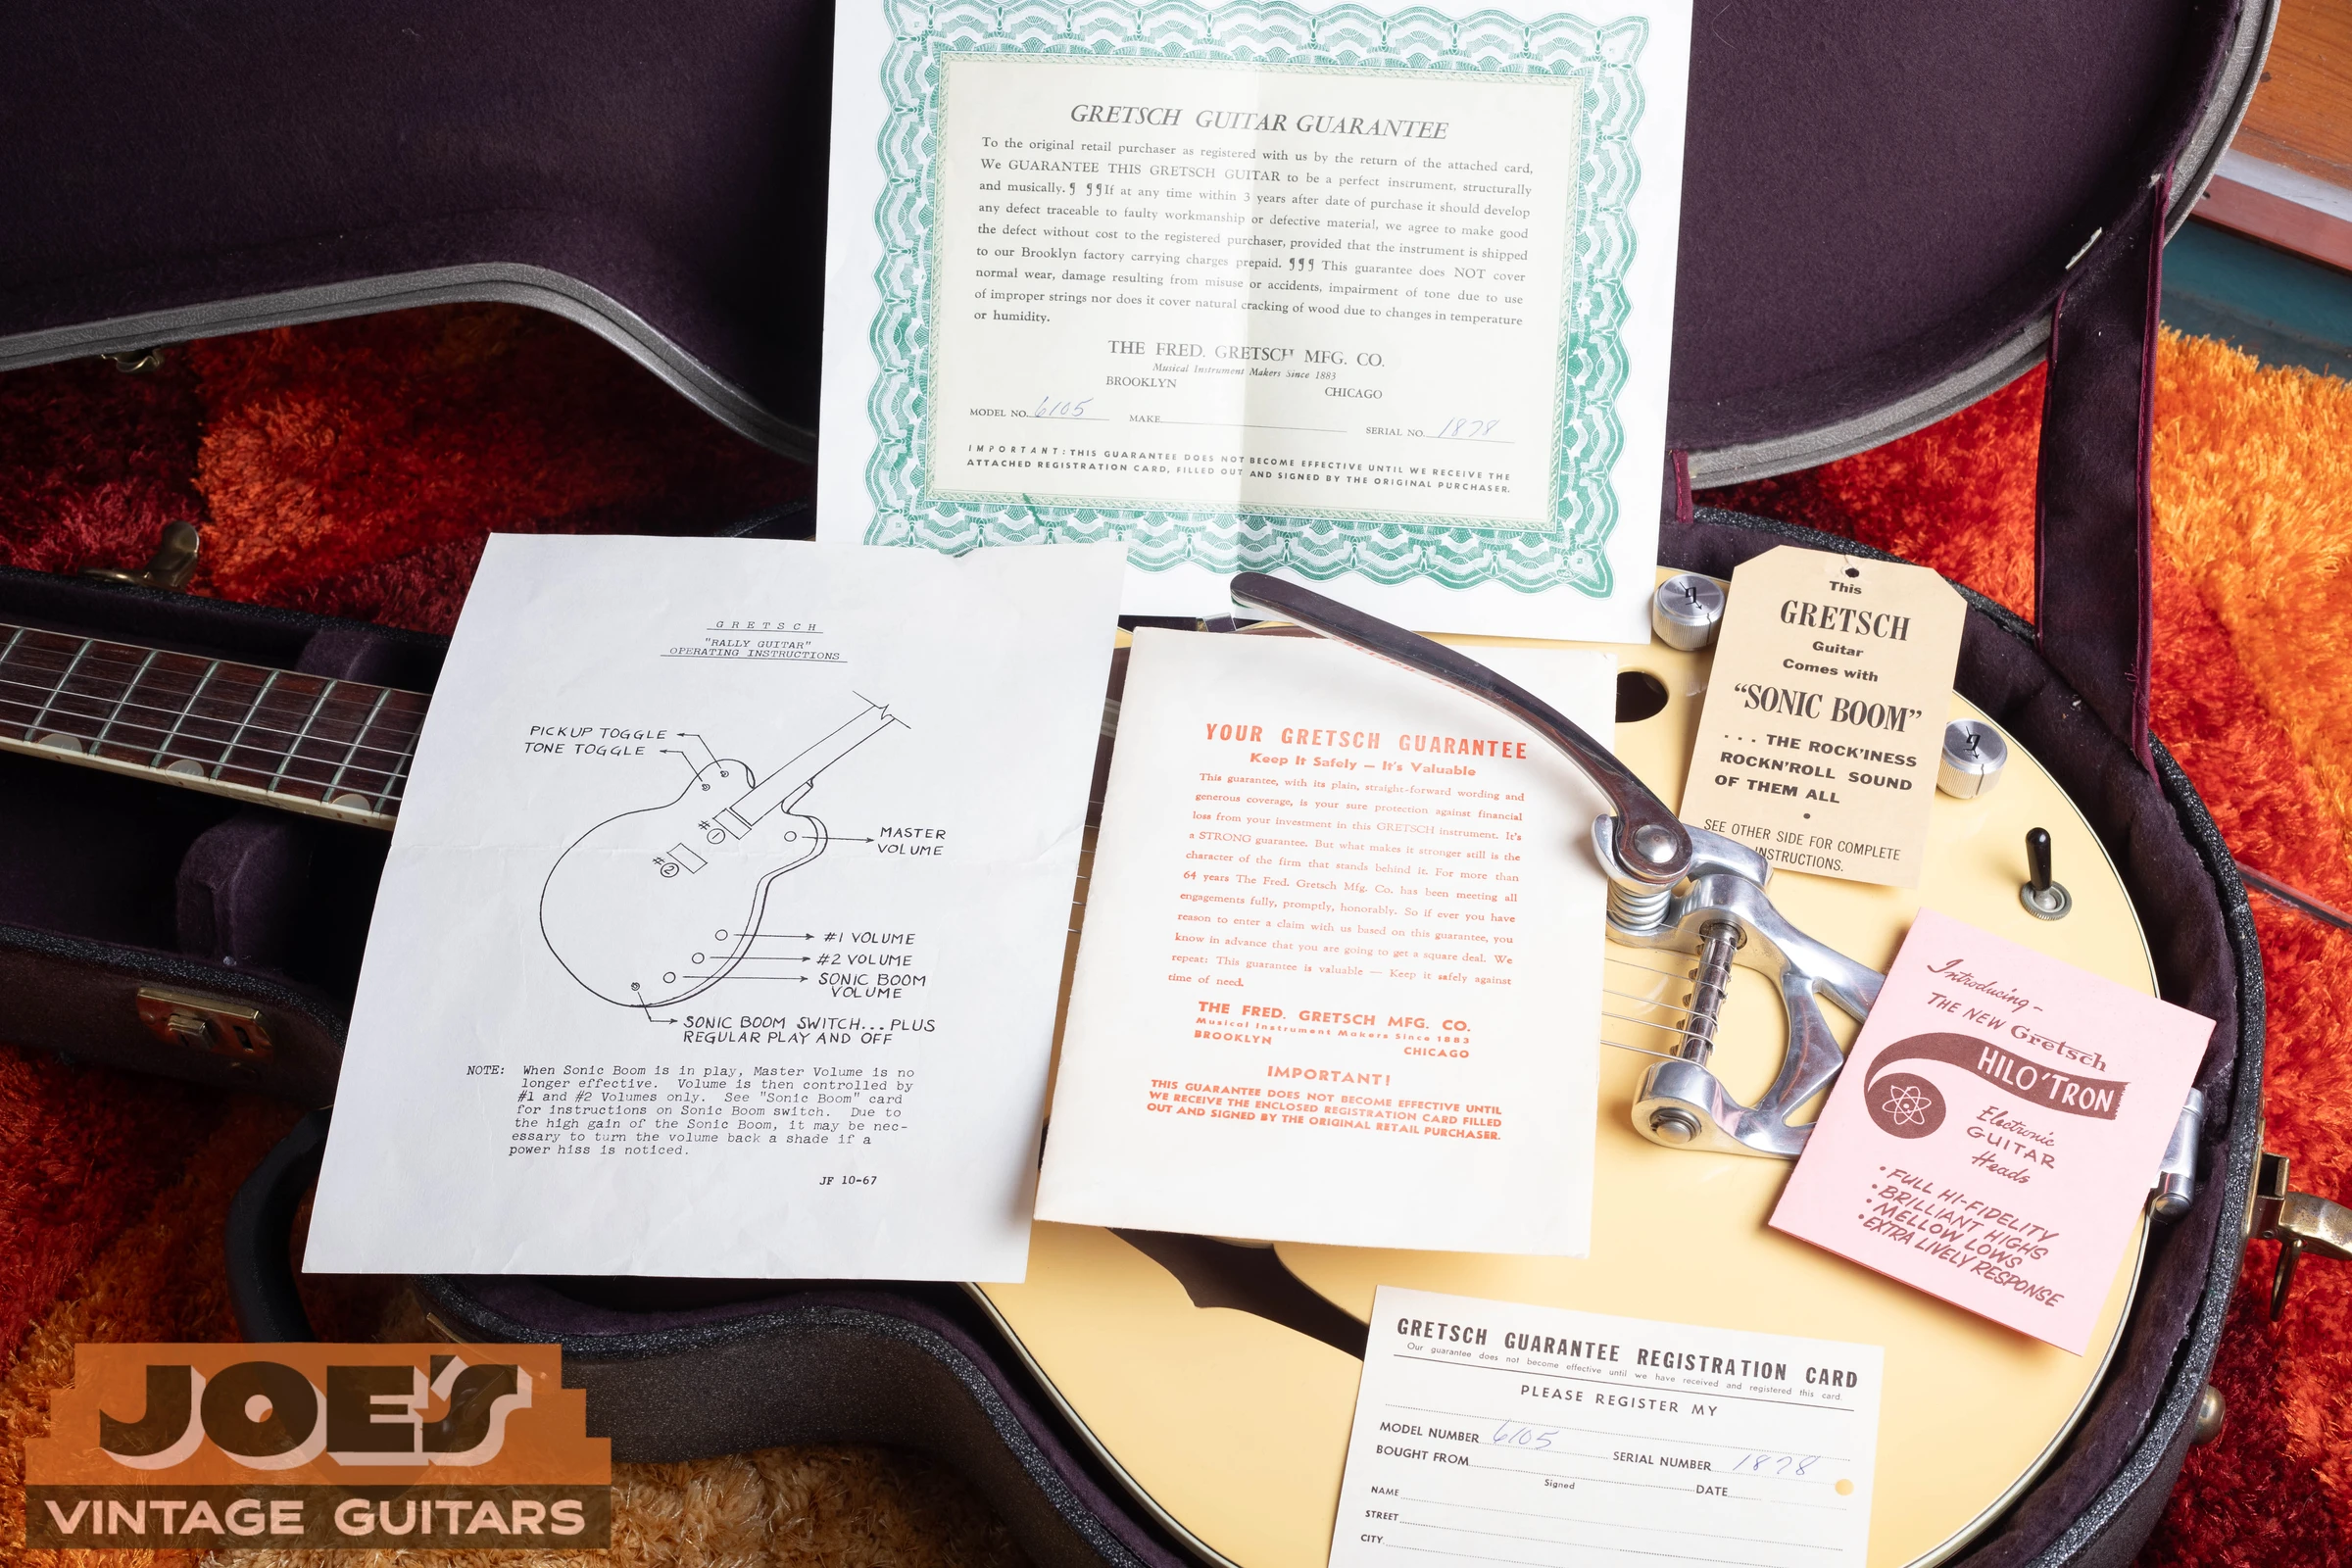
Some models added other circuitry, including the Rally's distinctive equipment and documentation. Keep the original instruction sheets with the guitar when they survive. They may explain an unfamiliar function, but a loose leaflet can also have been added later. Compare its model references with the instrument's actual label and serial.
What A Knob Photo Cannot Establish
A knob may have been replaced while its potentiometer stayed in place, or an old knob may have been fitted over a new control. Visible hardware and internal electronics therefore need separate descriptions. Pot codes, if accessible, can establish when a component was made, but an older component can be installed later.
Ask for repair records before requesting disassembly. Changed solder joints, added switches and enlarged holes can be relevant to originality, but they should be assessed in context. A neatly repaired guitar may serve a player well; the appraisal should still account for the changes.
If you have a clear serial photo, front view and close-ups of the controls, send them with a Gretsch appraisal request. Include any known rewiring or replacement parts. For physical evidence around an added switch or relocated knob, compare the finish and alteration checks.
The most useful written description separates observation from inference: “the lower switch silences the output” is an observed function; “factory-original standby circuit” requires a model comparison and inspection. Keeping those statements separate prevents a simple control test from becoming an unsupported originality claim.
Manufacturer References
- Gretsch Control Diagrams
Identify master volume, pickup selection, tone and standby circuits.
- Gretsch Catalog Archive
Compare the listed equipment for later model variants.
- Vintage Select Model Families
See which earlier control and hardware designs were intentionally recreated.
Get Help Identifying Your Gretsch
Send the serial, a full front and back view, and close-ups of the feature you want checked. Include any known repairs or replacement parts.
Get A Free Gretsch AppraisalReturn to the Gretsch serial lookup and dating library to compare the rest of the instrument.