

Guitars · Bass-Shaped Solidbody Guitars
Rickenbacker 480, 481 And 483Authentication Guide
The bass-like body outline makes a 480-series guitar easy to notice, but it does not identify the version. The 480, 481 and 483 differ in pickups, controls and neck details. Those differences matter both for authentication and for finding useful price comparisons, especially on instruments that have been routed or rewired.
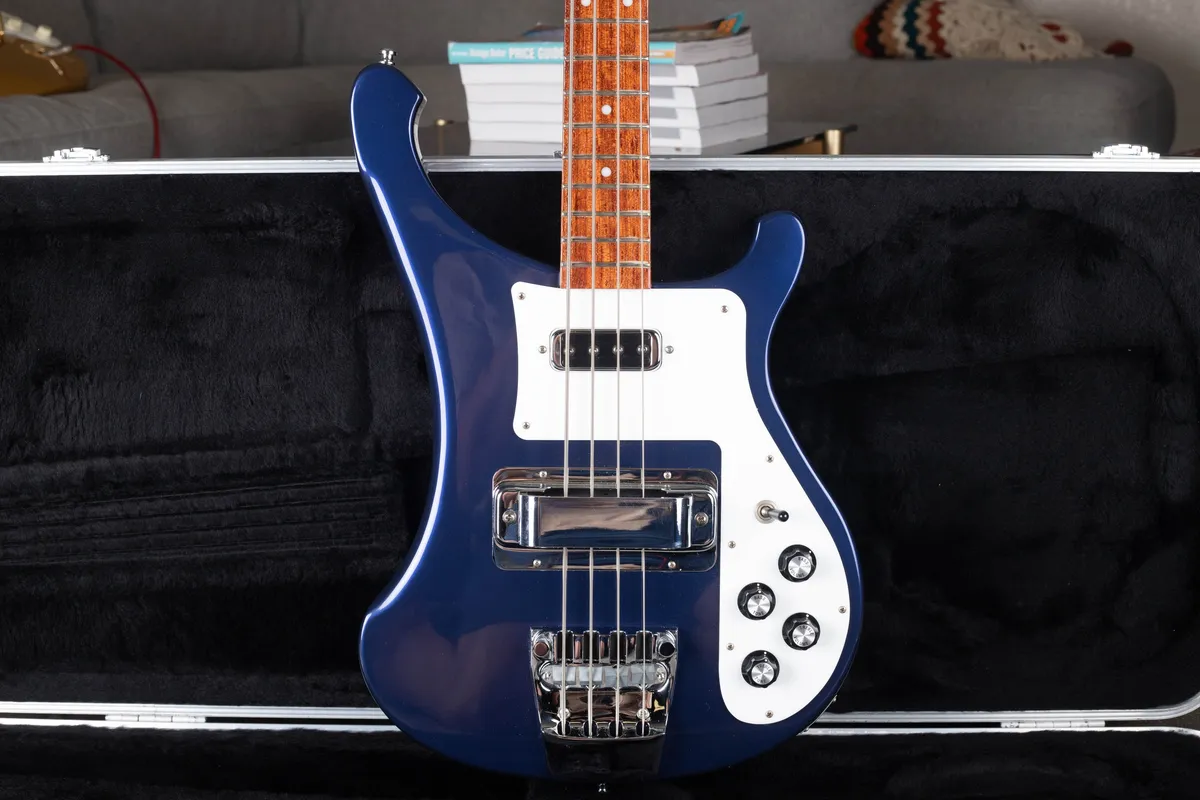
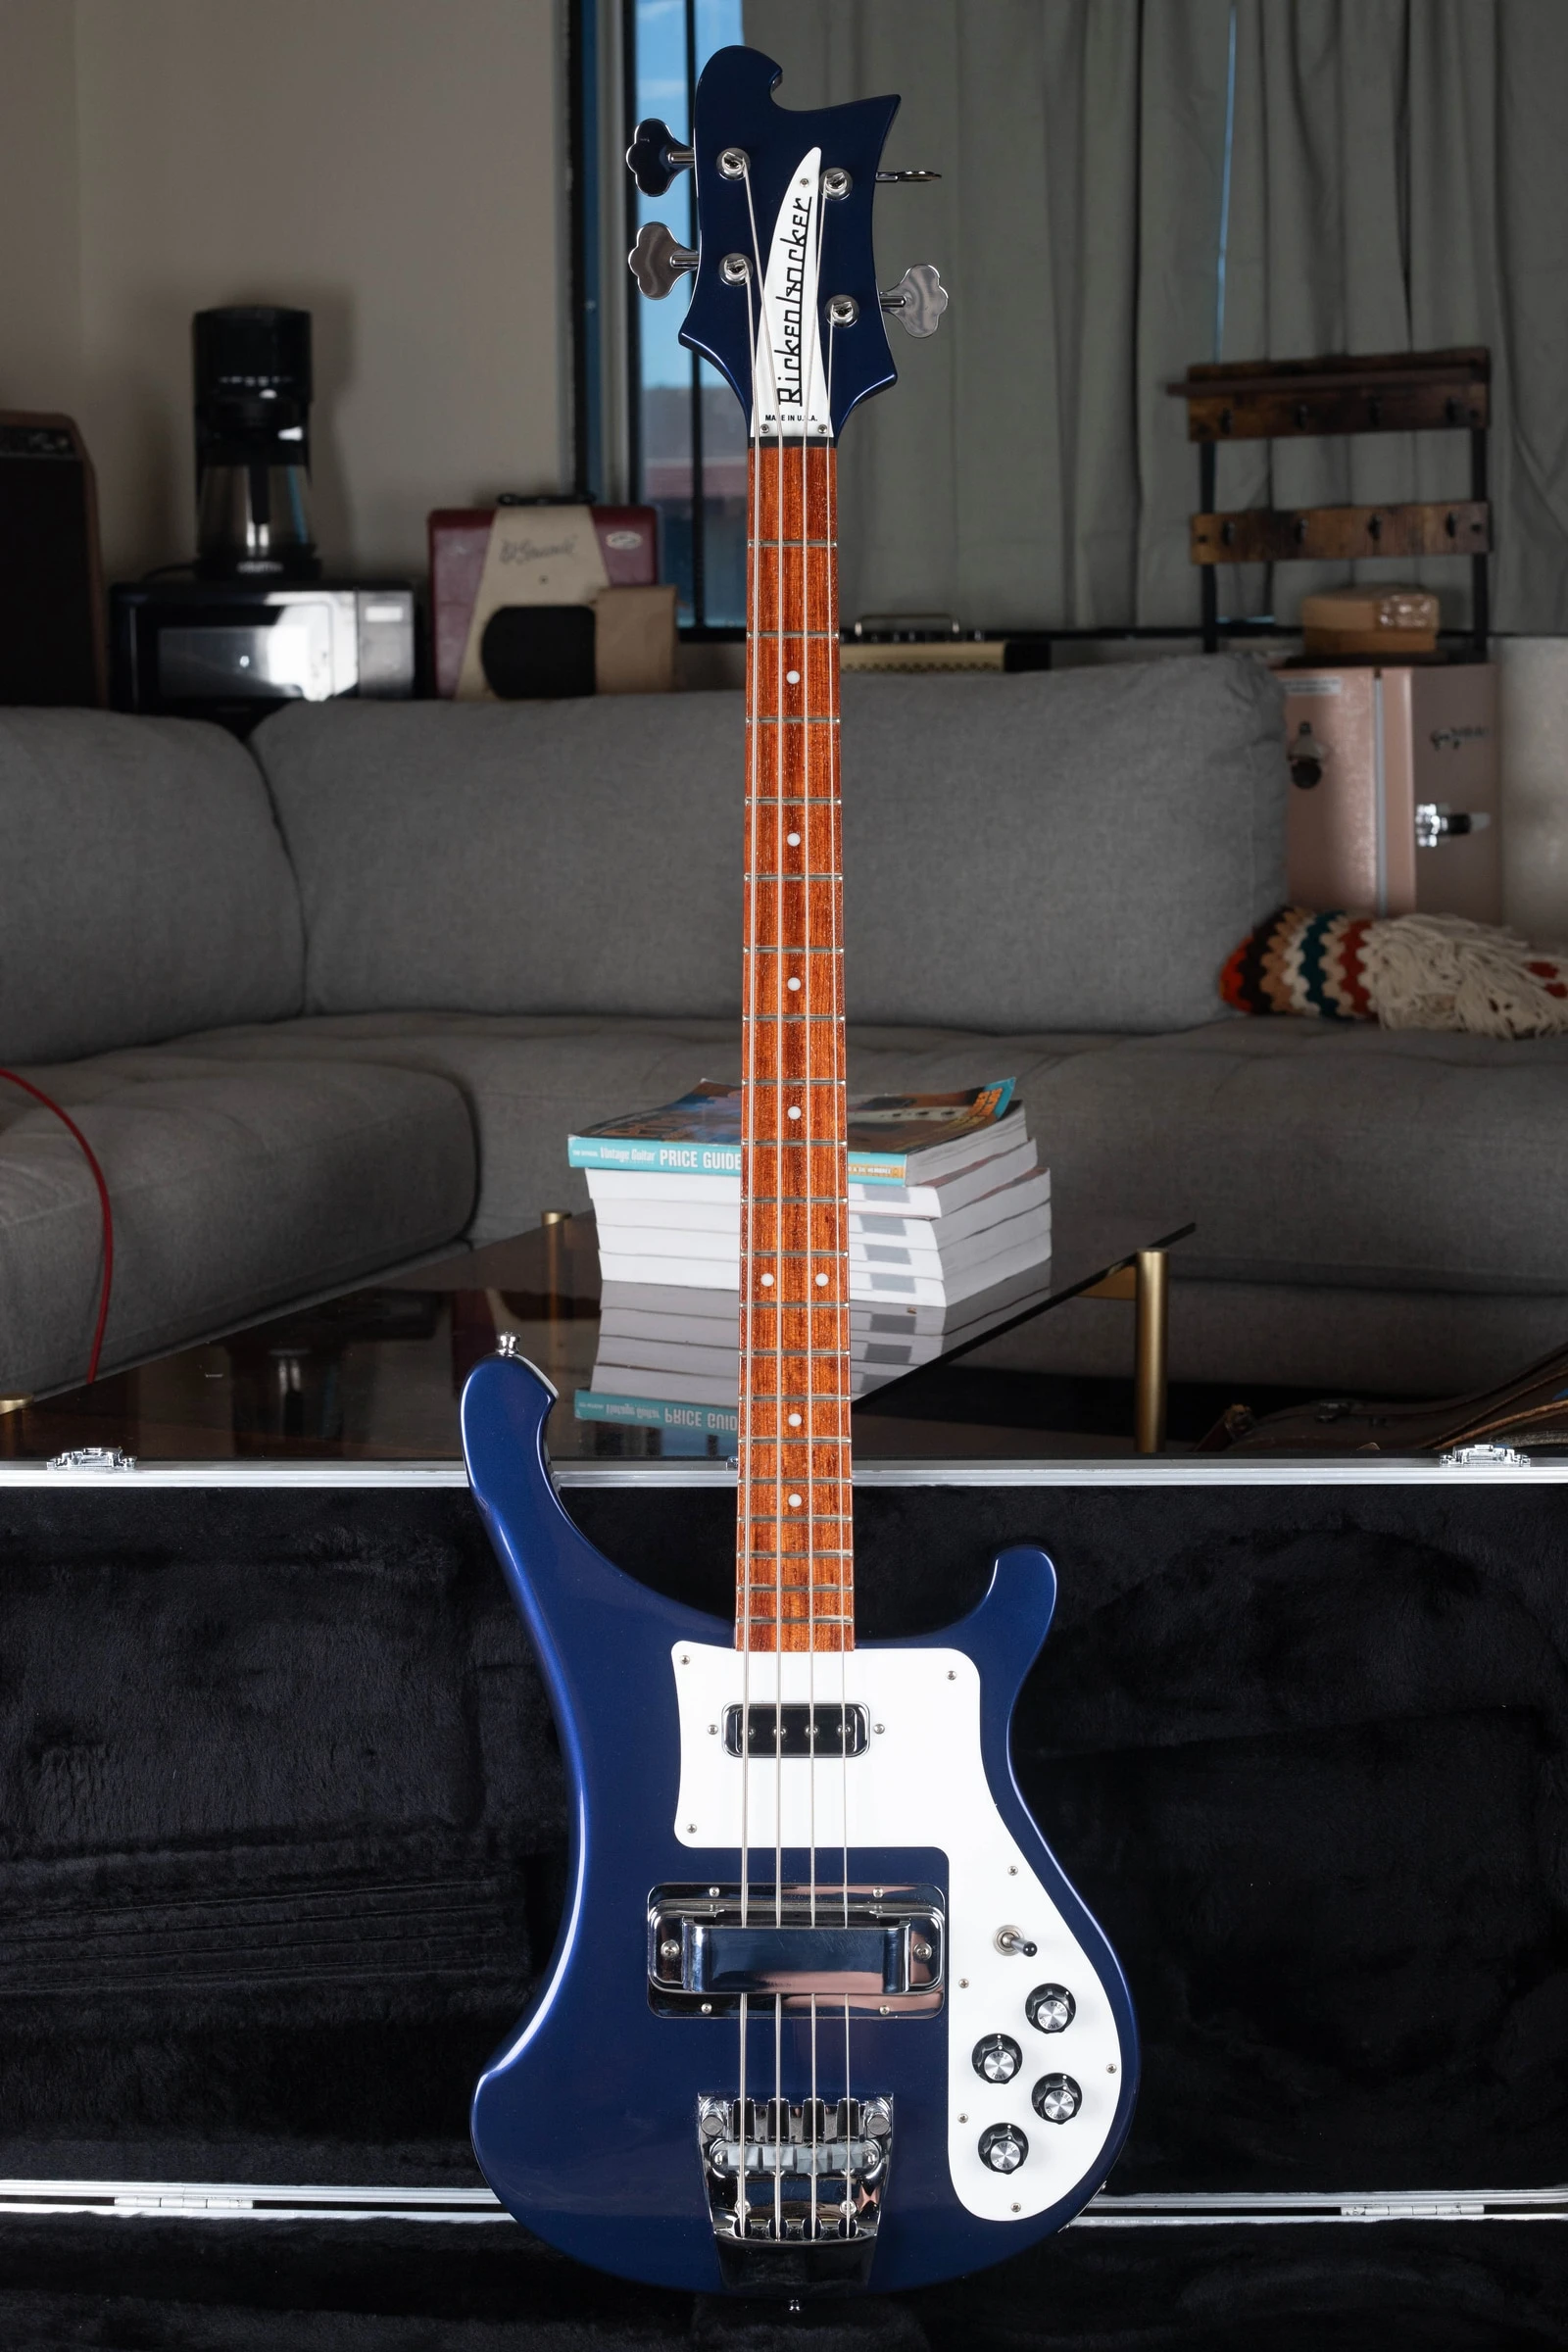
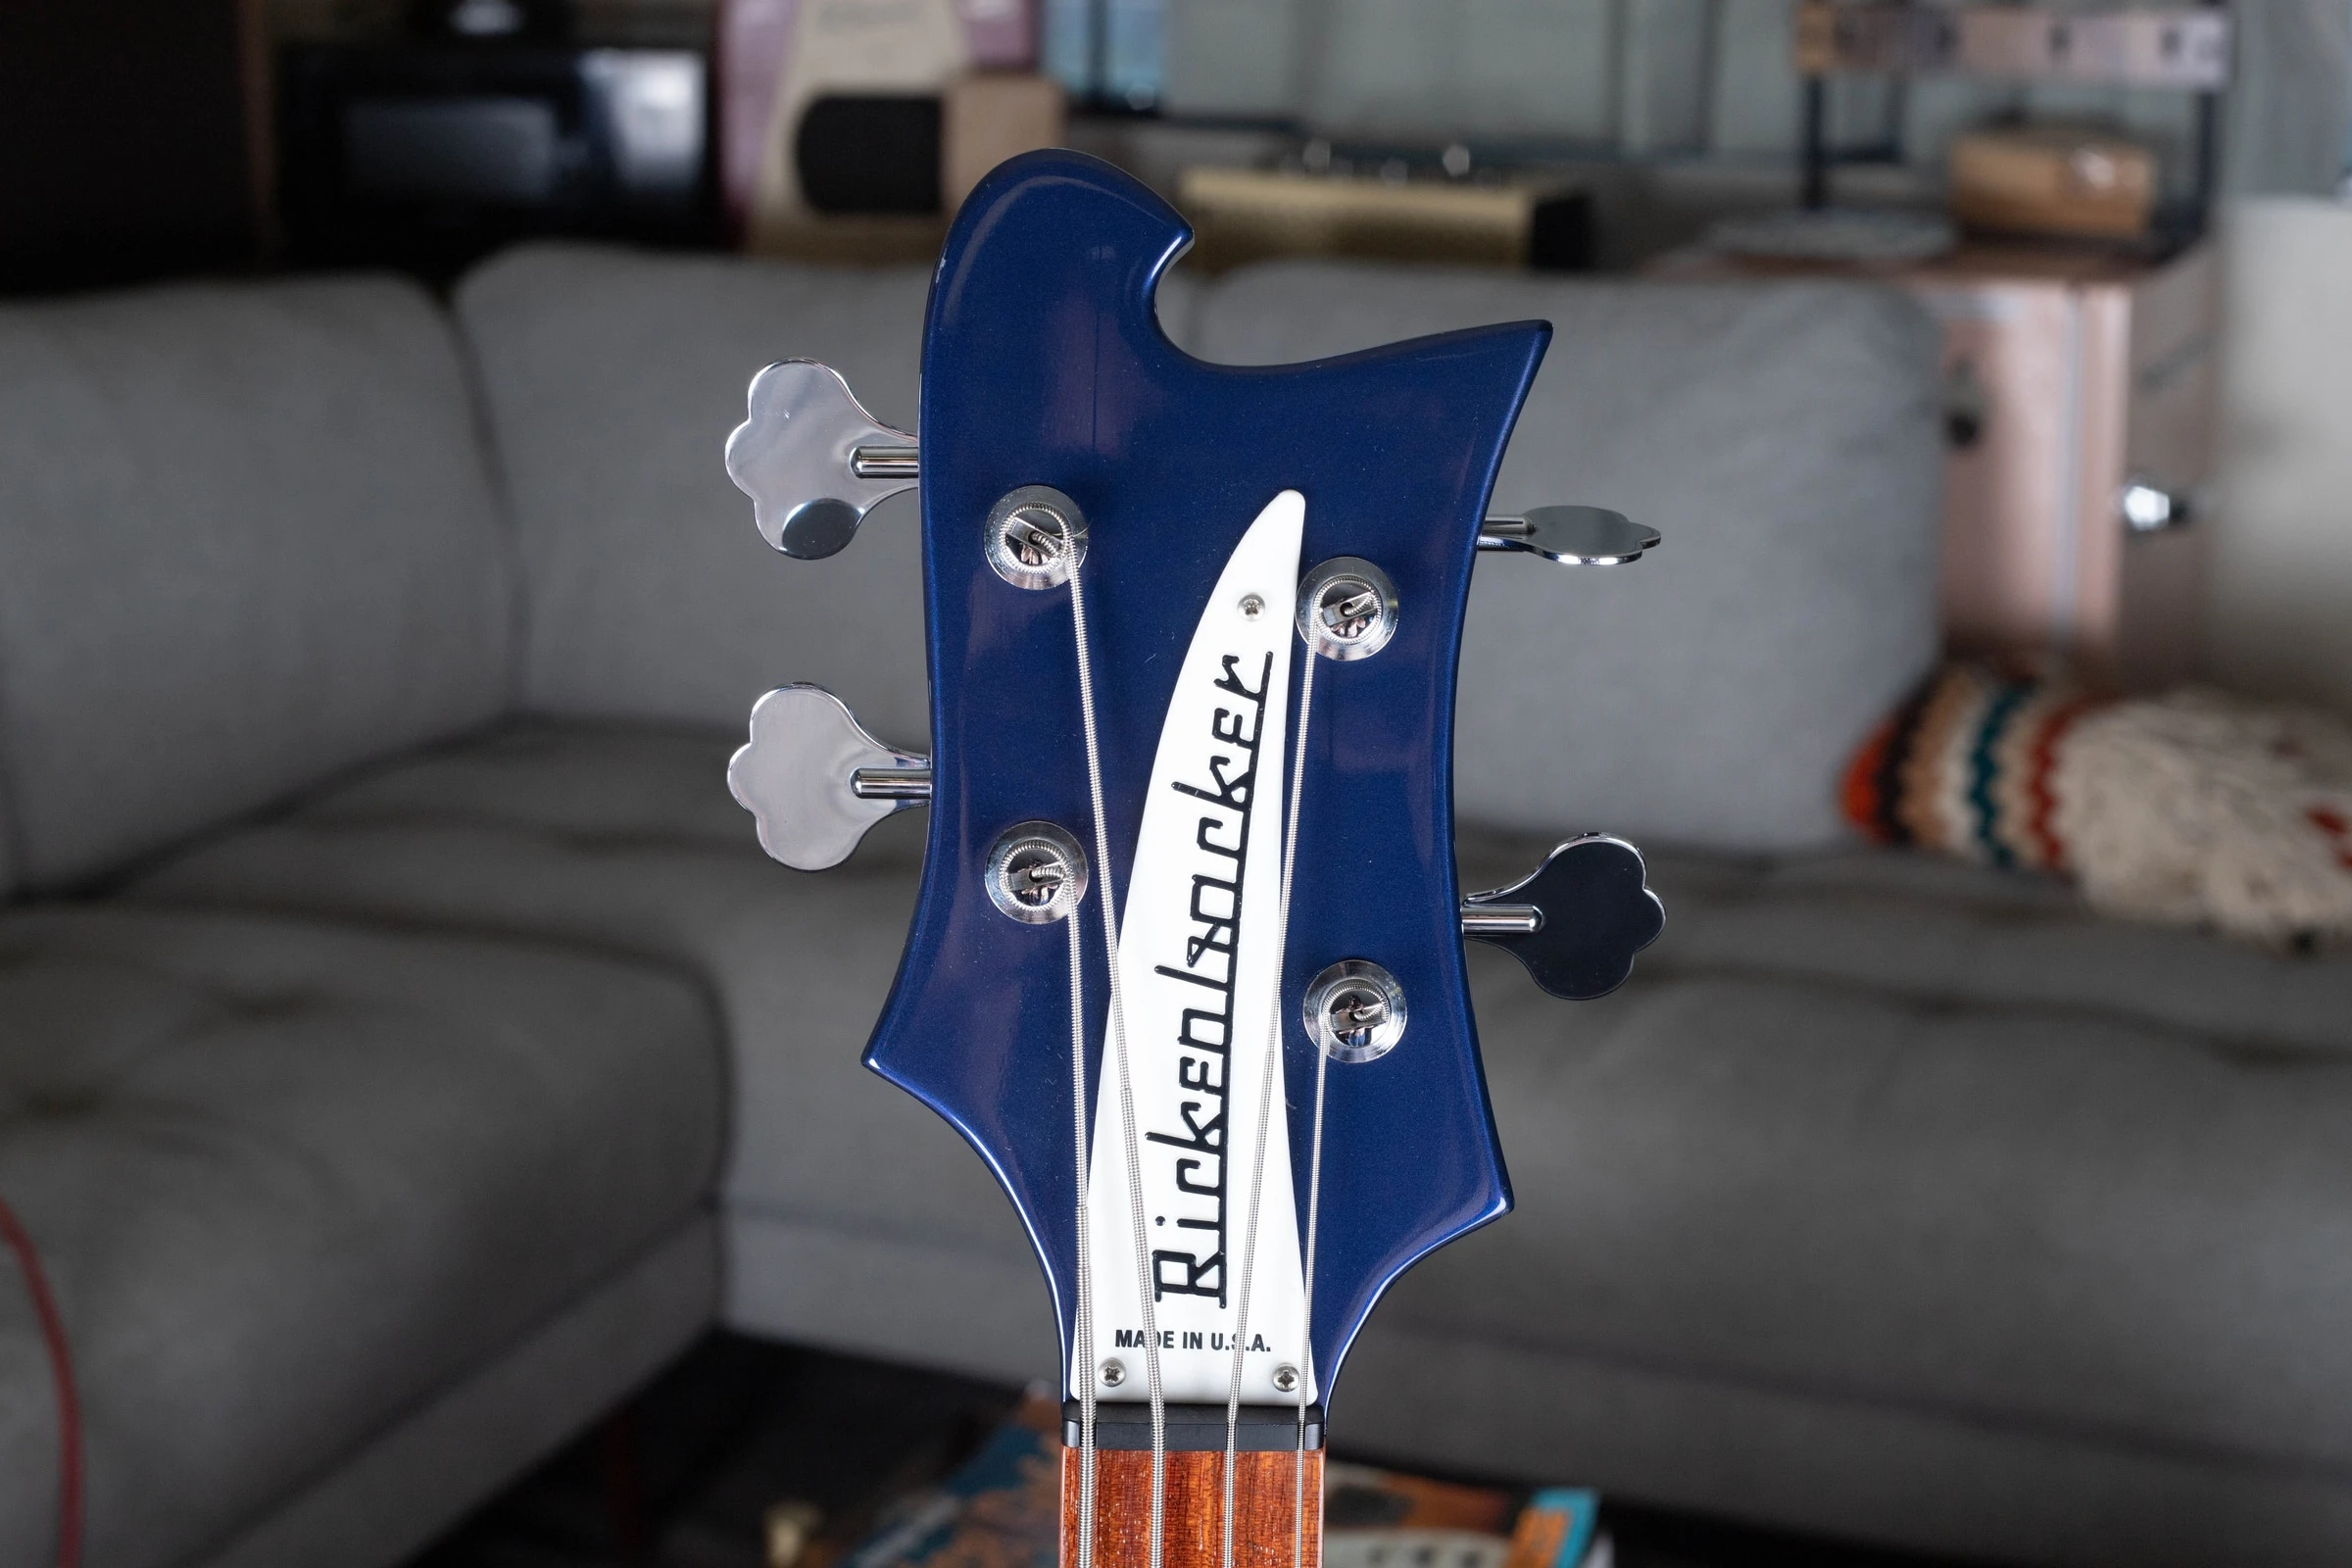
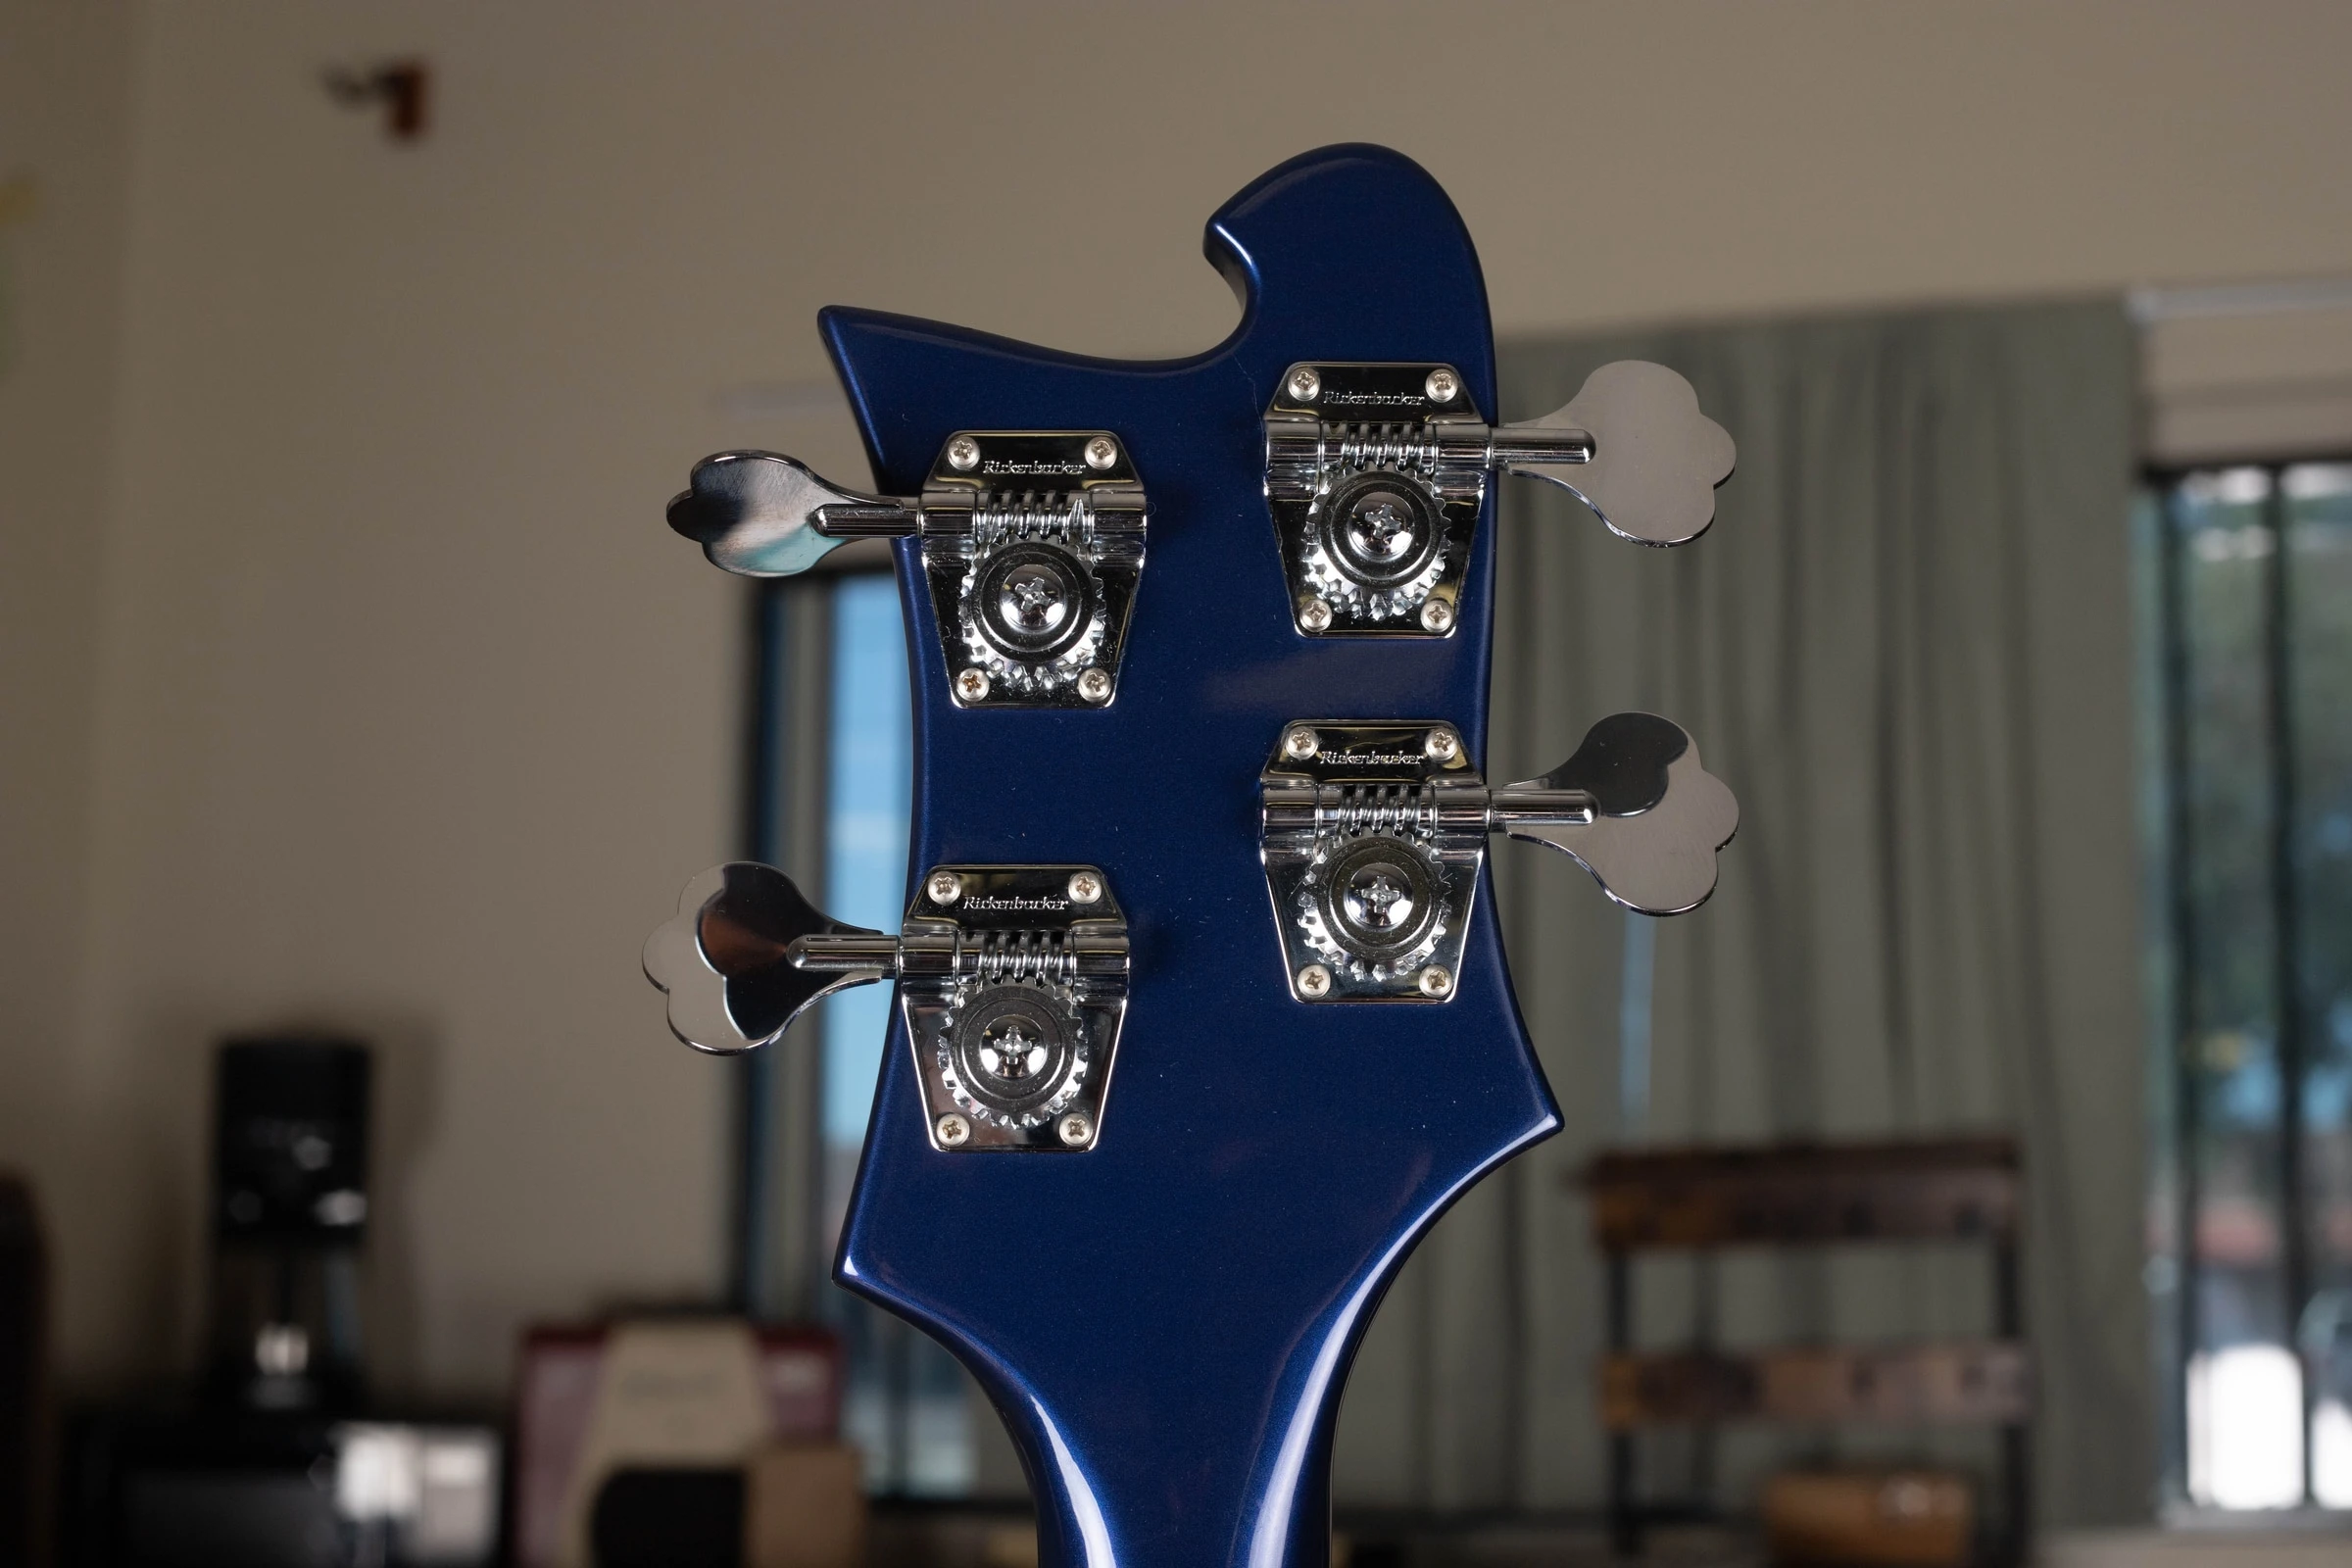
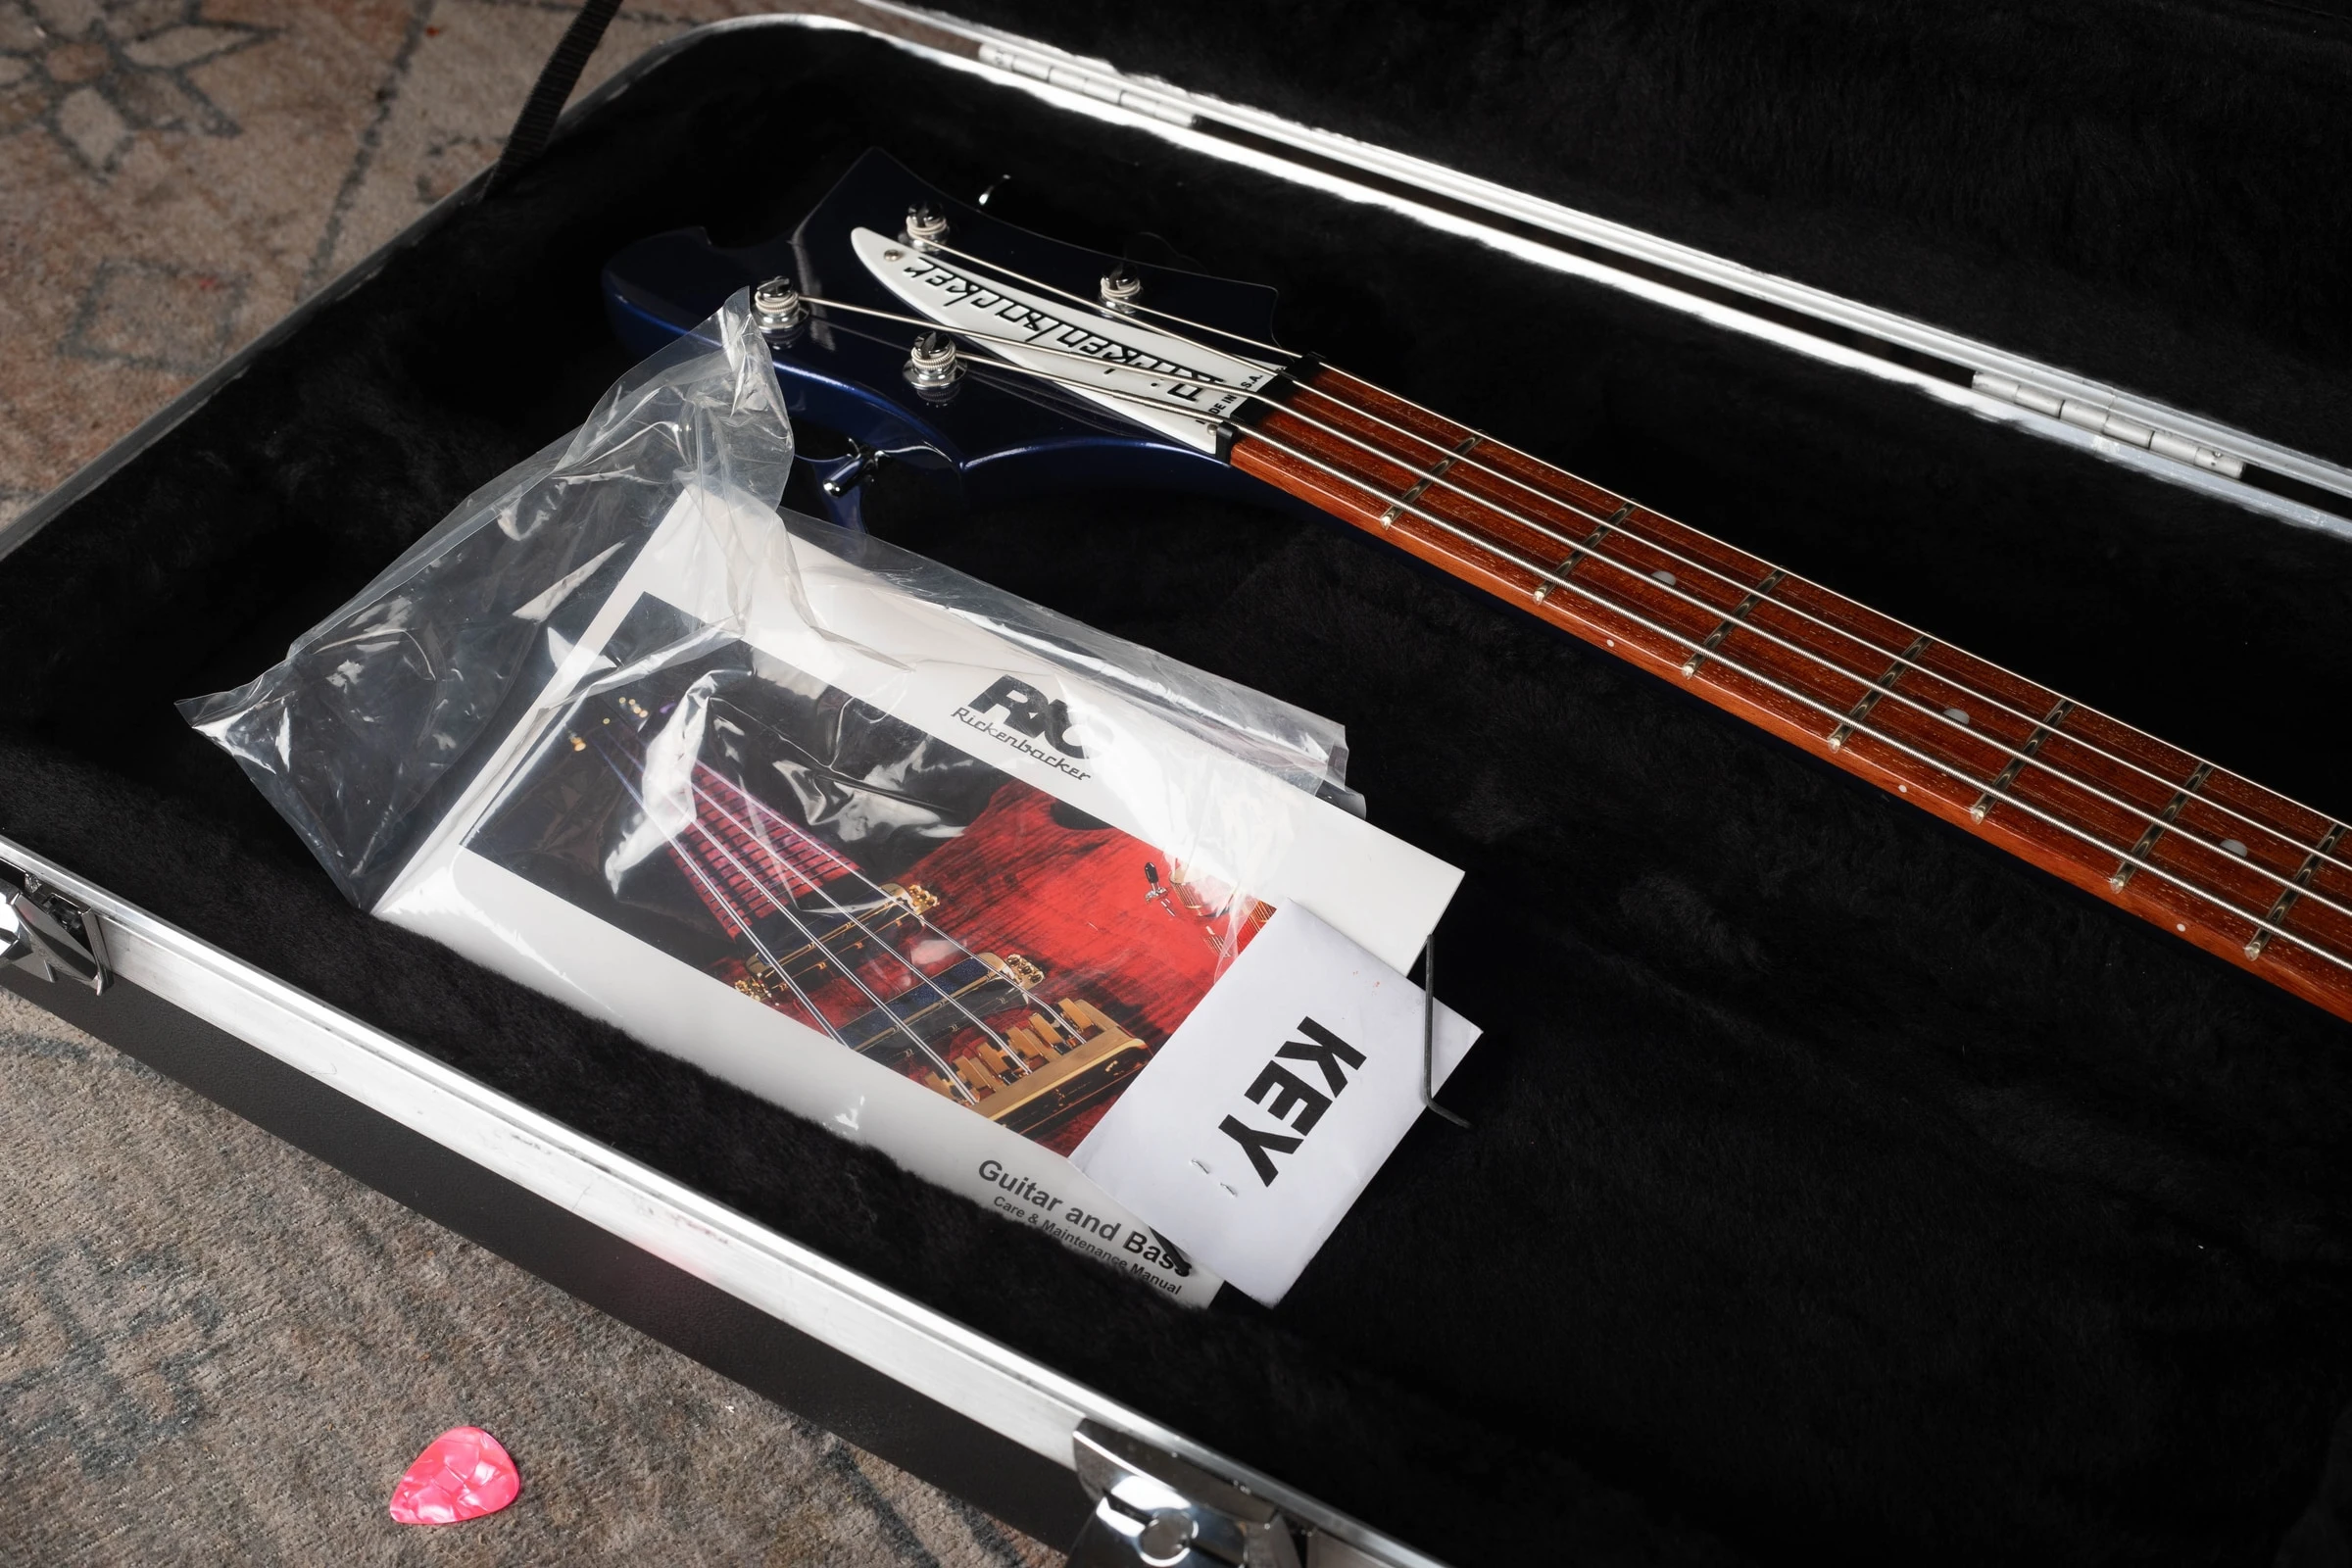
About These PhotosThe photographs show a 1989 4003 bass to explain the related body silhouette and inspection angles. It is not a 480, 481 or 483 guitar; its pickups, neck and bridge are different. Click a detail photograph to enlarge it.
Identify Before You Compare
Models And Variants
- 480
- Two-pickup guitar; inspect the model’s own neck and electronics.
- 481
- Deluxe model associated with slanted frets, humbucking pickups and phase switching.
- 483
- Three-pickup relative listed in the 1982 factory price list.
- 4080 / 4080/12
- Double-neck instruments are separate models, not ordinary 480s with an accessory neck.
Identify The Guitar Beyond Its Body Outline
Count strings, frets and pickups, and photograph the neck attachment. The bass-shaped body is a useful first clue, but our comparison bass has a different construction and electrical layout. Do not use a 4001 or 4003 specification to authenticate the guitar.
Compare the complete model configuration with a period factory reference. A 480 with an added pickup should not automatically be relabeled a 483. Look for changed guard edges, unusual screw positions and evidence that a pickup opening was enlarged.
Inspect The 481’s Neck And Switching
On a claimed 481, photograph the fingerboard straight on so the fret angle is visible. Slanted frets are part of the model’s distinctive design, not automatically a bad refret. However, replacement frets and fingerboard work still deserve a close inspection for clean slots, secure seating and accurate playing notes.
Document the humbucking pickups and additional switching. Test the actual circuit rather than assuming a switch works because it is present. If rewired, record what changed and whether the original components are retained. A standard two-pickup guitar fitted with larger pickups is not enough to prove a factory 481.
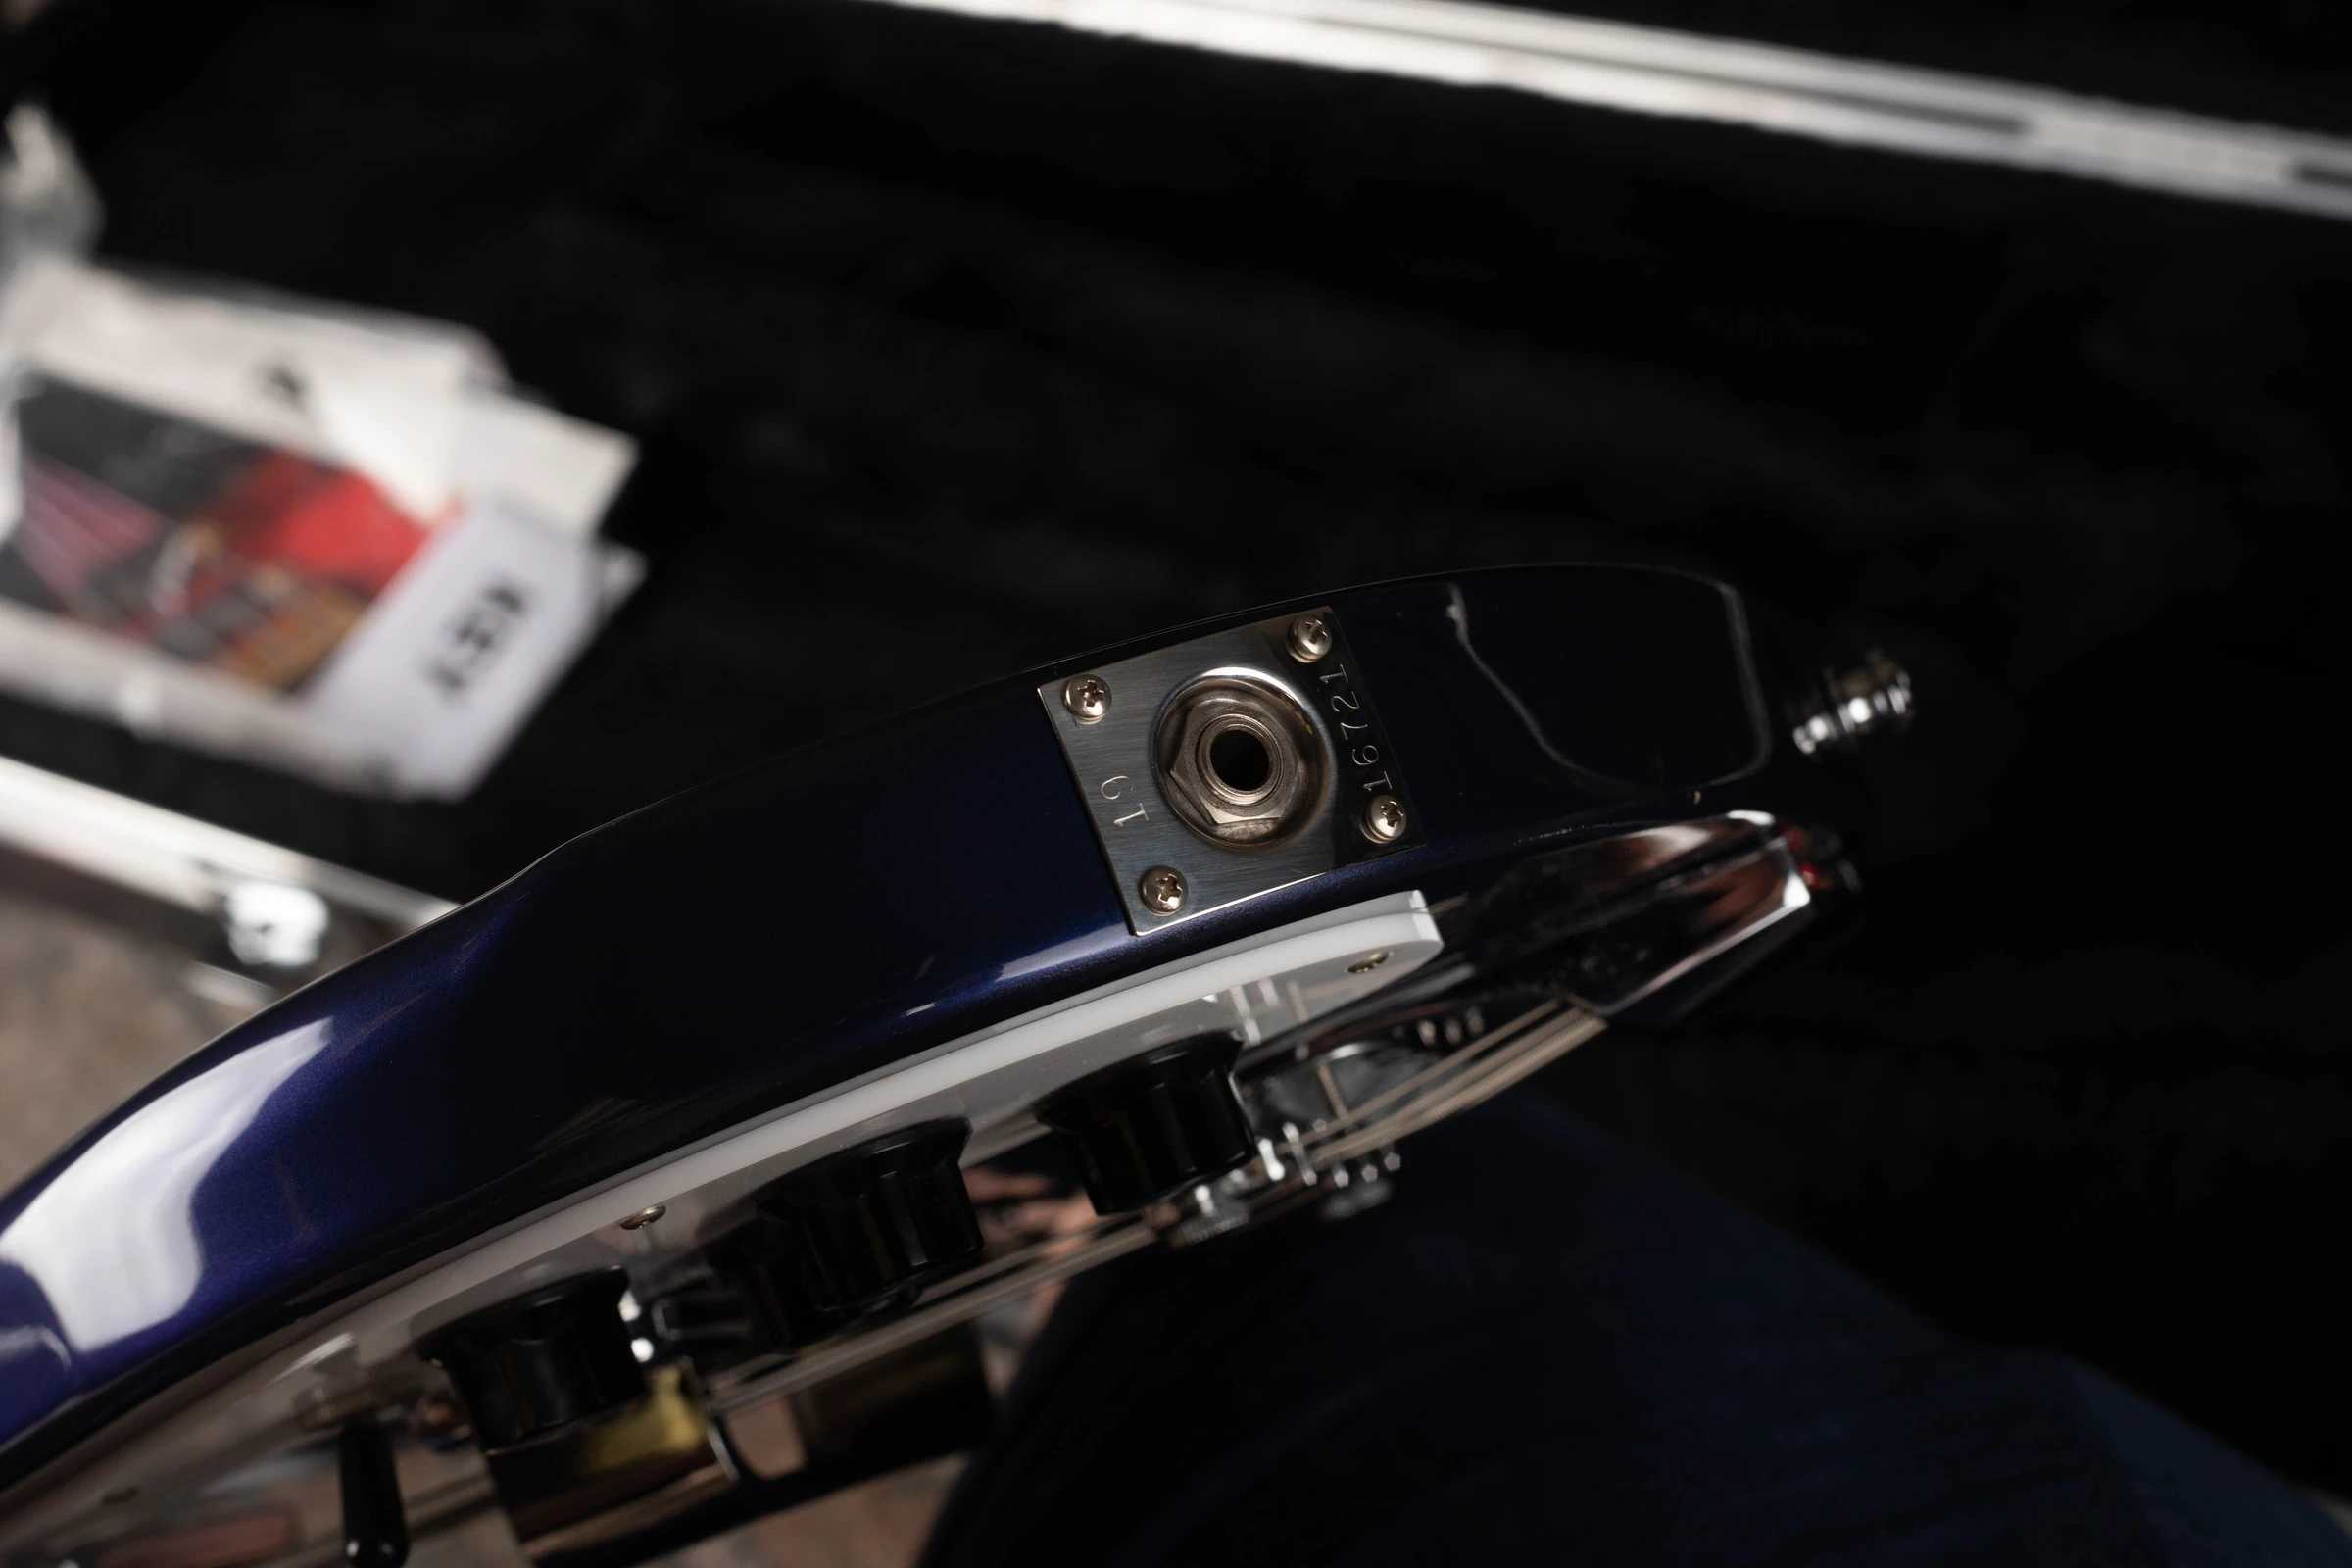
Check The Neck Joint And Bridge Geometry
Photograph the neck attachment, surrounding finish and any visible gaps. Check alignment down both sides of the fingerboard, then play the instrument across its range. A shifted or poorly fitted neck can affect string alignment and action even when the body looks clean.
Inspect the bridge height and saddle travel. Photograph any moved bridge, plugged holes or replacement hardware. Distinguish a setup adjustment from structural work or a changed neck; the latter can alter both the repair cost and the instrument’s identity.
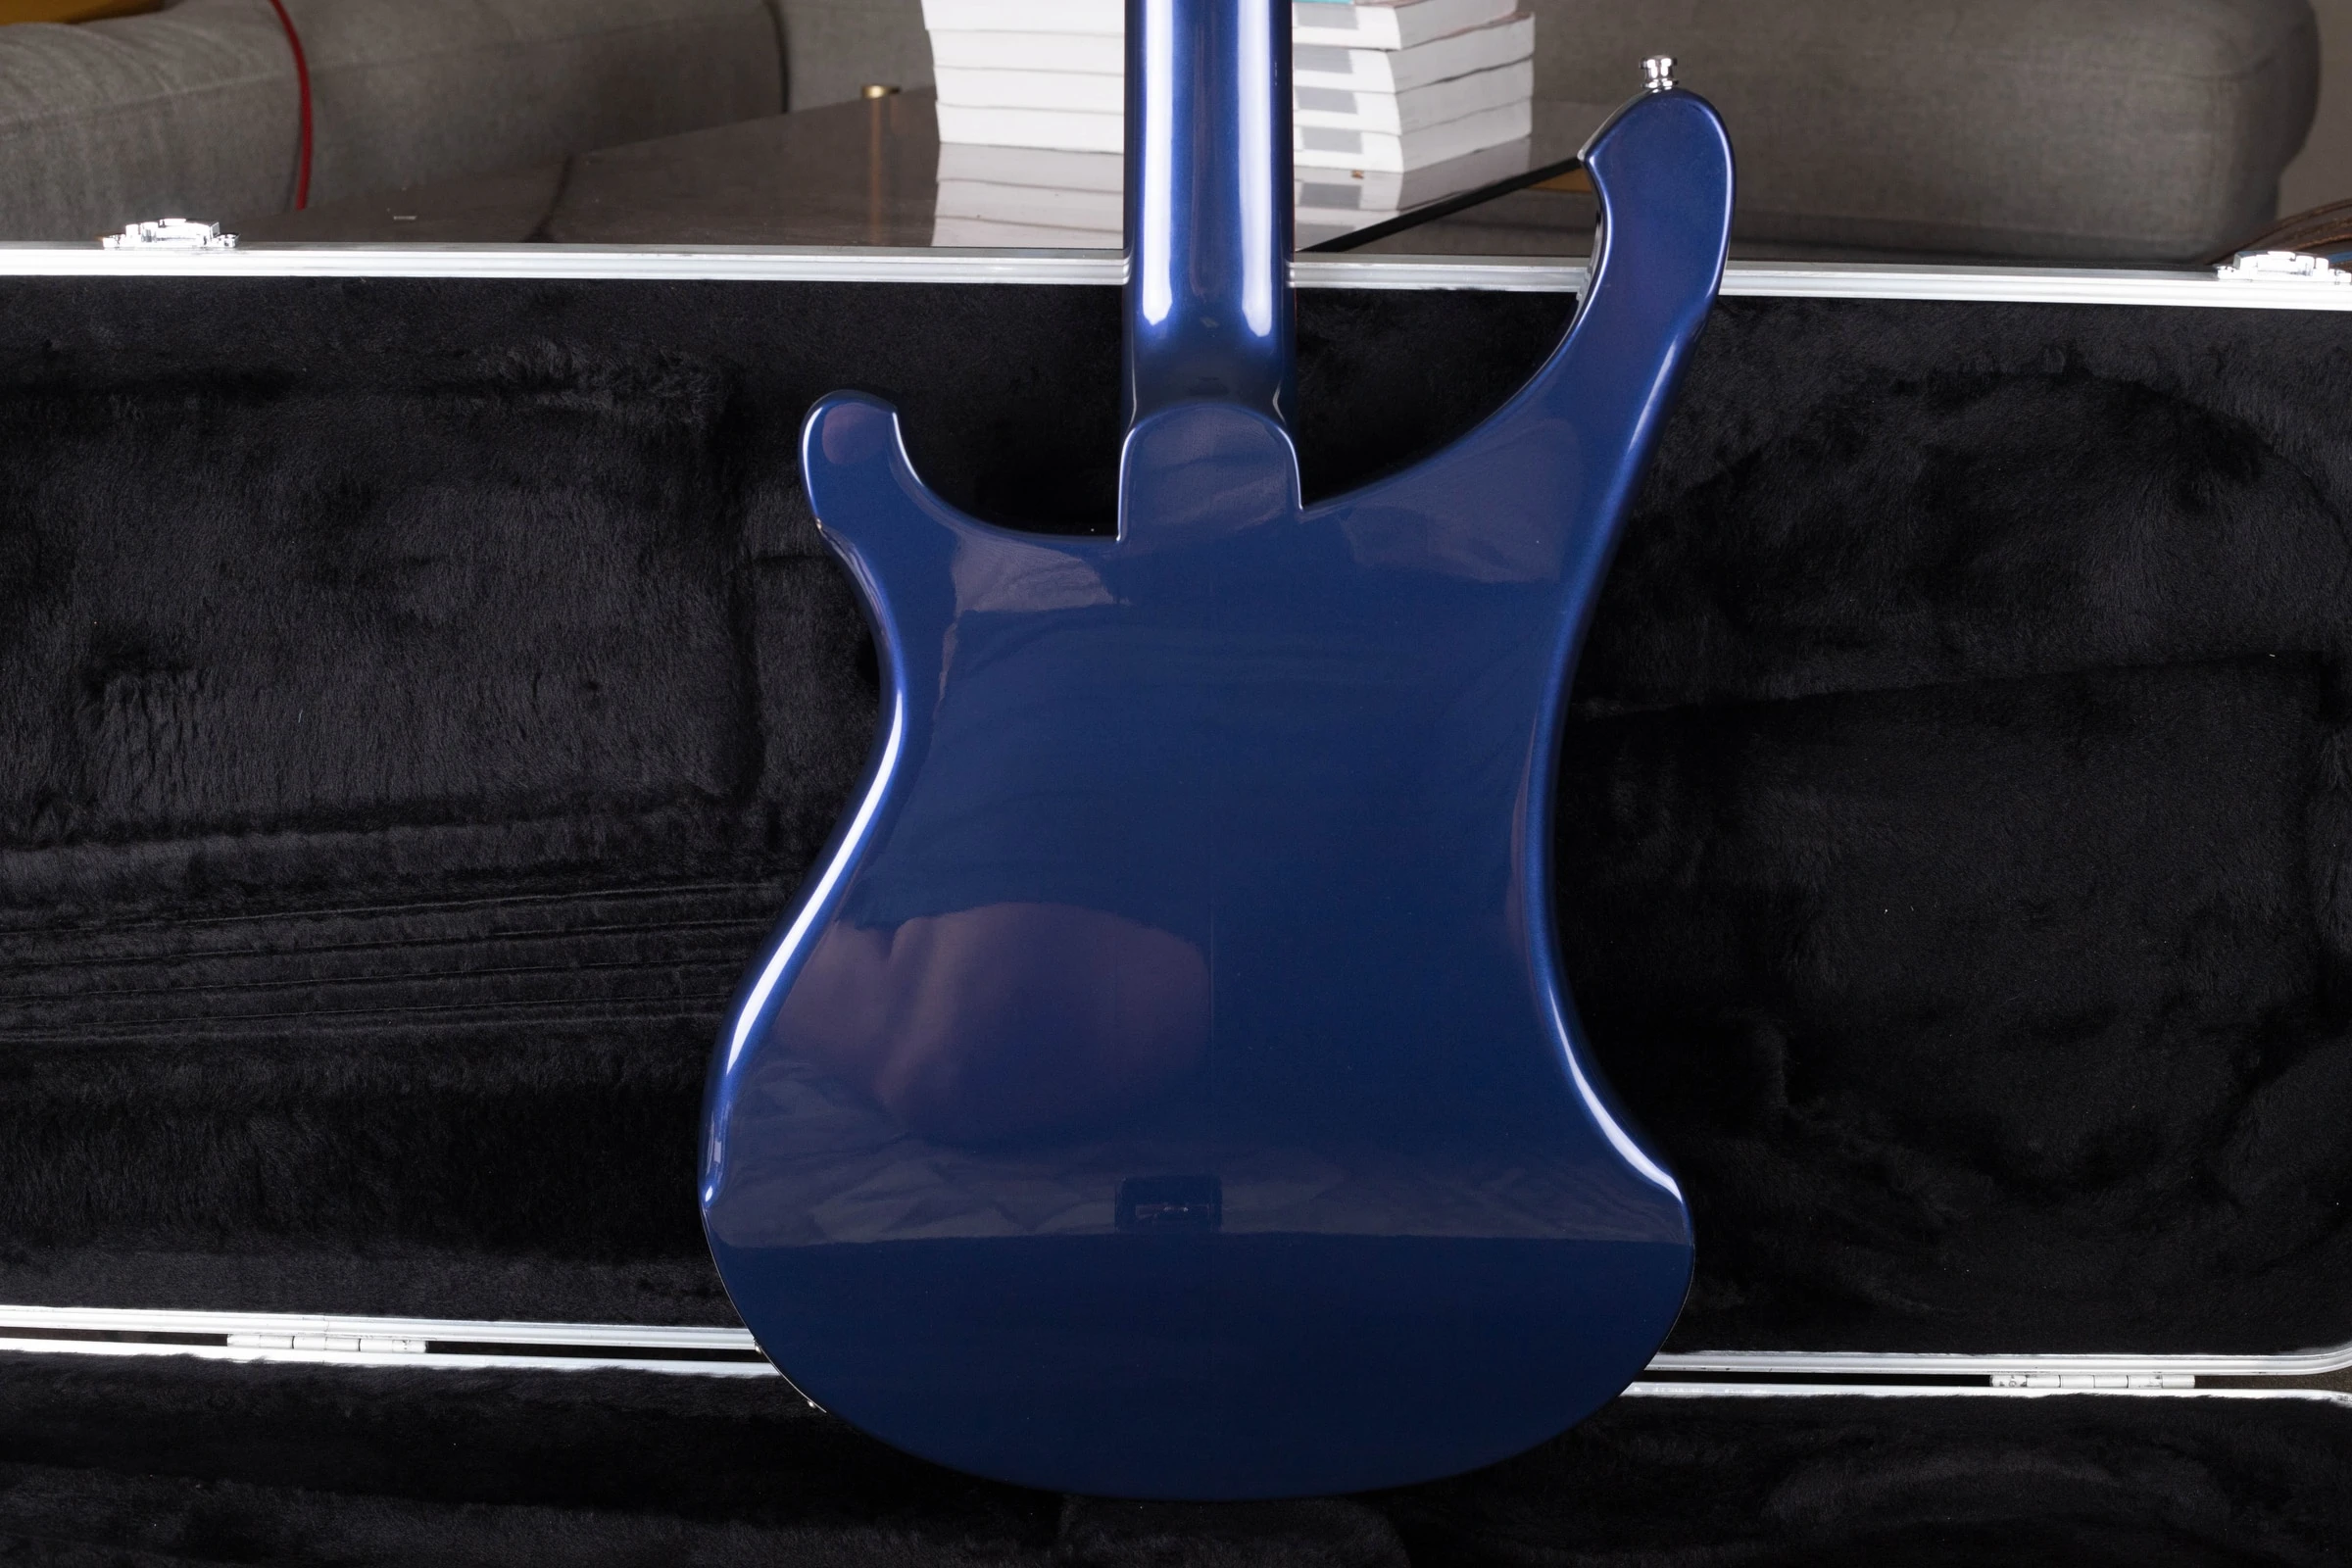
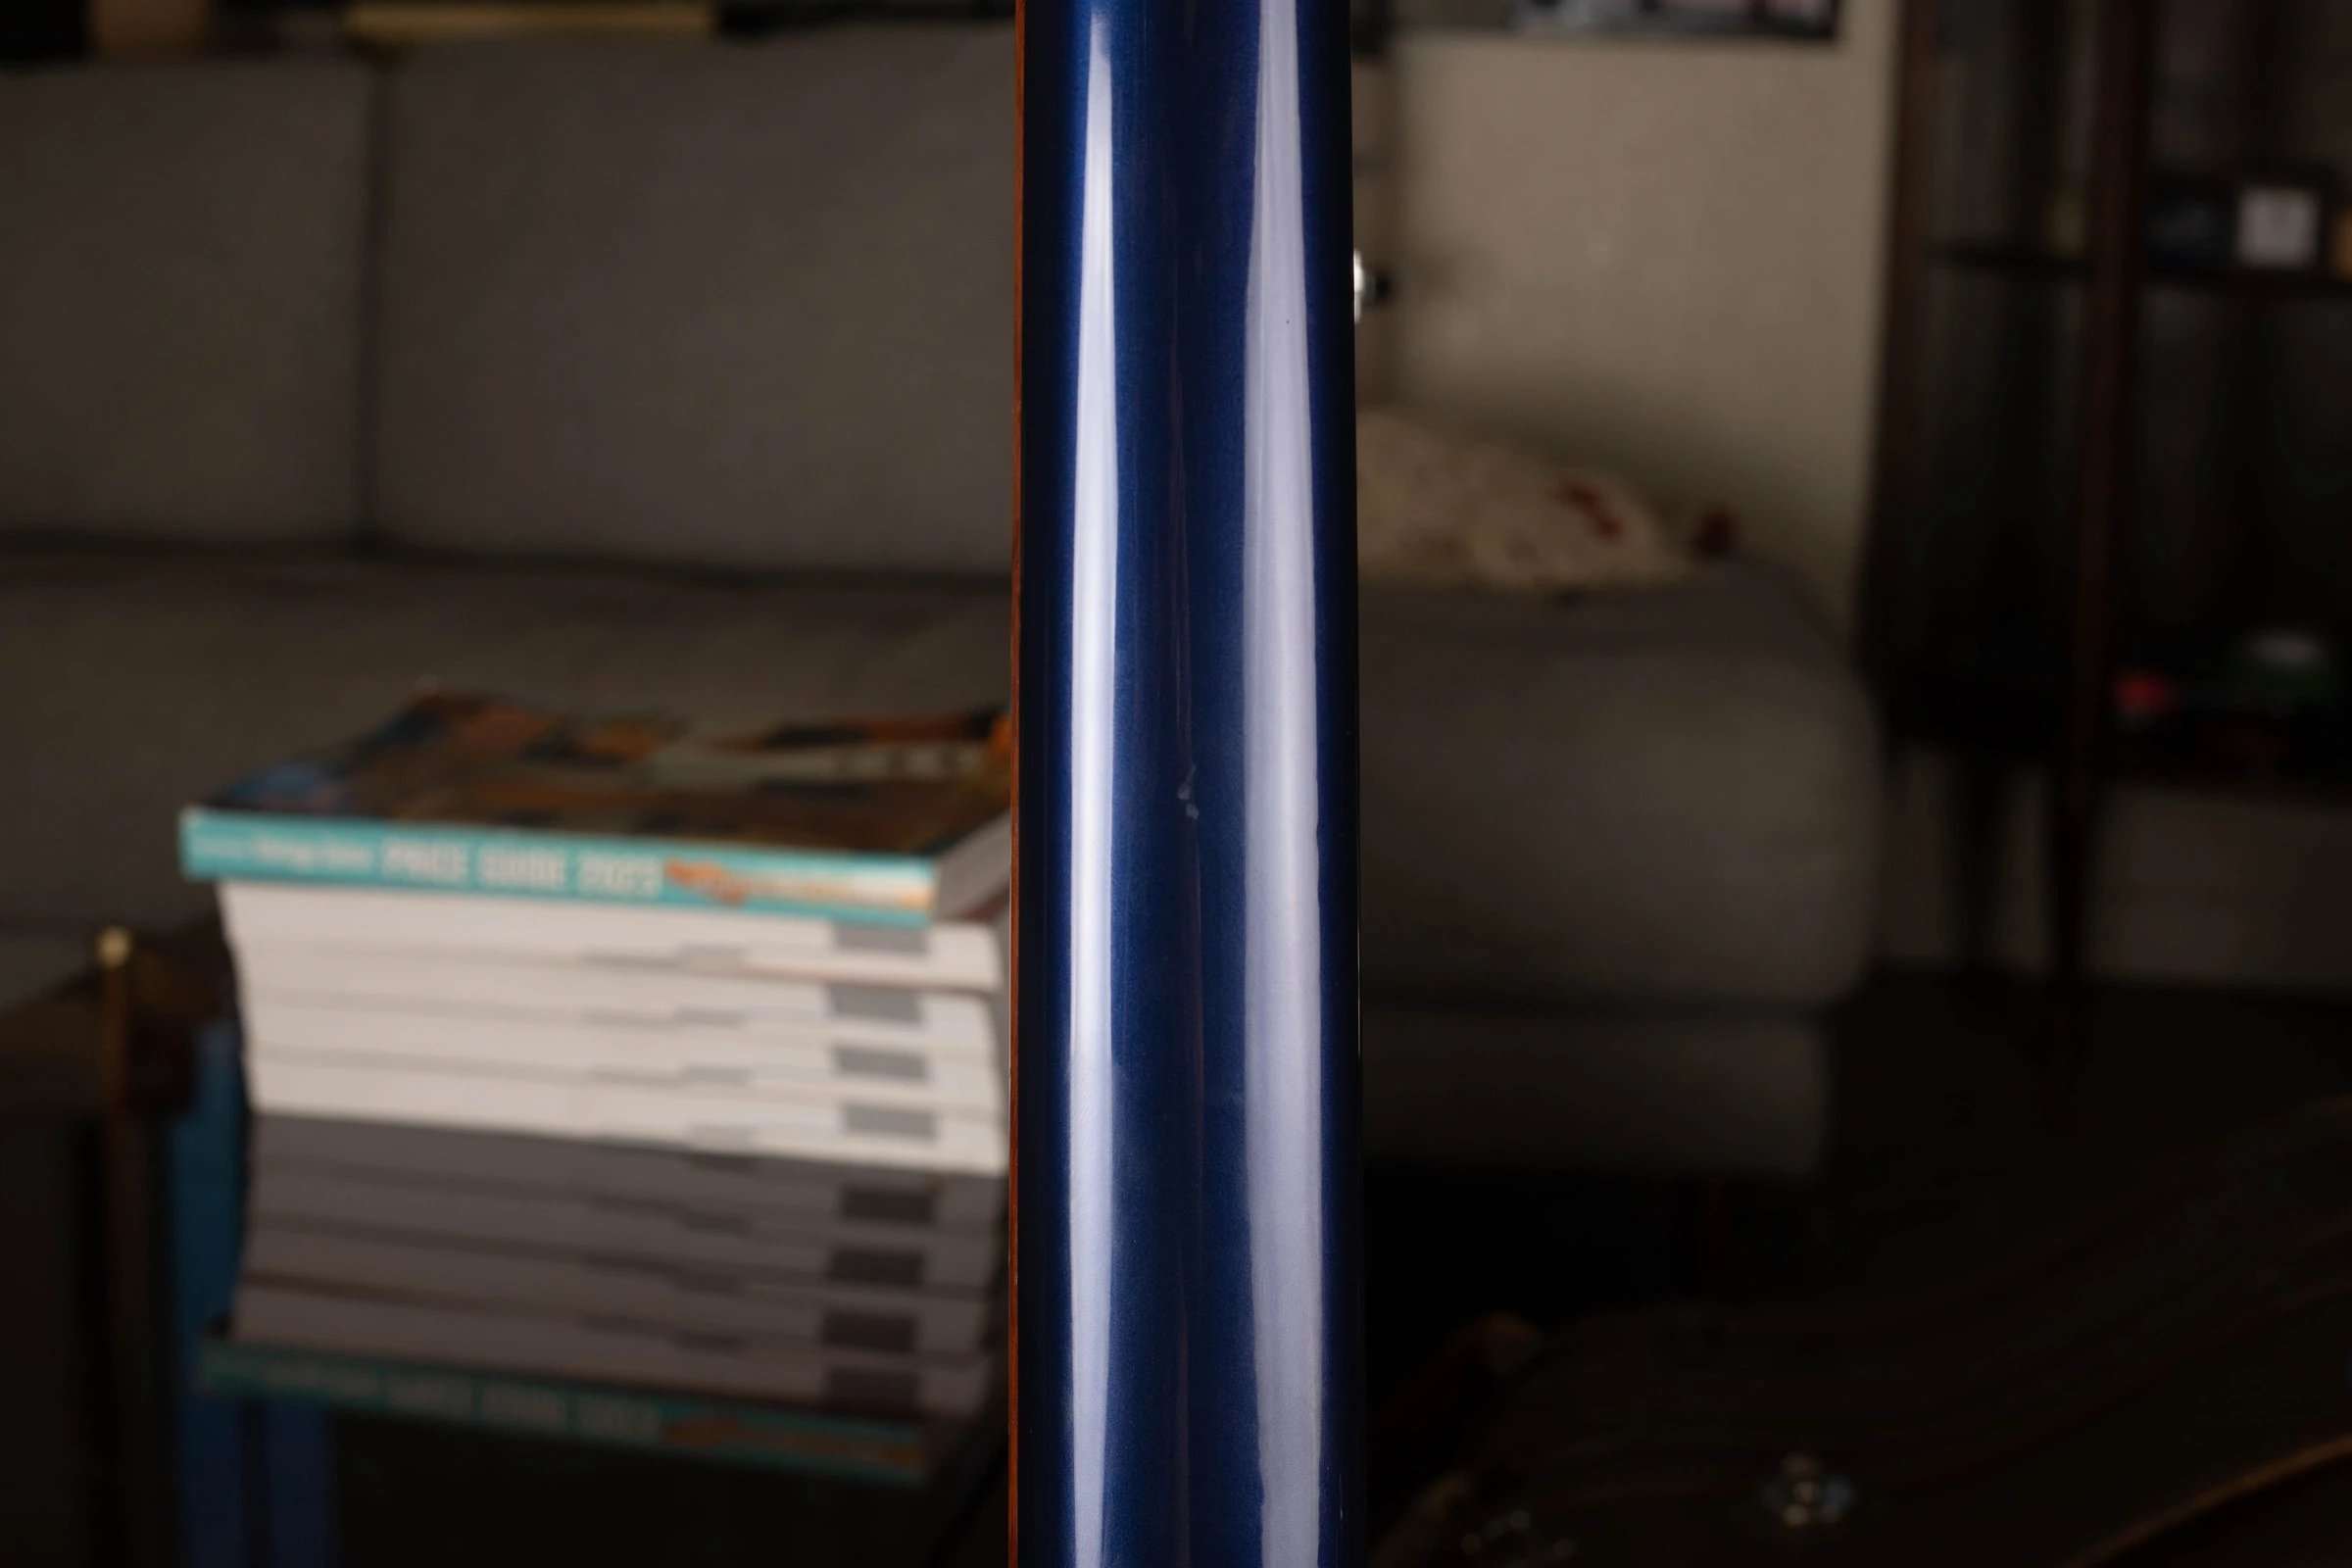
Look For Guard Repairs And Enlarged Routes
Large guards can conceal modifications, and old plastic can crack around screws or controls. Record repairs without removing a brittle guard unnecessarily. If internal photos are needed, have someone experienced handle the inspection.
Compare the pickups, pots and switches with the correct model circuit. A pot date is only the date of that component and can predate assembly or belong to a replacement harness. Use it to support the serial and construction, not override contradictory physical evidence.
Authentication Checklist
Keep four questions separate: is it a Rickenbacker, is the model correctly identified, is the date supported, and which parts or finishes remain original? A positive answer to one does not settle the others.
- Record the identity. Save the complete serial photograph, model claim, measurements and any dated paperwork. Use the serial lookup only for the formats it covers.
- Compare independent details. Check body construction, neck, pickups, tuners and controls against the same model and period. One replaced part may explain a mismatch; several unexplained conflicts need closer inspection.
- Describe condition precisely. Separate wear, refret, replacement nut, repaired breaks, routing, touch-up, overspray and refinishing. See our photo guide to refinishing clues.
- Inspect internally when justified. Have a qualified repairer document hidden routes, wiring and component dates if a disputed claim affects the purchase. Do not force old screws, fragile guards or an unfamiliar neck adjustment.
- Keep uncertainty visible. “Consistent with this period” is different from a proven exact date or a claim that every solder joint is untouched. Photos can guide an appraisal; some findings require an in-person examination.
Photos For An Appraisal
Take unfiltered photographs in even light. Include the full front and back, both headstock faces, the entire serial or other markings, pickups, controls, bridge, neck joint and any damage. Add the measurements or model-specific views described above. Photograph the case, paperwork and removed parts separately.
You do not need to take the instrument apart for an initial review. If a detail cannot be seen, say so. A clear statement of known repairs and unknown history is more useful than an unsupported claim of complete originality.
Have A Rickenbacker To Identify Or Sell?
Send Joe your photos and any known history. We can help identify the instrument, discuss its condition and make an offer if you are ready to sell.
Sources And Further Reading
Factory documents establish period model descriptions. Instrument-specific references help compare construction; their originality claims are not independent certifications.
- Rickenbacker June 1982 Factory Price ListLists the 480, 481 and 483 as distinct configurations.
- Rickenbacker 481 And 480 Circuit ReferencesSeparate diagrams document the 481’s phase-switch circuit and the 480 circuit.
Photo Credits And Scope
Photographs are from Joe’s Vintage Guitars’ instrument archive. Captions identify the actual instrument shown, including related-model and later-production comparisons. Full frames and existing watermarks are retained. A photograph of another model is not evidence of the correct construction for yours.