

A refinish can lower collector value; the separate refinish value guide explains that question. This page is about the evidence, including the places where a neat-looking finish can still be original and an old-looking one can still be later work.
I look for a consistent account of the whole instrument. One shiny patch, one worn edge or one photograph rarely settles it. If you are also unsure about the electronics, pickup changes and their evidence are a separate part of the inspection.
Refinished Guitars From My Shop
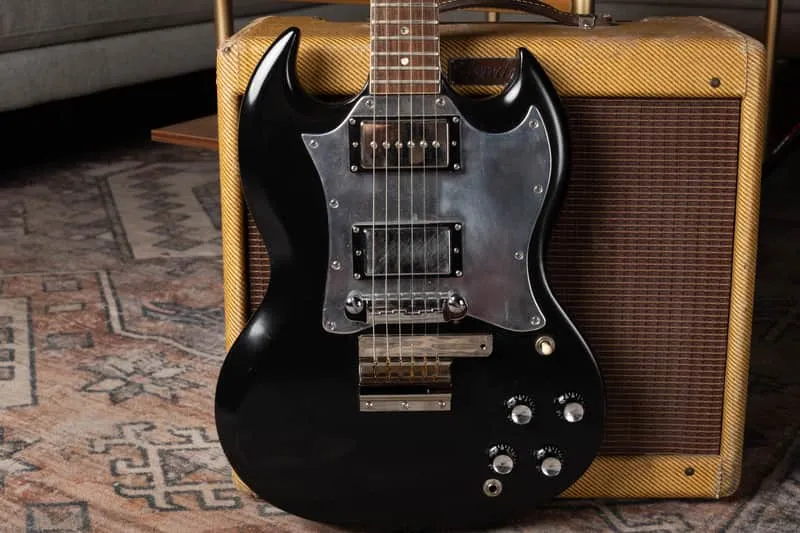
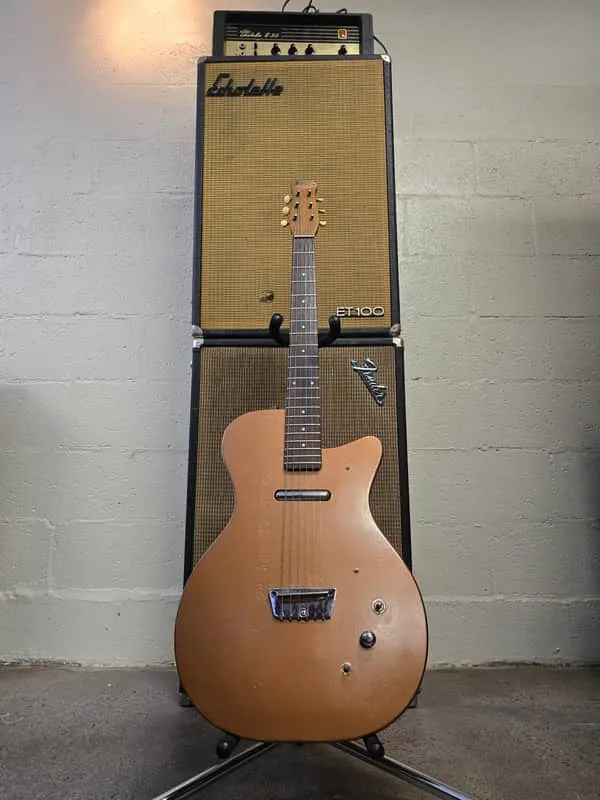
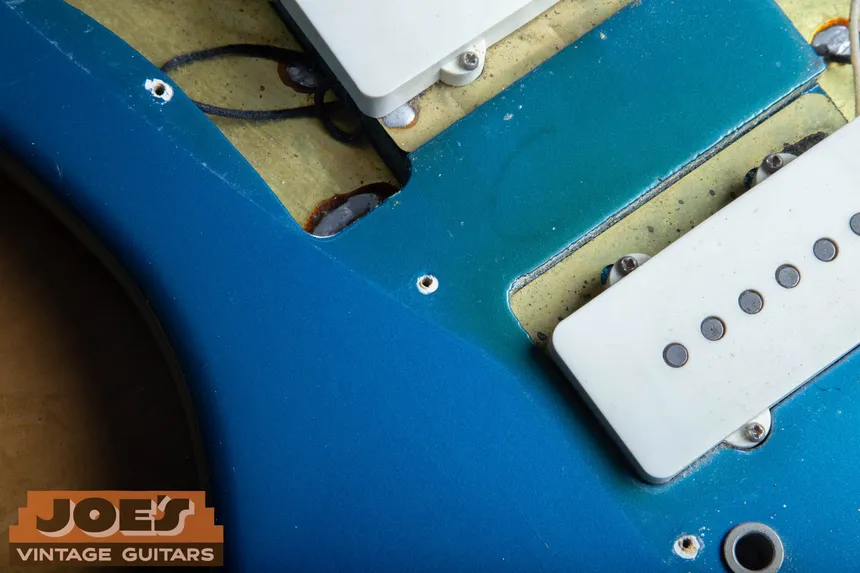
These photographs come from guitars I've handled and listed, along with existing inspection photos from my finish reference. The captions identify documented refinishes and original finishes used for comparison. Start with the whole guitar, then compare the details discussed below.
The Headstock Face And Decal
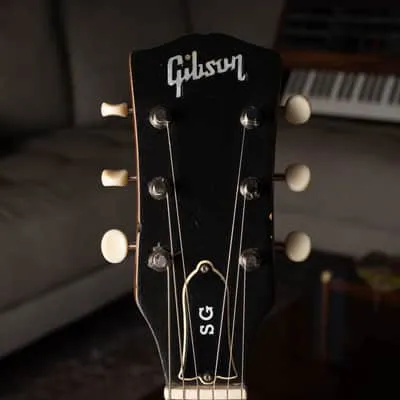
The headstock is the end of the neck carrying the tuners. Its front face can have a different work history from the rest of the guitar. A body refinish doesn't automatically mean the headstock was sprayed, and an original-looking body doesn't rule out work on the neck.
On the vintage Fender headstocks covered by my finish reference, the decal was applied last, over the clear coat. The sequence is maple, sealer, color where used, clear lacquer and then the water-slide decal on top. A decal buried beneath lacquer means the headstock was resprayed.
Old dealer and shop decals also sit on top of the finish. An intact old dealer decal is positive evidence that the headstock surface survived. Keep it attached; peeling it to make the guitar look cleaner removes information and can damage the finish.
Look with light coming across the surface rather than testing an edge with a fingernail. A phone photograph taken from a slight angle may show the relationship between decal and lacquer. Don't scratch, rub or apply anything to make that boundary more obvious.
A logo is only one part of authentication. A replacement logo can be fitted to an old neck, and an old neck can be joined to a different body. My guides to identifying a fake Fender and identifying a fake Gibson address the wider construction questions.

Binding, Edges And Inside The Openings
Binding is the strip around the edge of some bodies and necks. Finish work can leave a boundary where the surface meets it. Look for changes in texture or coverage, but compare them with the way that particular instrument was built.
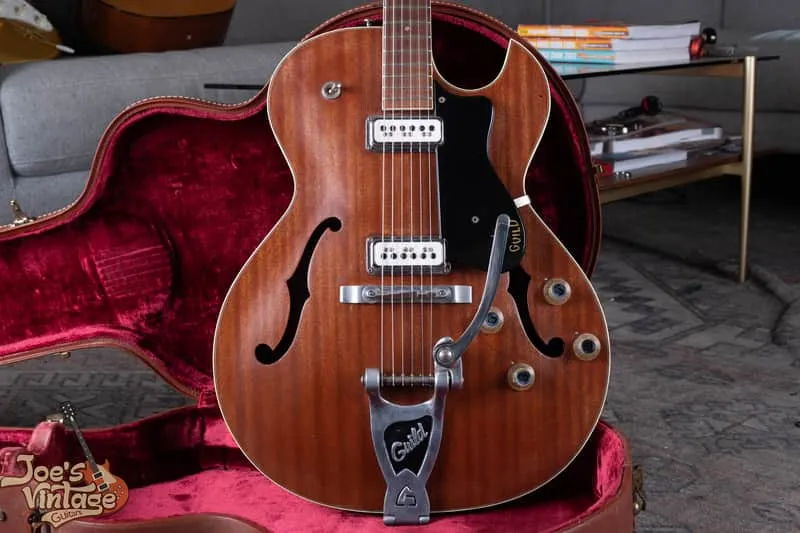
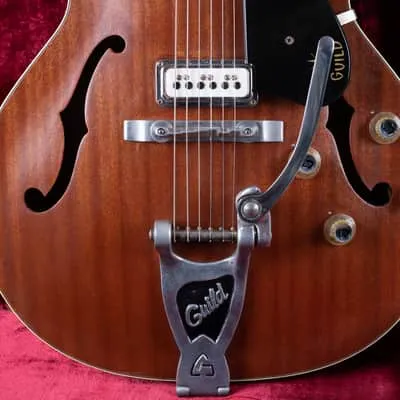
On hollow guitars, the edges of the f-holes can provide a view of the finish boundary. On a flat-top acoustic, the soundhole can offer a similar view. Paint or clear coating extending into an unexpected area may be worth photographing for a specialist.
Overspray means a later coat placed over an existing finish. It can affect a local area or a much larger surface. A visible edge or different sheen can prompt closer examination, but neither tells you the extent of the job by itself.
Don't put a tool through an opening or scrape a boundary to reveal layers. Photograph from outside with the guitar supported. If the view isn't clear, say so; an uncertain photograph is better than a damaged edge.
Labels and interior stamps deserve the same restraint. Keep them dry and untouched. They may help identify the instrument, but their presence doesn't authenticate every surface around them.
Finish Checking And Wear That Doesn't Match
Checking is the fine cracking that can develop in a finish. It is evidence to consider with the rest of the guitar, not an originality test by itself. A later finish can age and check, while some factory finishes remain comparatively smooth.
Fender's finish chemistry didn't divide neatly between solid and metallic colors. Olympic White is a solid acrylic color, while Sherwood Green Metallic is nitrocellulose. Acrylic resists checking and doesn't yellow by itself, so a bright, unchecked surface can still be original.
Fender also sometimes omitted the clear coat. An original Olympic White instrument without an ambering clear layer can stay much whiter than someone expects. No checking or no yellowing alone proves nothing about whether it was repainted.
Compare the wear across the instrument instead. A newly coated area beside older wear may need explanation, but different exposure and use can also age surfaces differently. I want several details to agree before calling the finish changed.
Photograph the transition between areas, not only the most dramatic chip. A wider view shows where the mark sits on the instrument. That context helps distinguish an isolated repair from work affecting a whole surface.

Hardware Footprints And Screw Holes
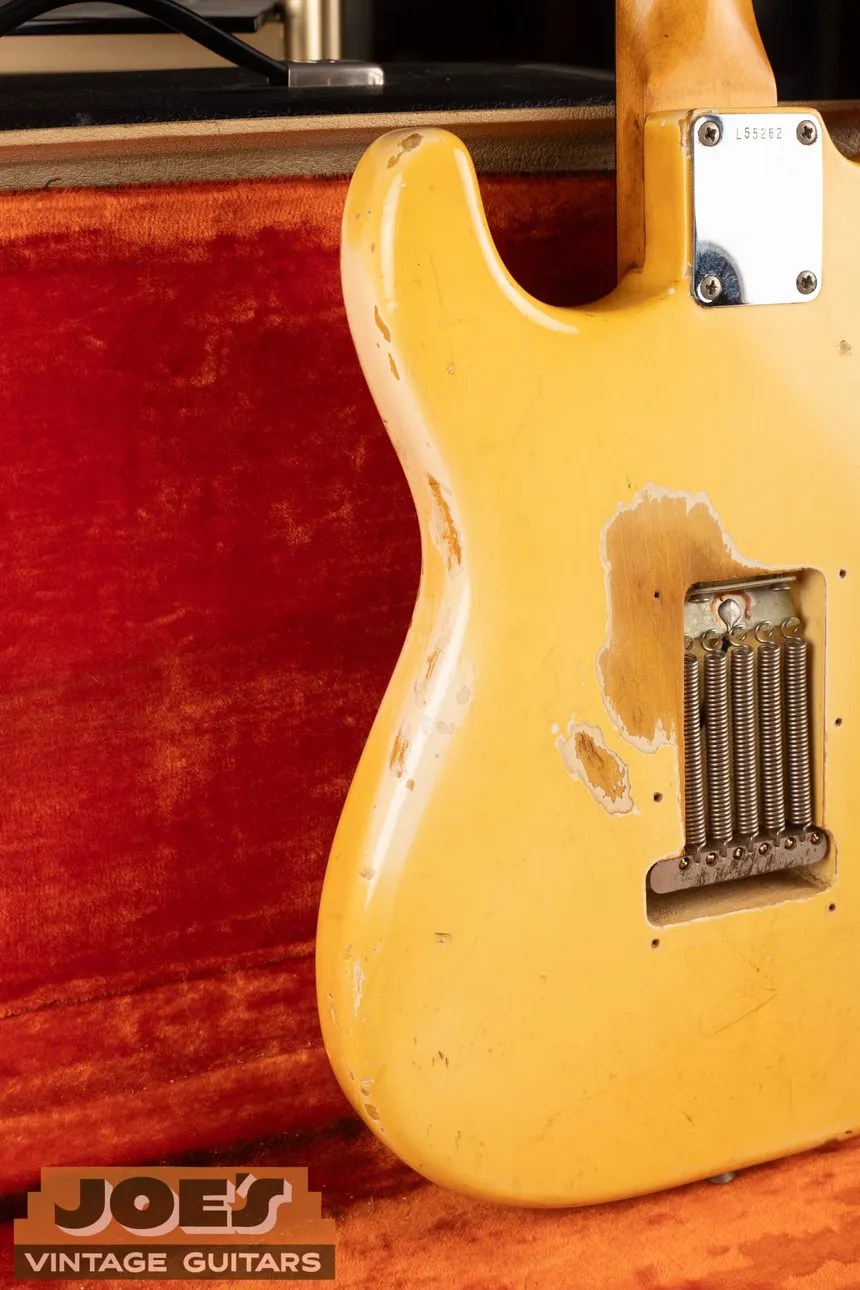
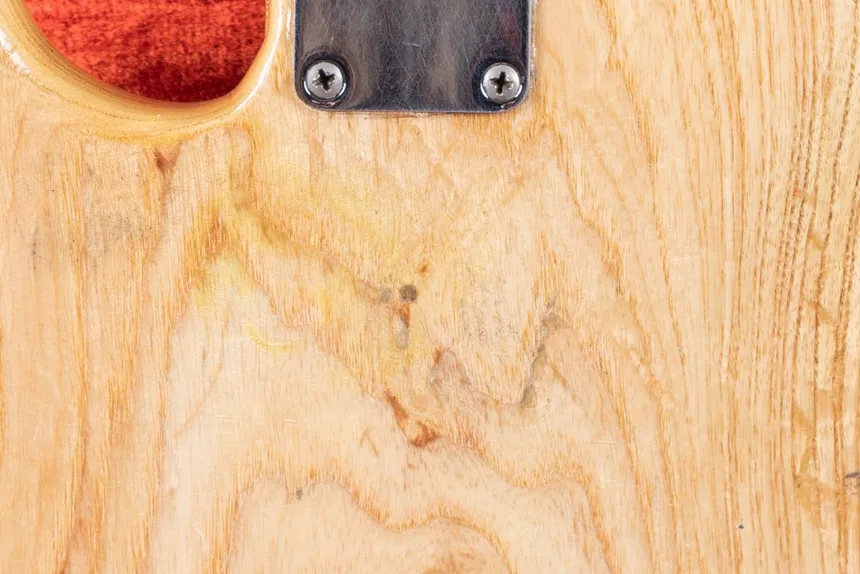
Hardware can leave a footprint where it met the finish. A later coat may build against an edge, cover an earlier outline or show an unusual texture around a plate. Those details need to be interpreted with the part and its mounting history.
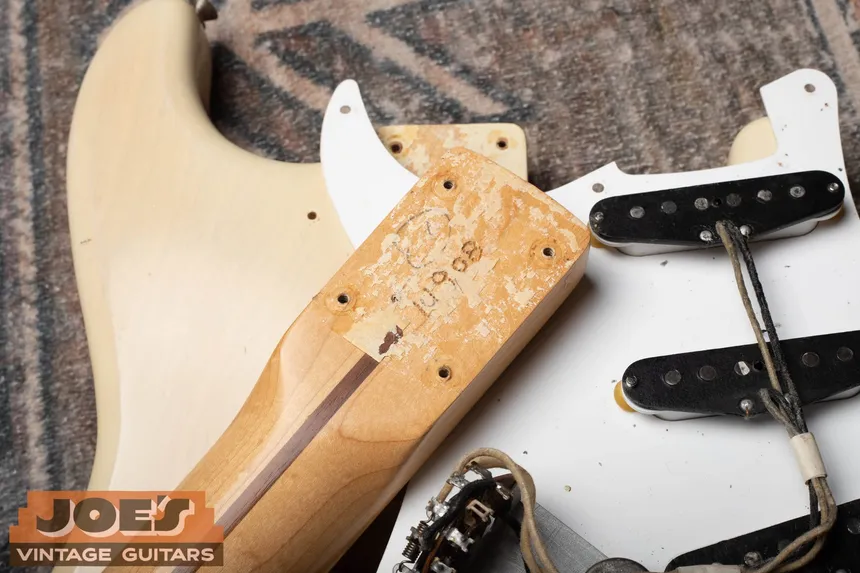
The photographed Stratocaster below is already identified as refinished in my Fender custom-color guide. The finish around the neck plate is the subject of that existing inspection. It isn't a claim that every mark around a neck plate means a refinish.
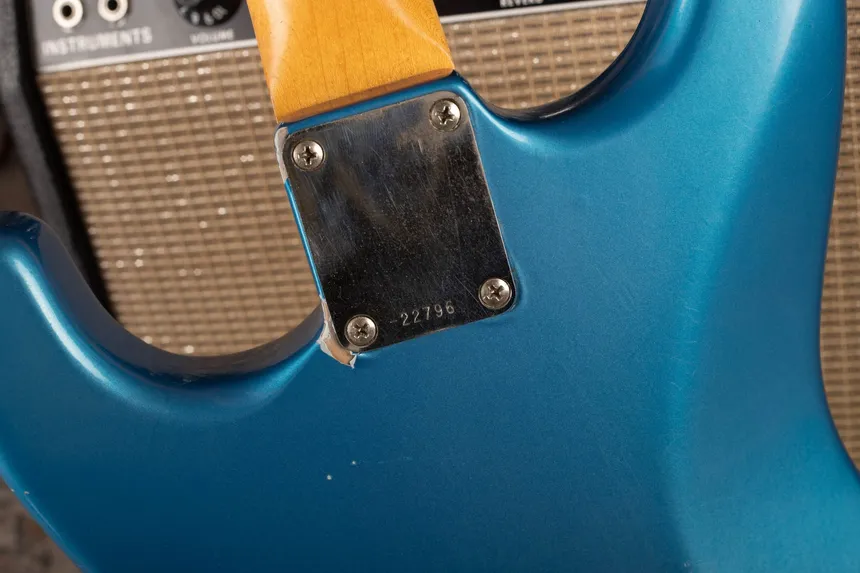
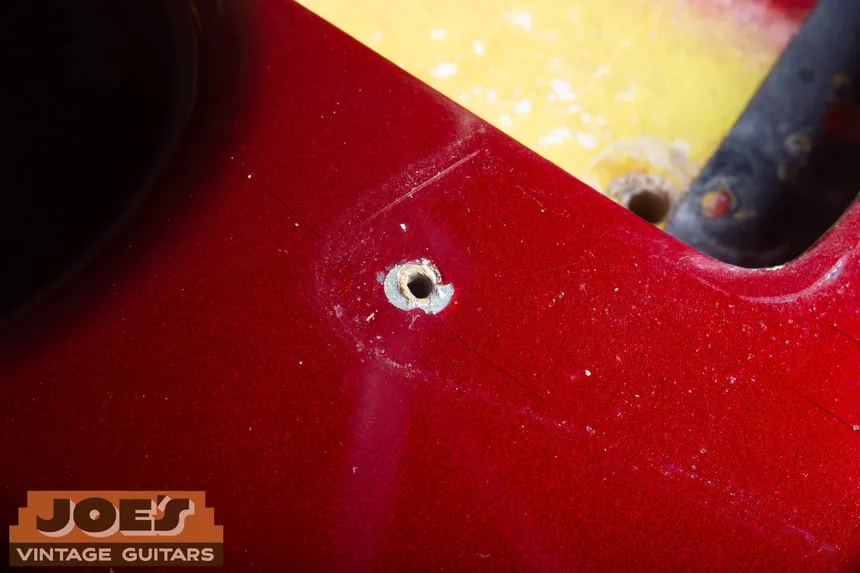
Screw holes can show edges of the finish layers, but don't remove a screw to create a fresh view. A visible chip should be photographed as it is. Picking away more finish turns an observation into damage.
Changed hardware can also leave marks on an original finish. A tuner footprint or an extra hole may show a parts swap without showing a repaint. Keep those questions separate until the evidence connects them.
Under A Blacklight
Ultraviolet light can make different finish areas respond differently. That can help a specialist see local touch-up or later material that is difficult to separate in ordinary light. It is supporting evidence, not a pass-or-fail test that authenticates a whole guitar.
The response depends on the finish materials and what happened to them over time. An old repaint can be old enough to look persuasive, and different original materials don't all react alike. A bright or dark patch needs an explanation tied to the actual instrument.
I don't ask sellers to buy a blacklight before sending photographs. Clear daylight pictures and an accurate work history are a useful beginning. A bench inspection can add controlled lighting when it would help answer a specific question.
A blacklight photograph without ordinary-light views can be difficult to interpret. Keep both views if a repairer has already supplied them, and identify which area was being examined. Don't apply cleaner or polish in an attempt to change the result.
Fender Details Need Their Period Context
Some familiar Fender clues are often described incorrectly. Fullerplast is colorless; the yellow seen in pockets and cavities comes from the aniline dye stain applied before the sealer. The earlier Homoclad sealer is part of a different period, so yellow alone doesn't identify a particular sealer or prove a repaint.
The paint stick and finishing nails overlapped during the transition in Fender's finishing process. Finding evidence of a stick doesn't mean nail holes should be absent. Those marks have to be read against the guitar's period rather than treated as mutually exclusive methods.
Pickguard material and color also need the right context. Nitrate mint guards preceded white vinyl guards, and factory tortoise pairing with custom colors was limited to Olympic White. A different pairing calls for closer inspection of the parts and finish.
The Fender custom-color authentication reference is the detailed guide to those process marks, materials and ultraviolet checks. I keep that model-specific inspection there rather than turning a cross-brand page into a substitute Fender checklist.
Gibson And Acoustic Guitars
On a Gibson, I consider the finish alongside the construction, binding, hardware and repair history. A neat headstock surface may have been refinished as part of a repair. That is a reason to examine the work, not to infer a break from a shiny photograph alone.
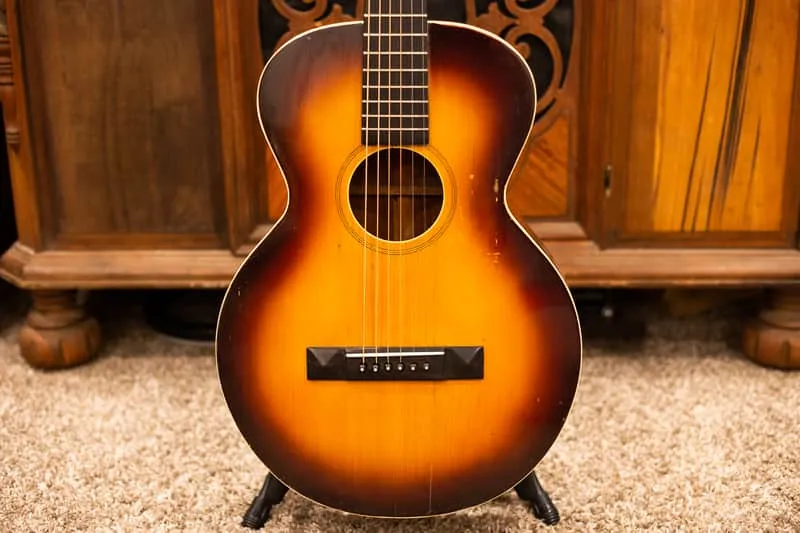
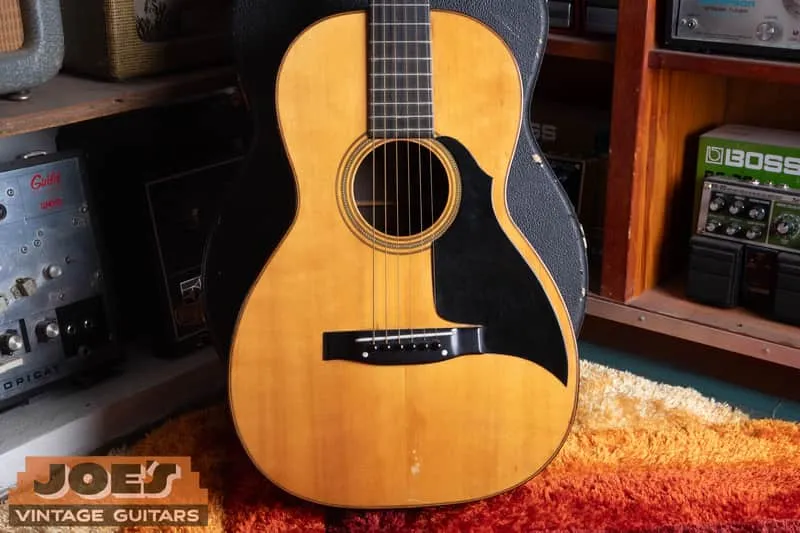
For acoustics, establish whether a later coat covers the top, the body or only a repaired area. Work around the bridge can have its own history. A replaced bridge and a refinished top are separate claims that each need evidence.
Brand identification comes first. If the instrument's identity is uncertain, the Martin authentication guide provides another brand-specific reference. The finish can't be judged against factory practice until you know which factory and instrument you're comparing.
Repair paperwork can be especially useful when the guitar has stayed in a family for years. A short invoice may establish that the top was oversprayed or a neck repaired, even when nobody remembers the shop visit. Keep the original wording rather than expanding it into a more complete history than it supplies.
A Factory Refinish Is Still Later Work
Fender's repair department refinished instruments using factory materials and methods, so a later factory finish can carry convincing production details. Repair-department marks and a finish sequence that belongs to the service period help explain it. A documented factory refinish is a distinct case, and it should be described as later factory work rather than the guitar's first finish.
What To Do With The Evidence
Photograph visible areas in ordinary light, keep existing repair images and leave the guitar assembled. Tell me which parts of its history you know firsthand and which were passed along. There is no need to make a final originality claim before asking for an assessment.
My repair and bench background explains why I look beyond surface appearance. The guide to what a serial number cannot establish covers the limits of relying on a stamped number, and the guide to changes and collector value gives the wider context once the work is identified.
Questions About Spotting A Refinish
Does A Shiny Old Guitar Have To Be Refinished?
No. Some original finishes remain bright and smooth. Shine, checking or yellowing alone cannot establish originality; the materials, wear and construction need to agree.
Can A Blacklight Prove A Finish Is Original?
No. Ultraviolet response is supporting evidence. Different materials and aging can produce different responses, and an old repaint can still look convincing.
Should I Remove The Neck Or Pickguard To Check?
No. Send photographs of what is already visible and keep any existing inspection photographs. Leave disassembly to a specialist who can decide what needs to be examined.
Is A Fender Decal Buried Under Lacquer A Warning?
Yes. On the vintage Fender headstocks discussed here, the water-slide decal was applied last, over the clear coat. A decal buried beneath lacquer means the headstock was resprayed.
Can Fender Factory Work Be A Refinish?
Yes. Fender operated a repair and refinish service. Later factory work can resemble production finish closely, so repair-department evidence and the instrument's history need to be considered.
If you're unsure what the photographs show, I can start with a free photo assessment of your guitar. You don't need to diagnose the finish first.