

Basses · Original Hollowbody Basses And Later Recreations
Rickenbacker Vintage 4005 BassesAuthentication Guide
The original 4005 combines a hollow body with a bass neck and a very different shape from the 4001. Its originality and condition need close inspection around the neck joint, bridge, binding and thin body edges. Later 4005-named instruments should be identified separately before choosing a value comparison.
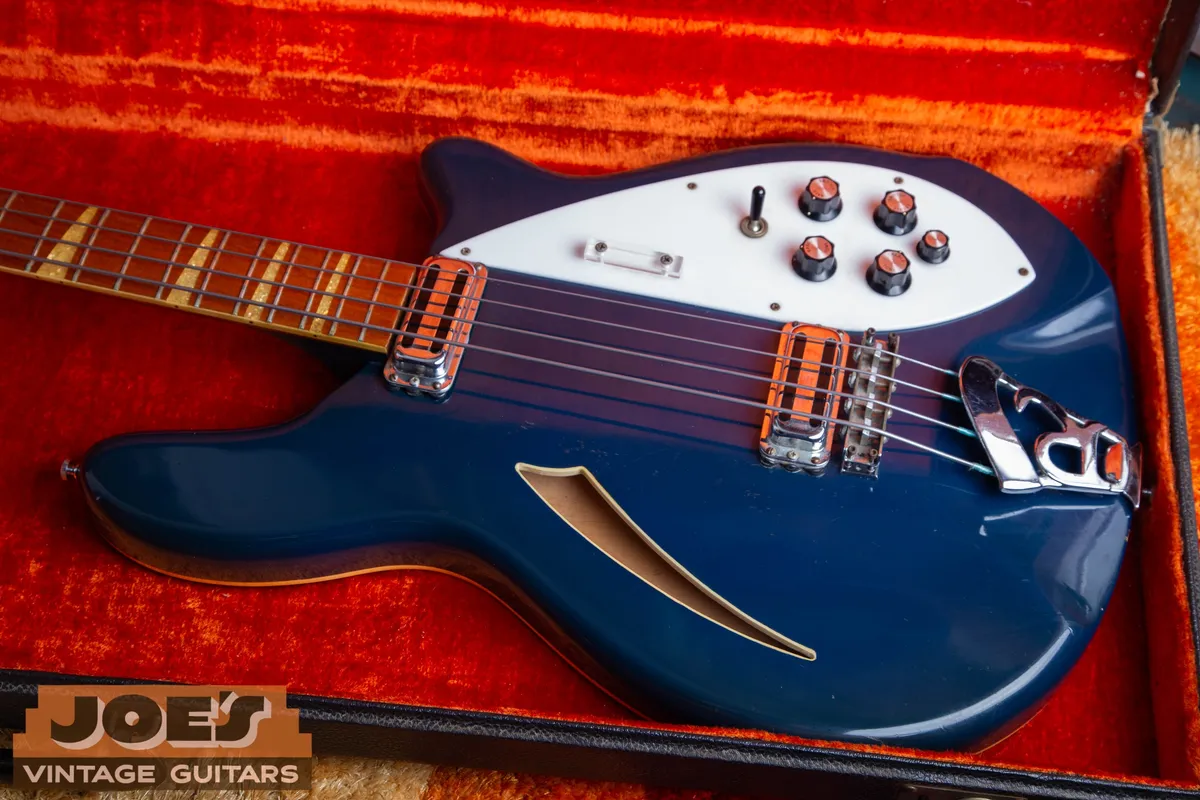
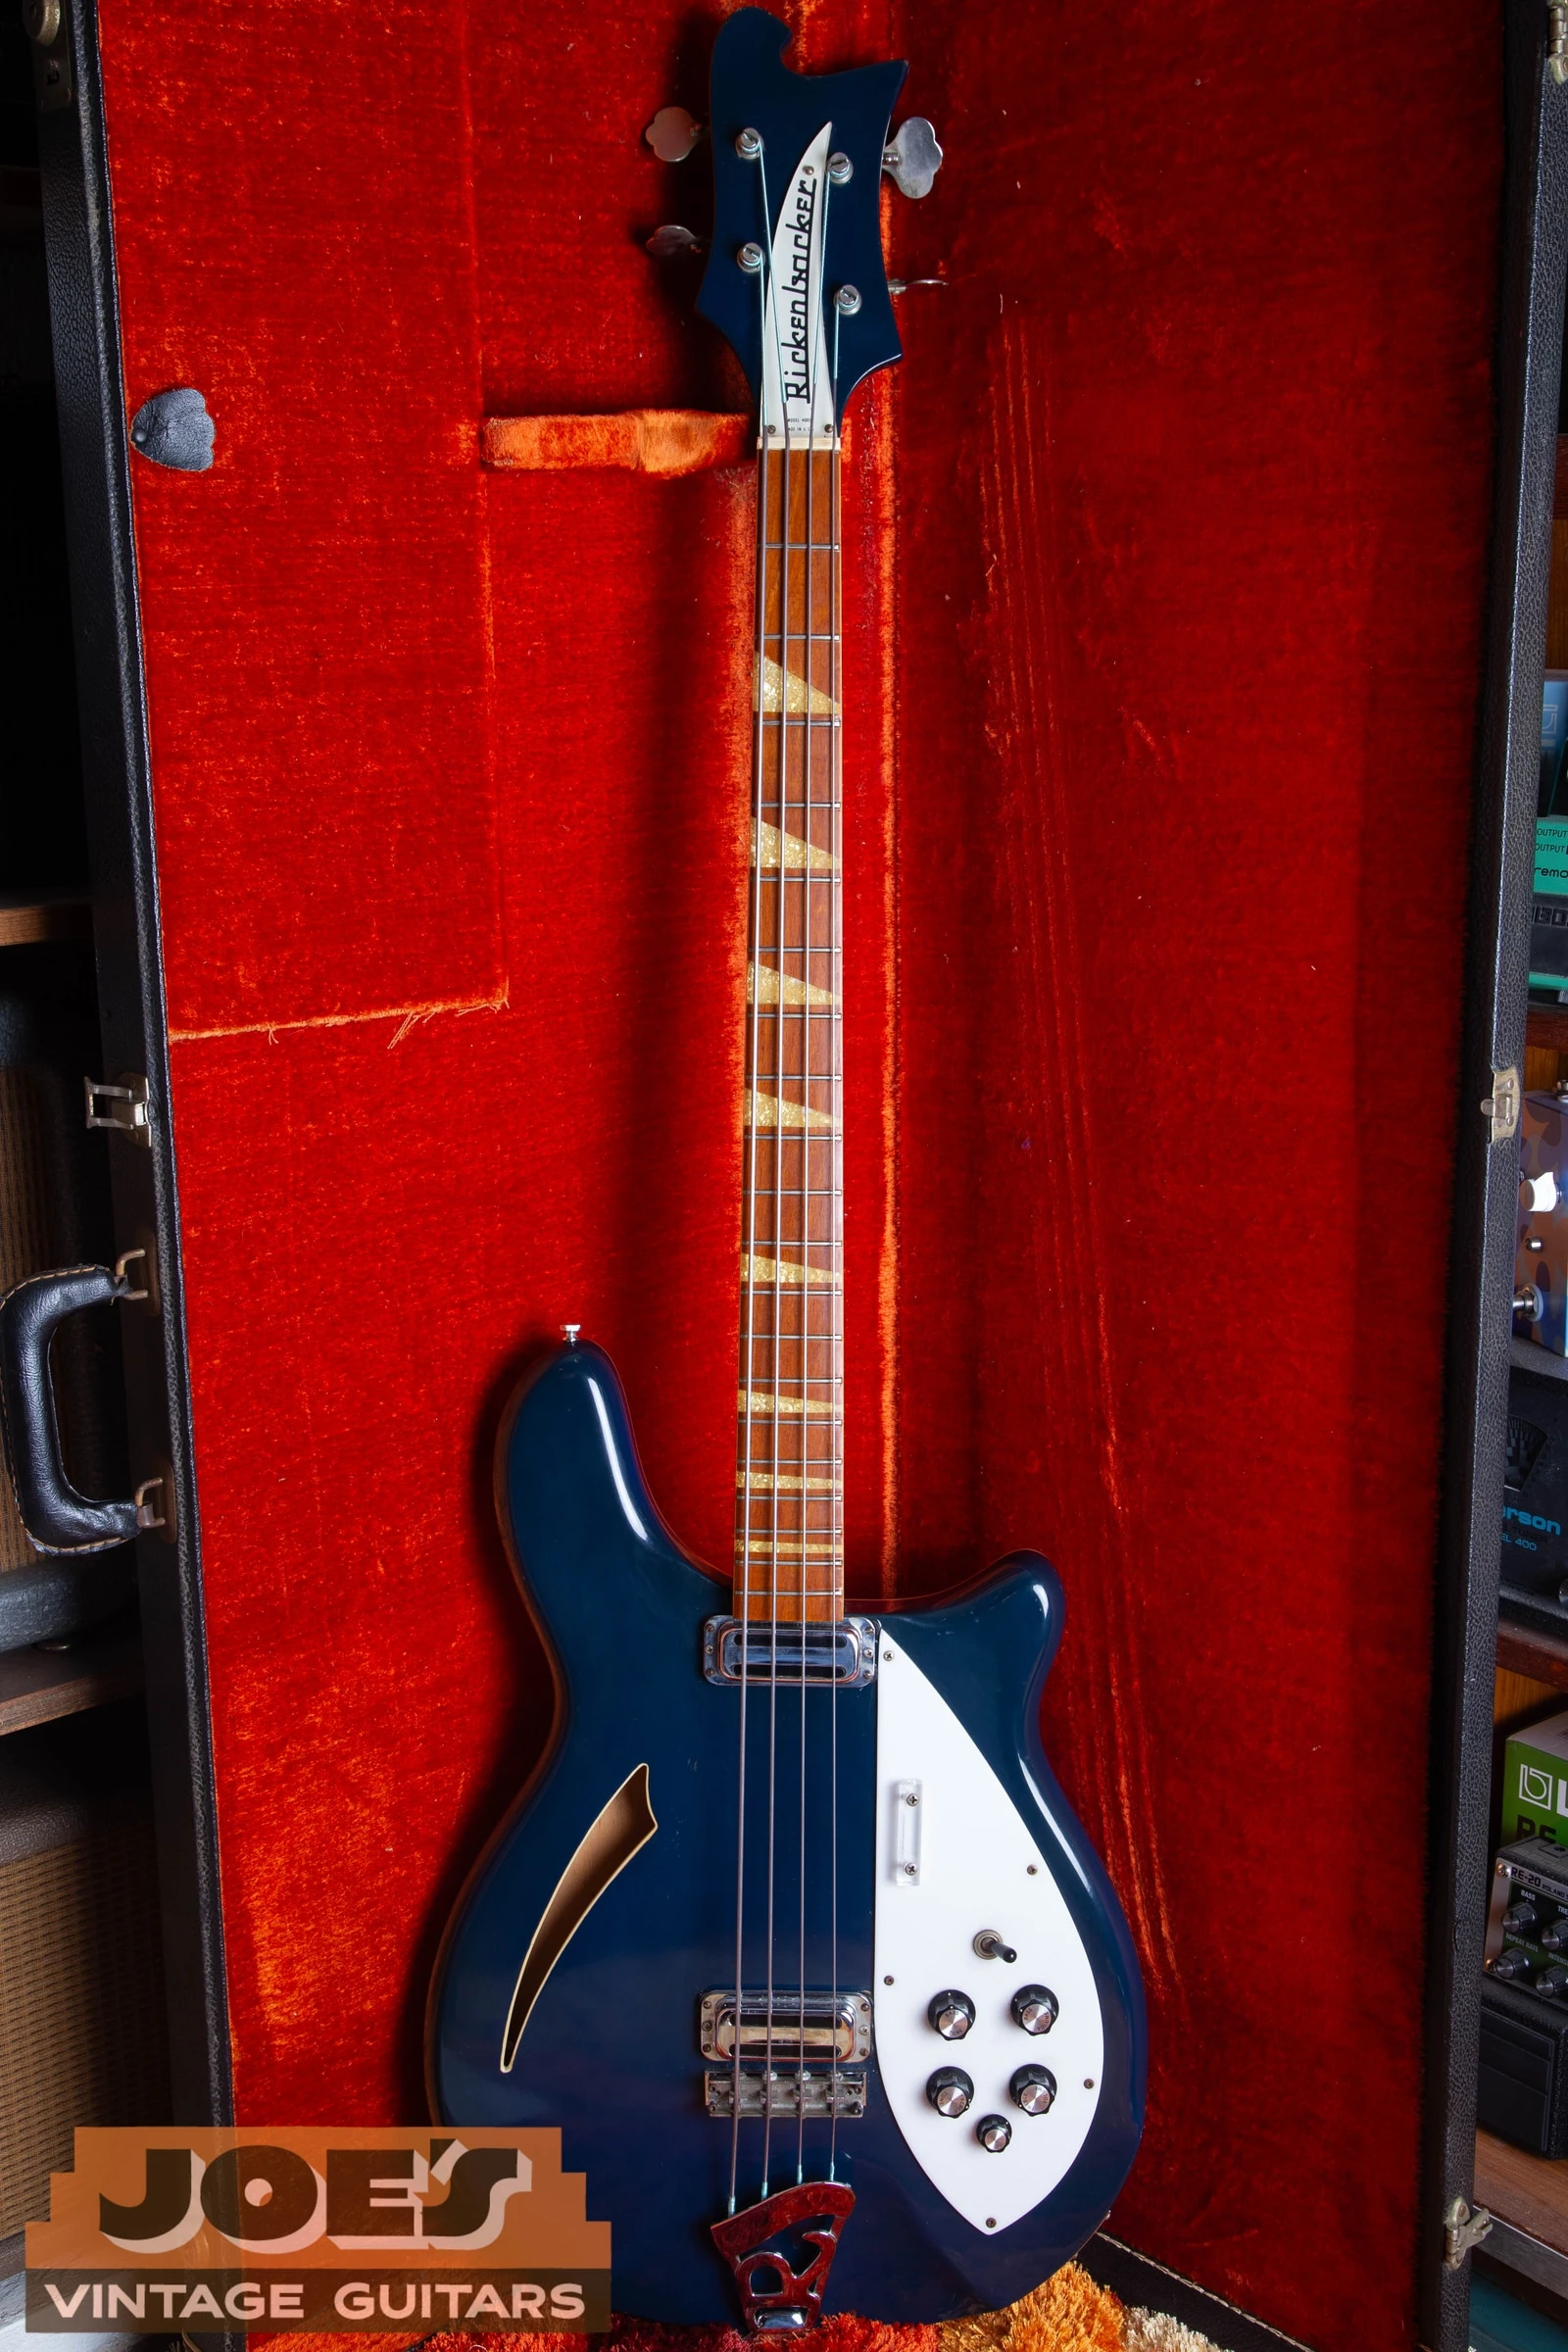
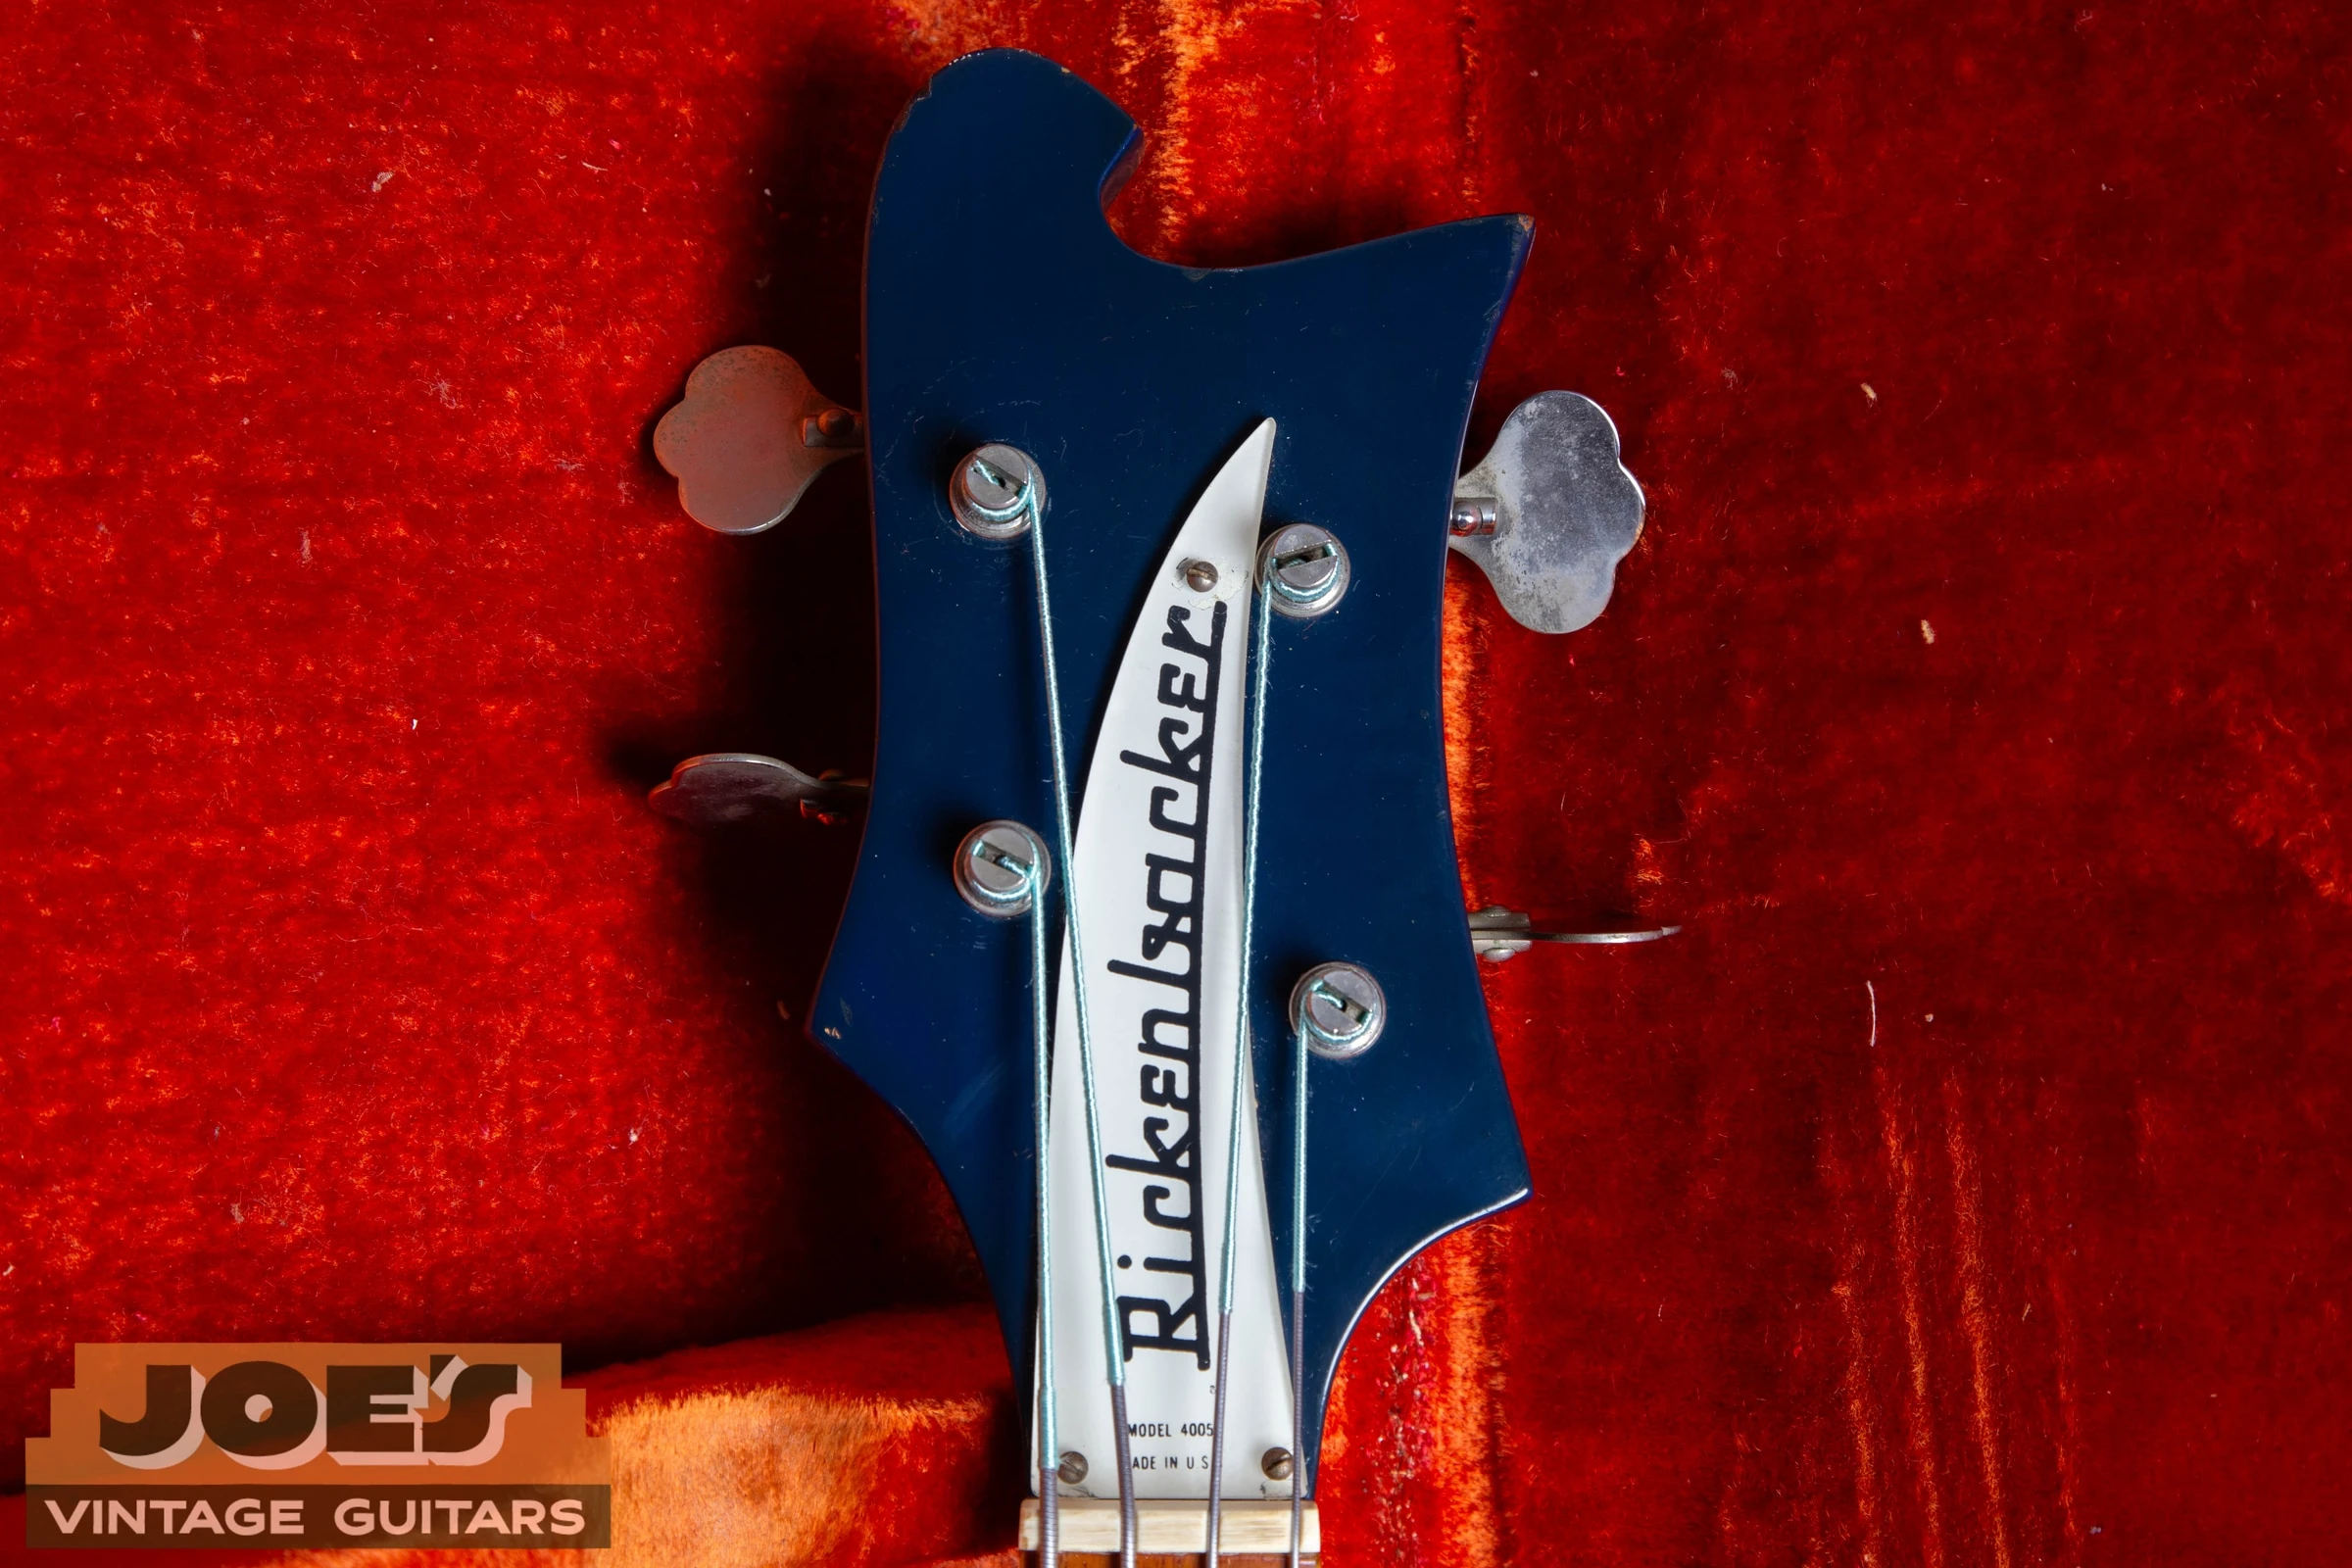
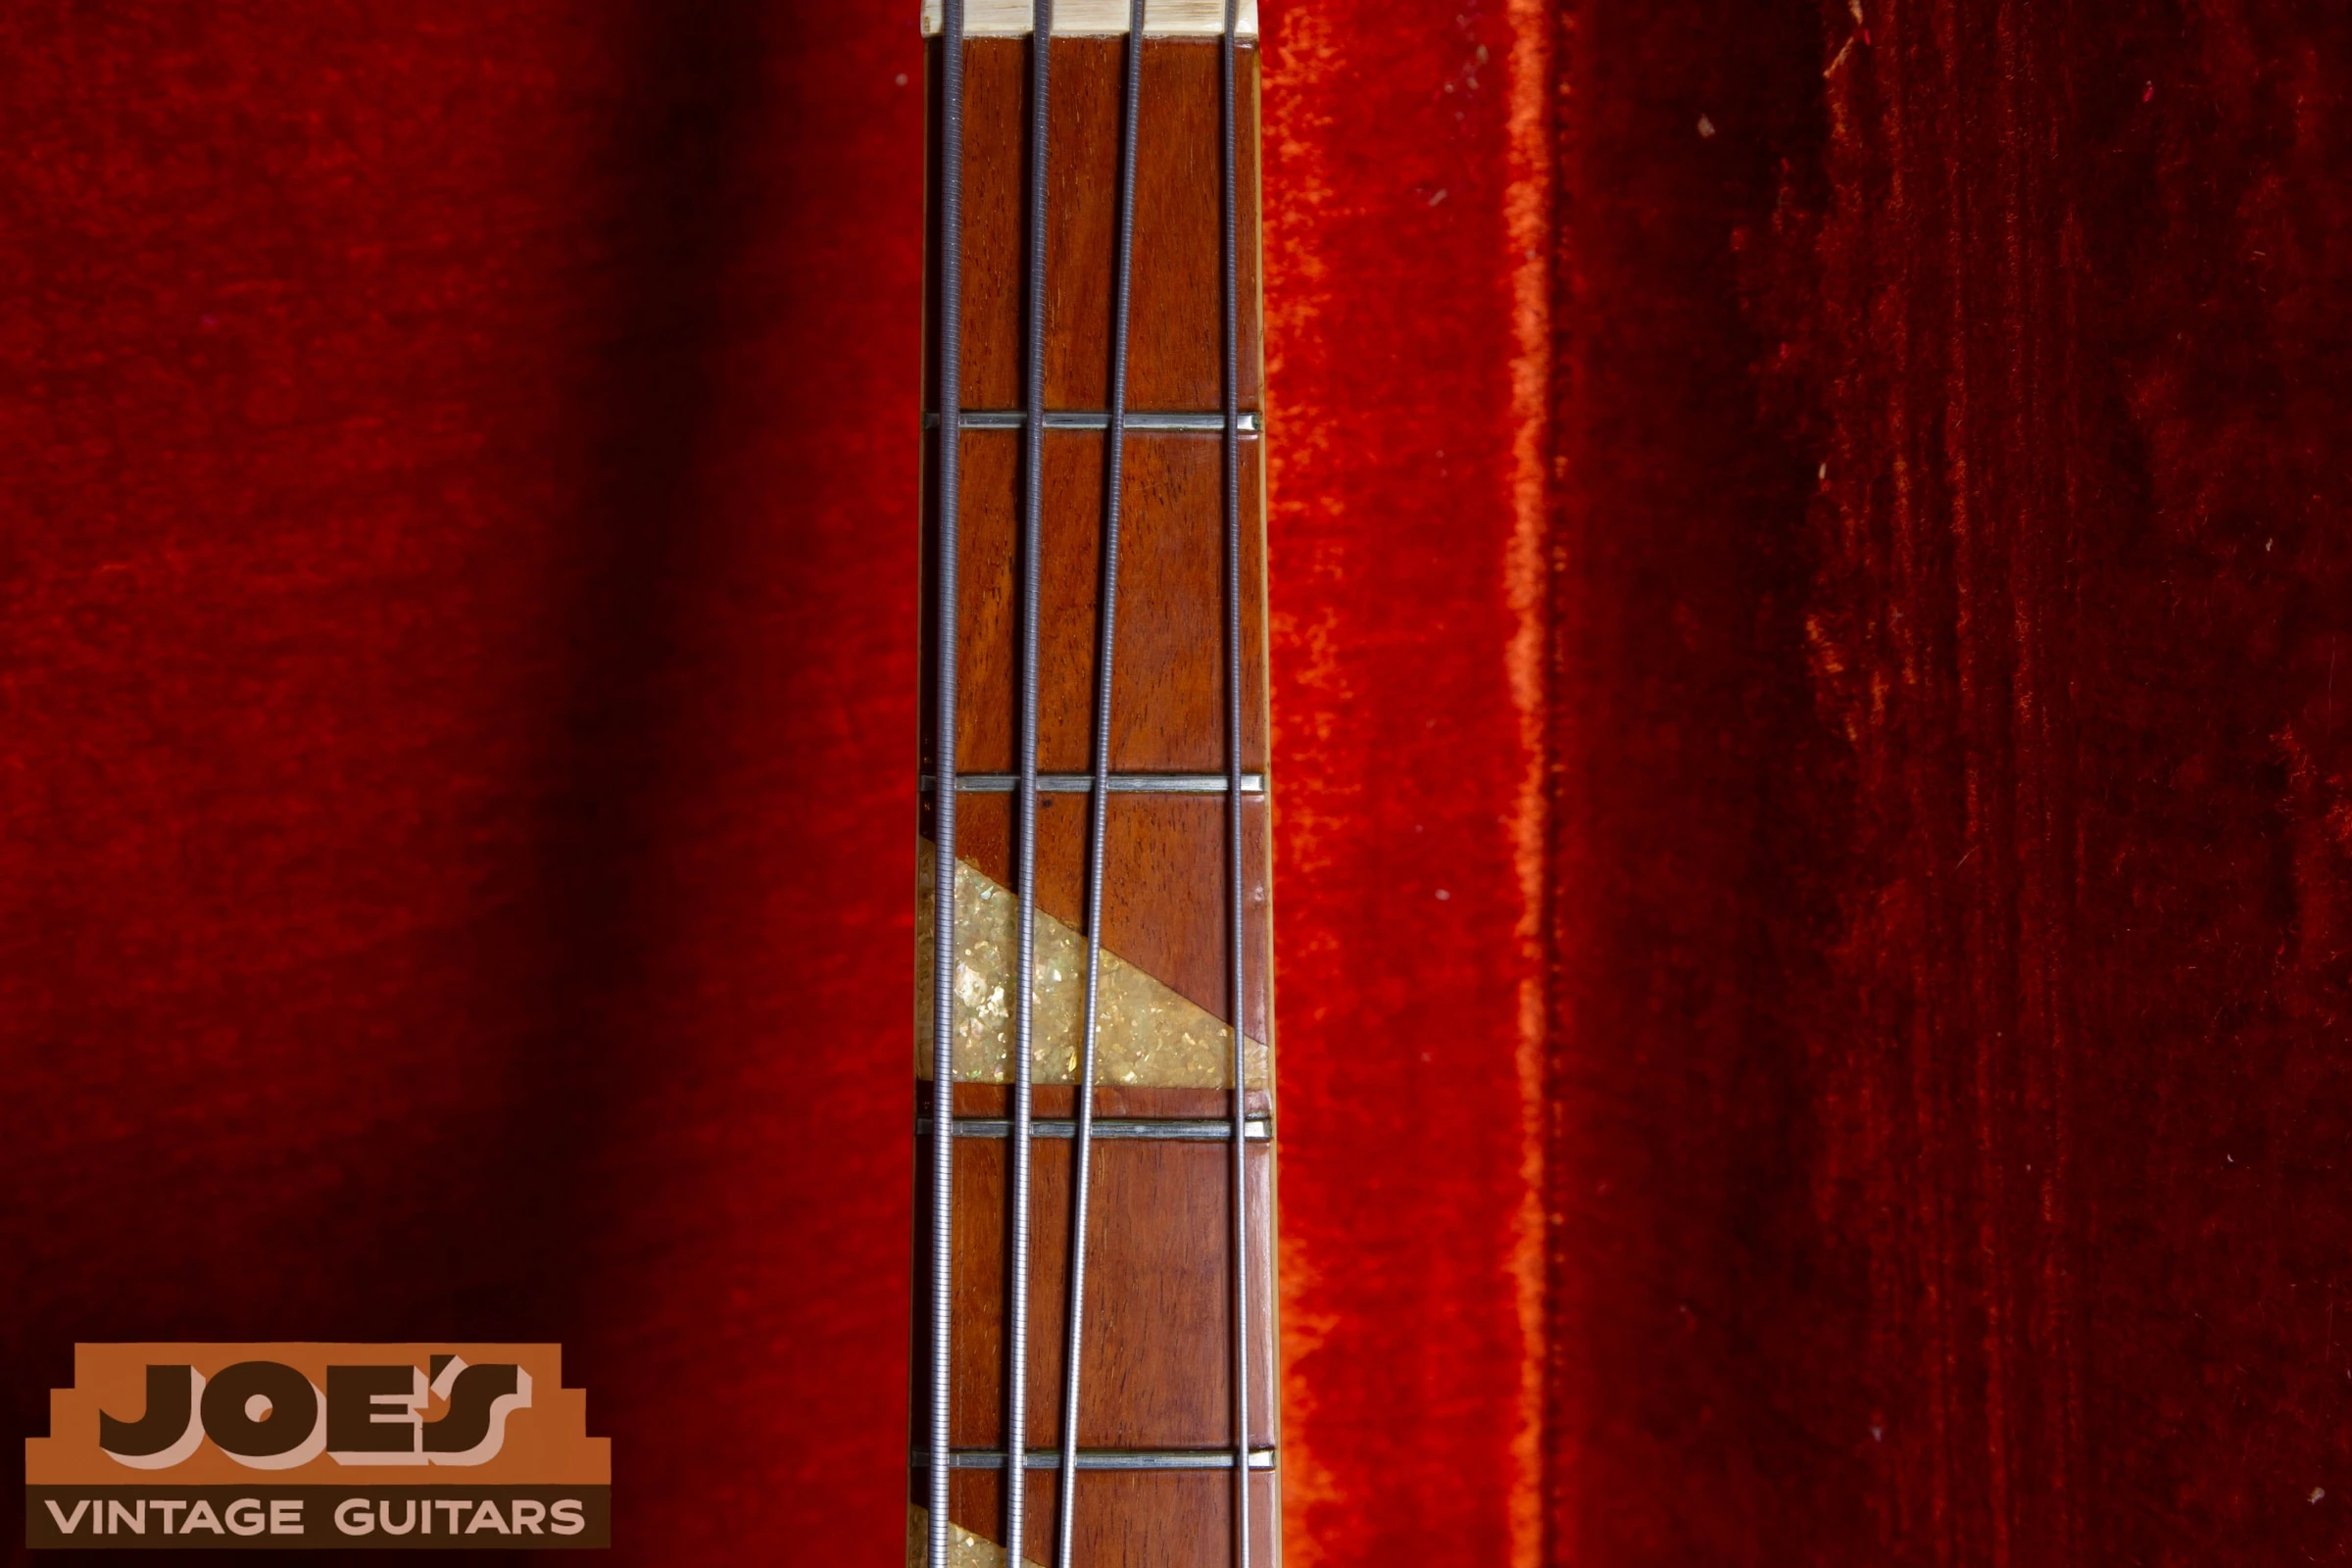
About These PhotosThe photos show the 1968 Azureglo 4005 from Joe’s archive. They document this instrument; other years, WB versions and modern recreations differ. Click a detail photograph to enlarge it.
Identify Before You Compare
Models And Variants
- 4005
- Original hollowbody bass family; inspect the period’s pickups and appointments.
- 4005 WB
- Double-bound body variant; confirm the actual body construction.
- 4005/6
- Six-string bass version, not a standard six-string guitar.
- 4005XC / 4005V
- Later models with their own specifications and manufacturing dates.
Confirm The Hollowbody Model And Version
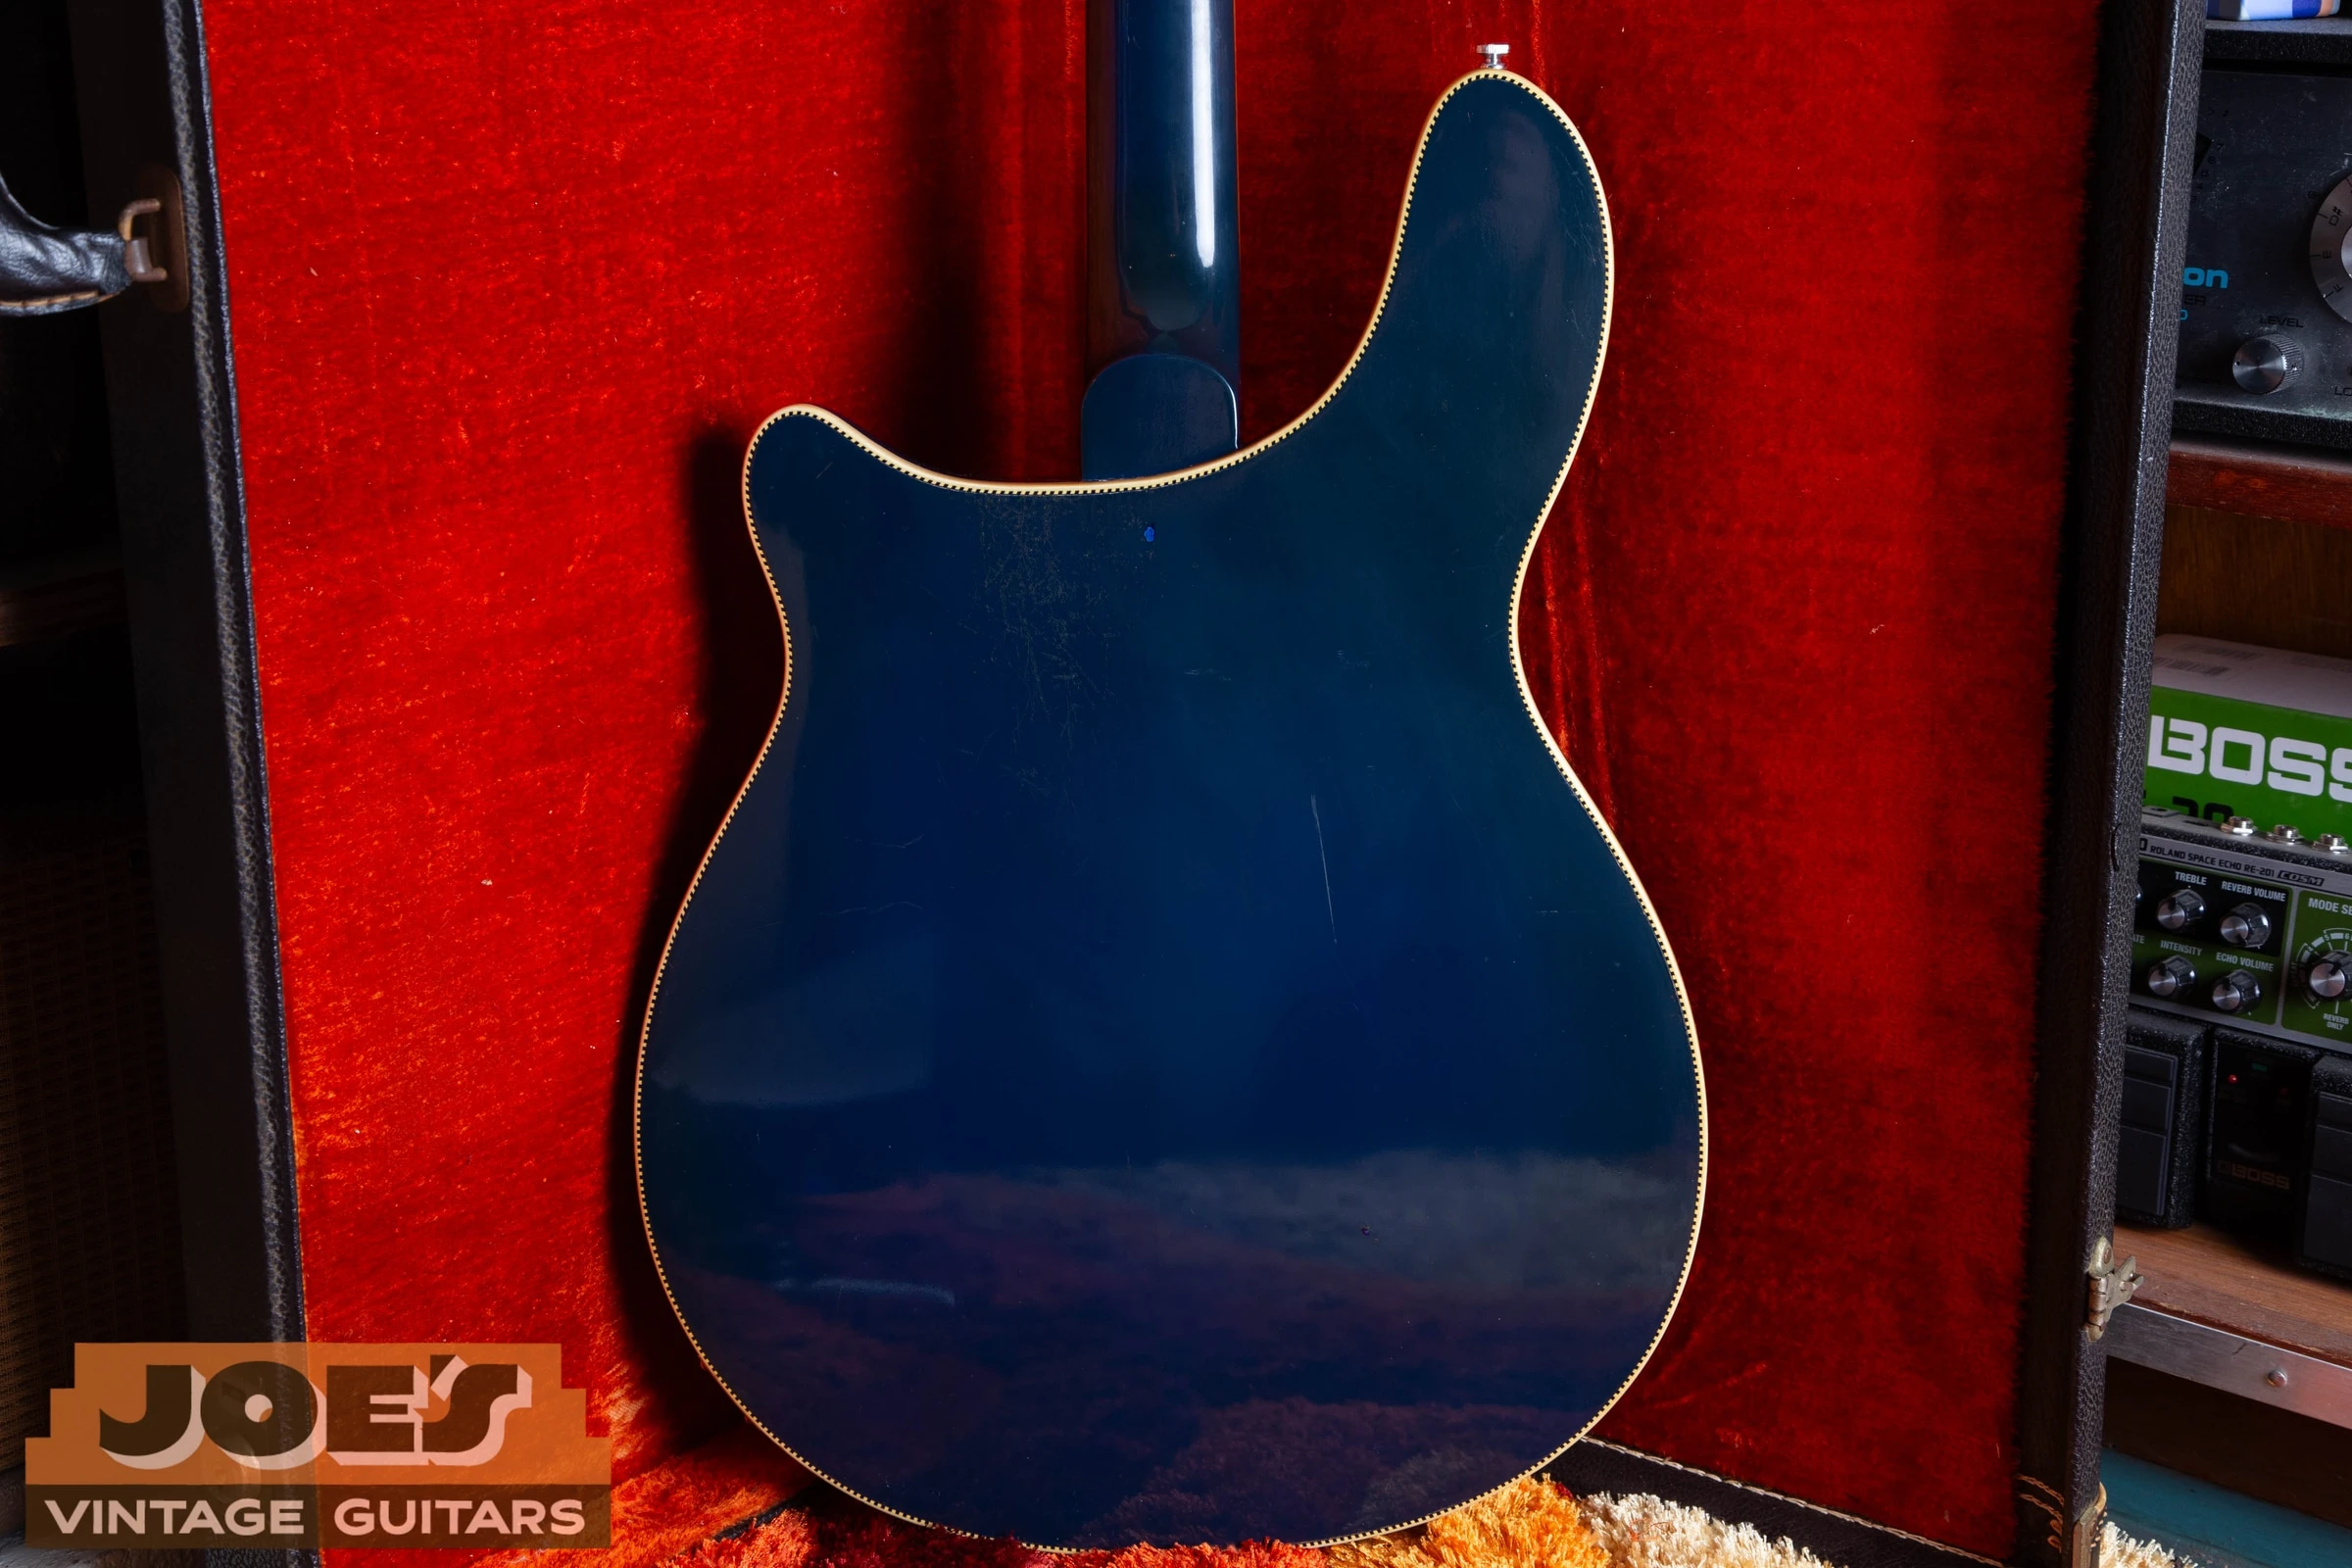
Photograph the body outline, front and back edges, soundhole, depth and neck joint. Our blue 1968 example has a rounded front and decorative rear binding. A WB claim requires a body comparison that shows its different edge treatment, not merely a close-up of one strip of binding.
Count strings and tuning machines and measure the scale. A 4005/6 is not just a conventional guitar with the wrong strings. Later 4005XC and 4005V models also need their actual manufacturing date and specification; a familiar model number does not establish original-era construction.
Inspect The Neck Joint And Bridge Relationship
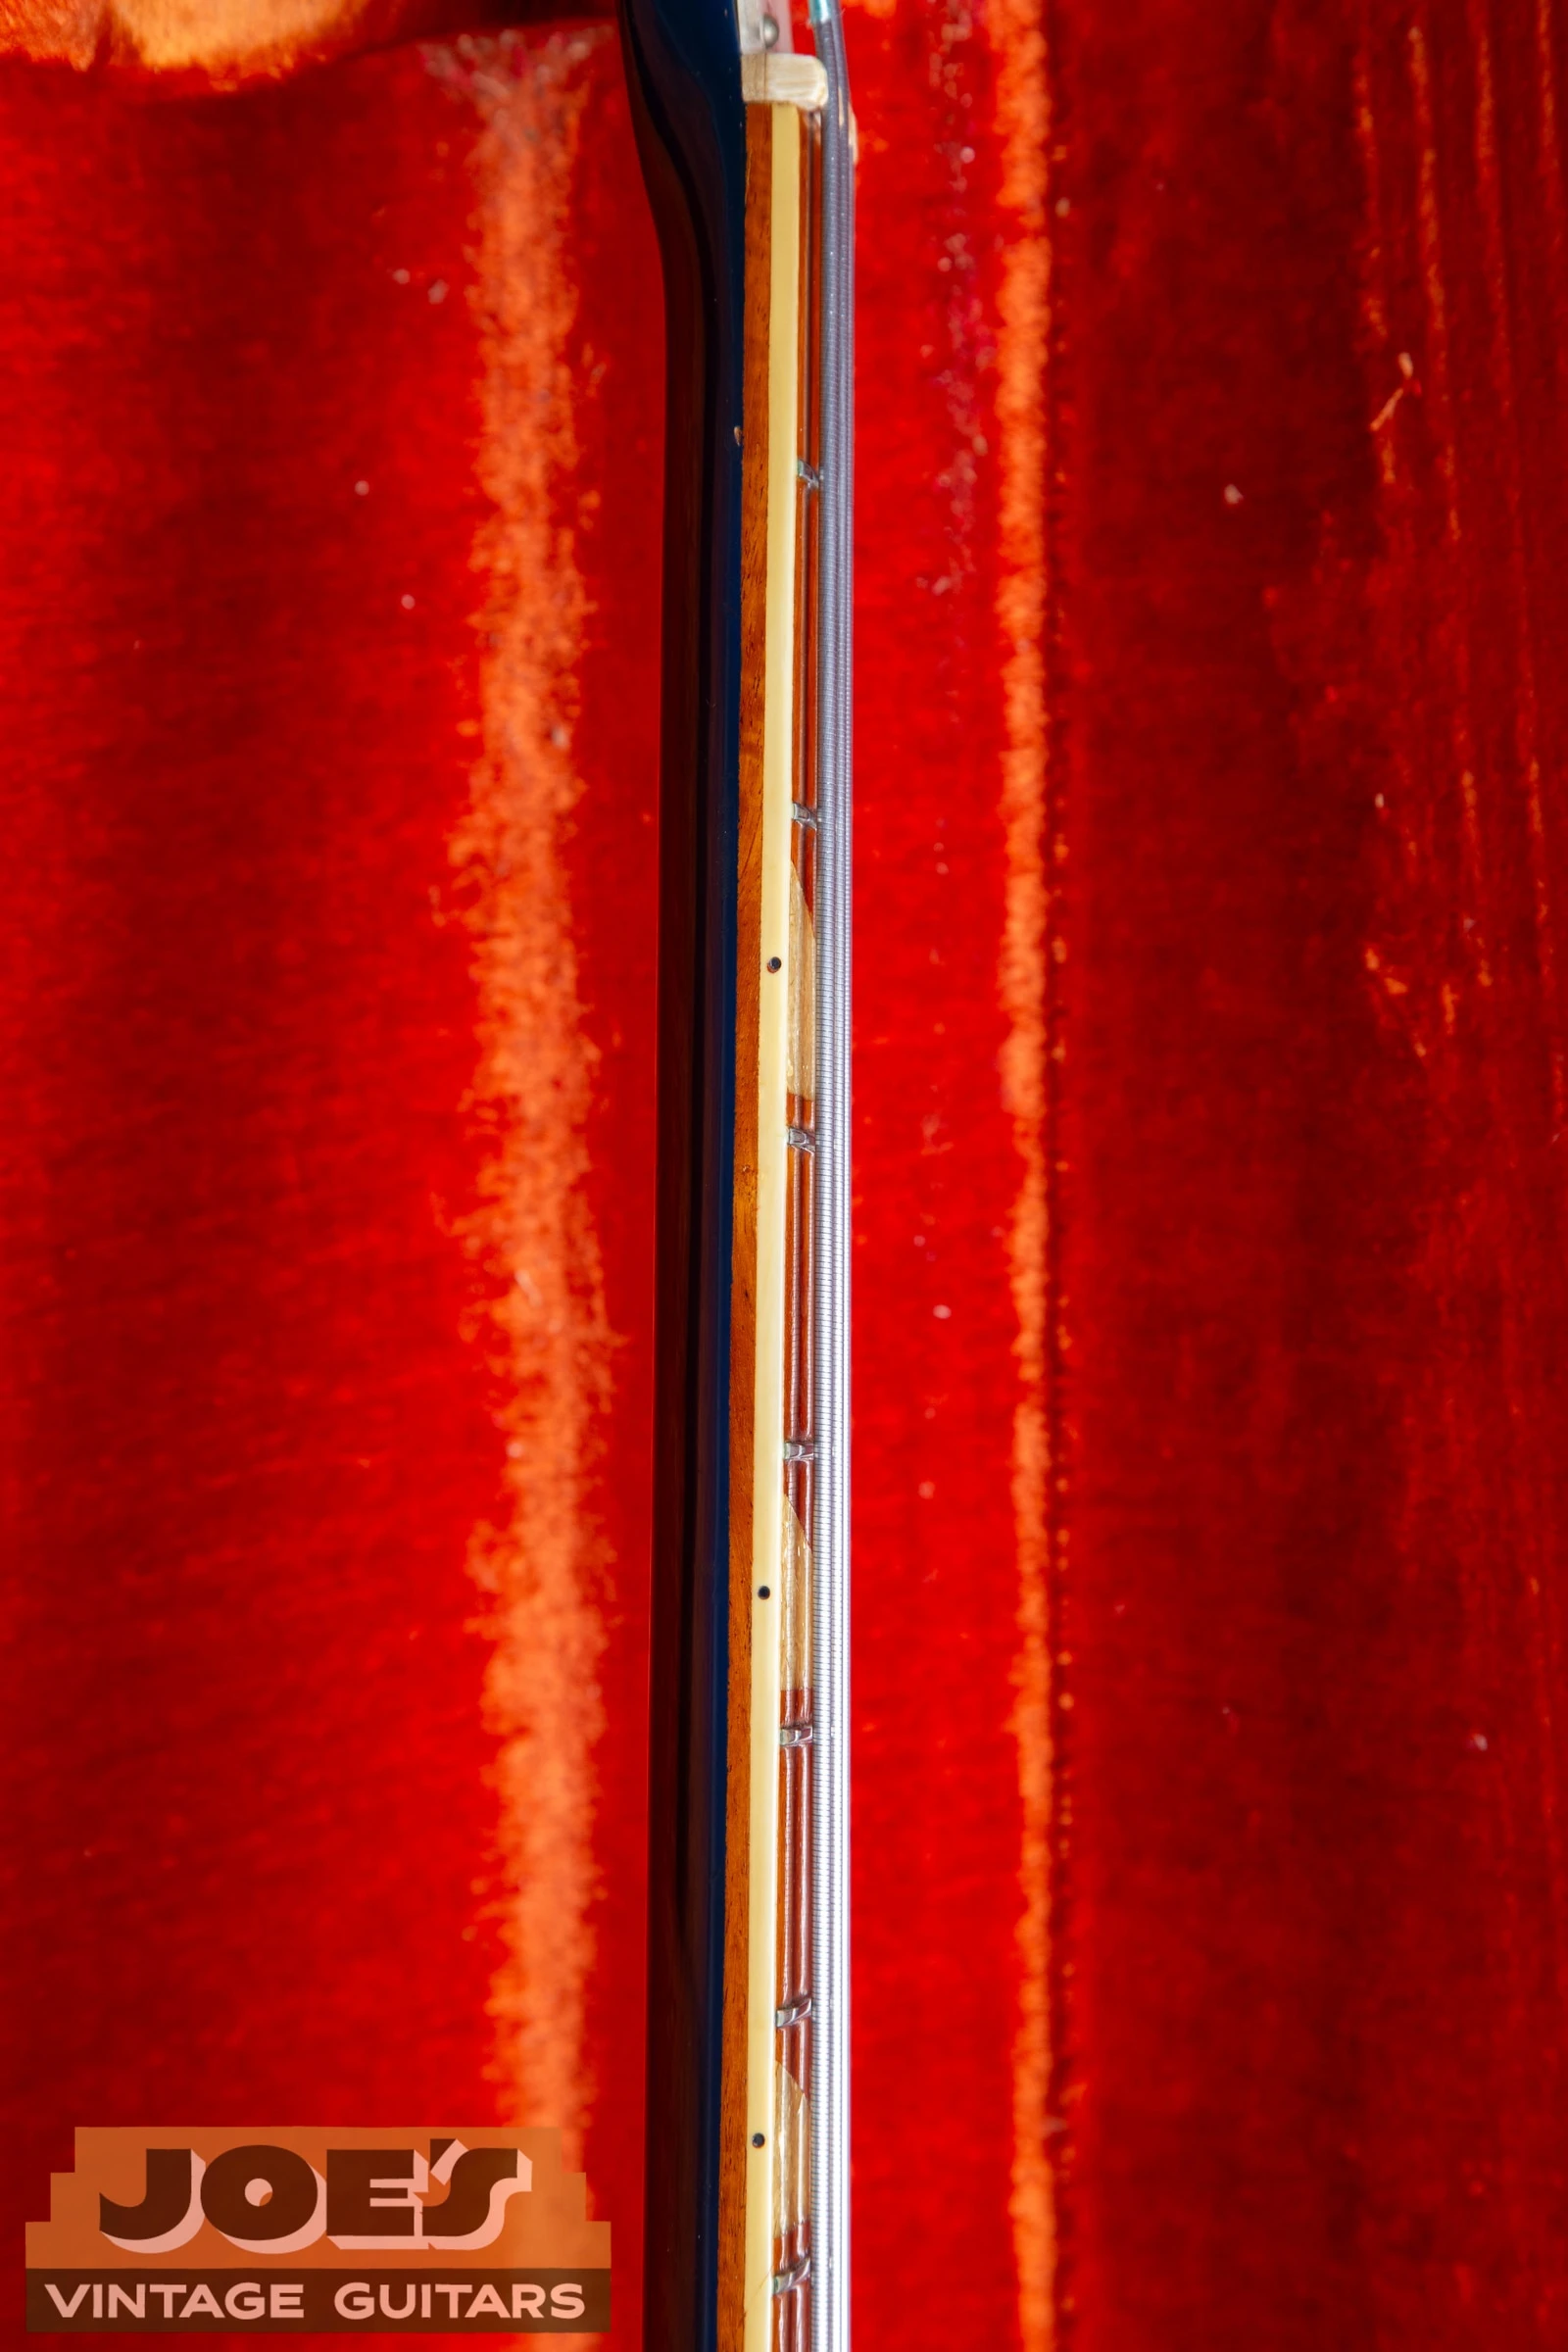
Use side views to show string height over the body and the bridge’s adjustment room. The neck angle and bridge location affect both action and intonation. Look for moved hardware, filled holes, a changed bridge or evidence of a neck reset. Do not assume a bridge relocation is factory work because the bass now plays in tune.
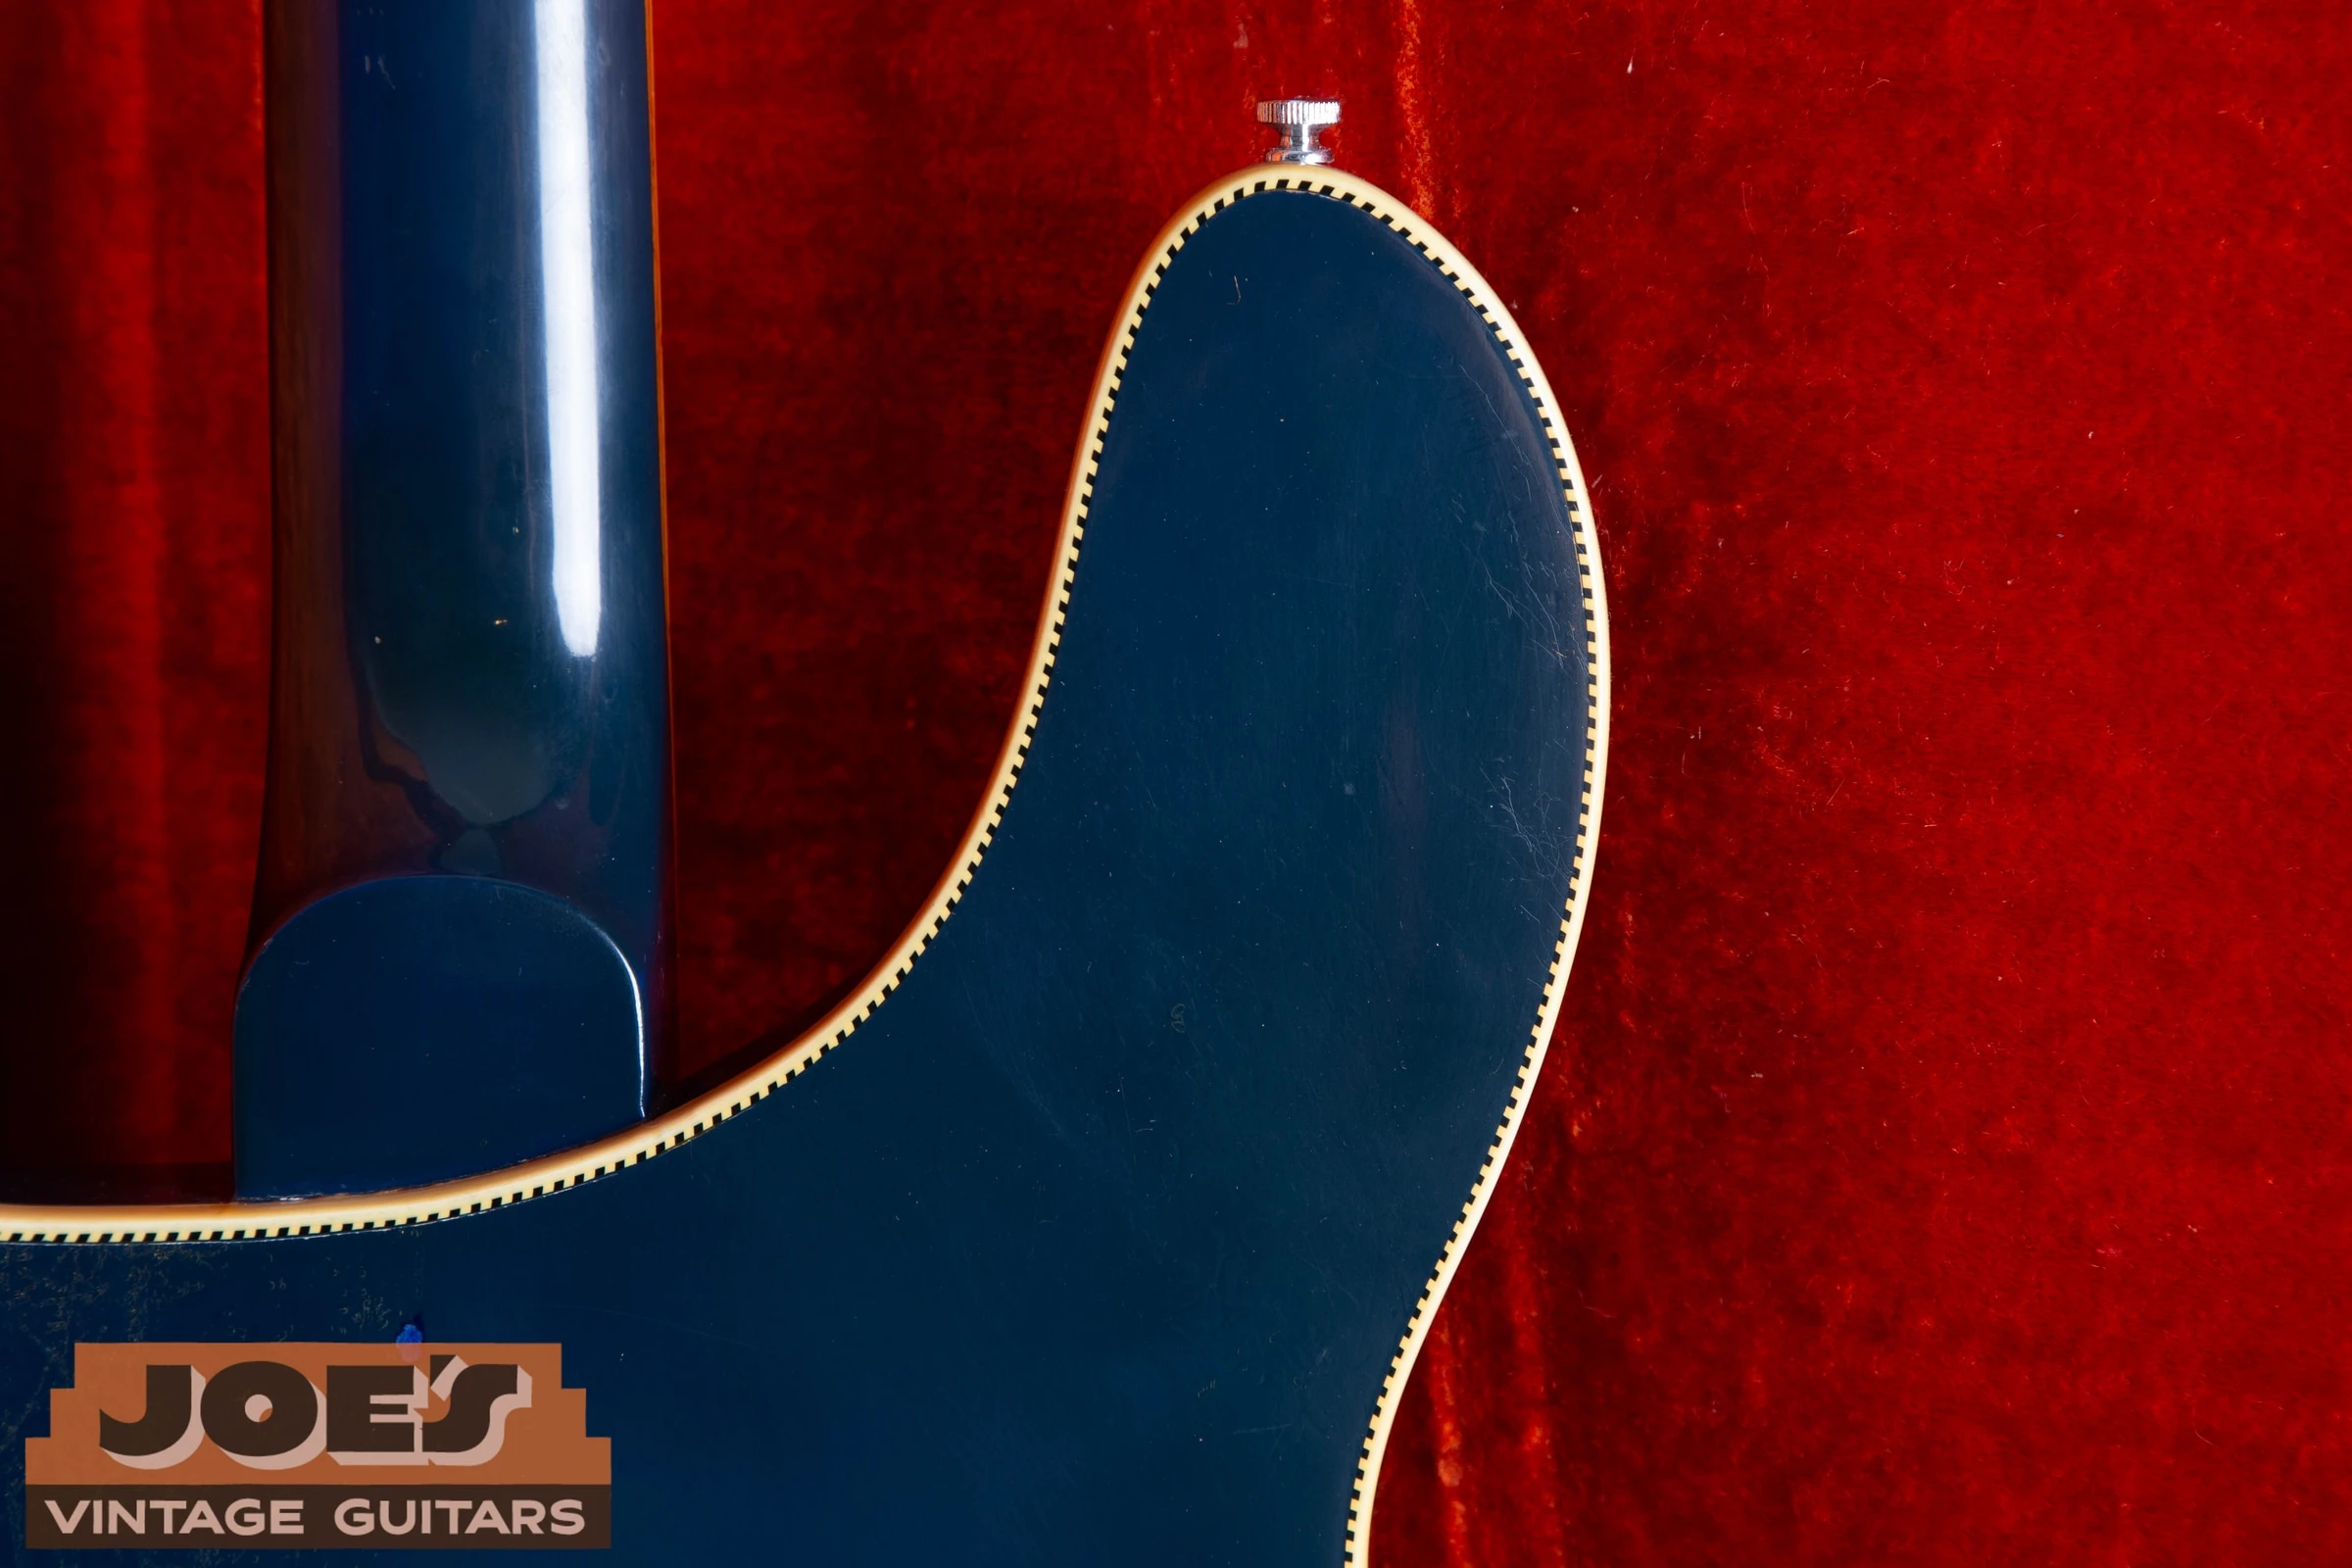
Follow the heel and upper back closely for separation or repaired cracks. Our detailed rear views show the areas an appraiser needs to see. A repair should be described by its location and extent, with supporting photographs or invoices when available.
Match Pickups, Controls And Outputs
The photographed bass has two toaster-style pickups and five controls. Other original-era 4005s can have different period hardware, so do not make this one example a universal specification. Test each pickup and output correctly, then document wiring changes or missing functions.
Check the R tailpiece and bridge for cracks, repairs and replacement parts. Look at the body beneath and beside their mounting points for evidence of previous hardware. A repaired tailpiece and a repaired body are separate findings and should not be combined into a vague note about wear.
Inspect Binding, Finish And Tuner Footprints
The archive close-ups show checking, edge wear and rear binding clearly. Those photographs are more useful than a distant glossy front view for identifying condition. Examine loose binding, replaced sections and cracks around the soundhole or jack area.
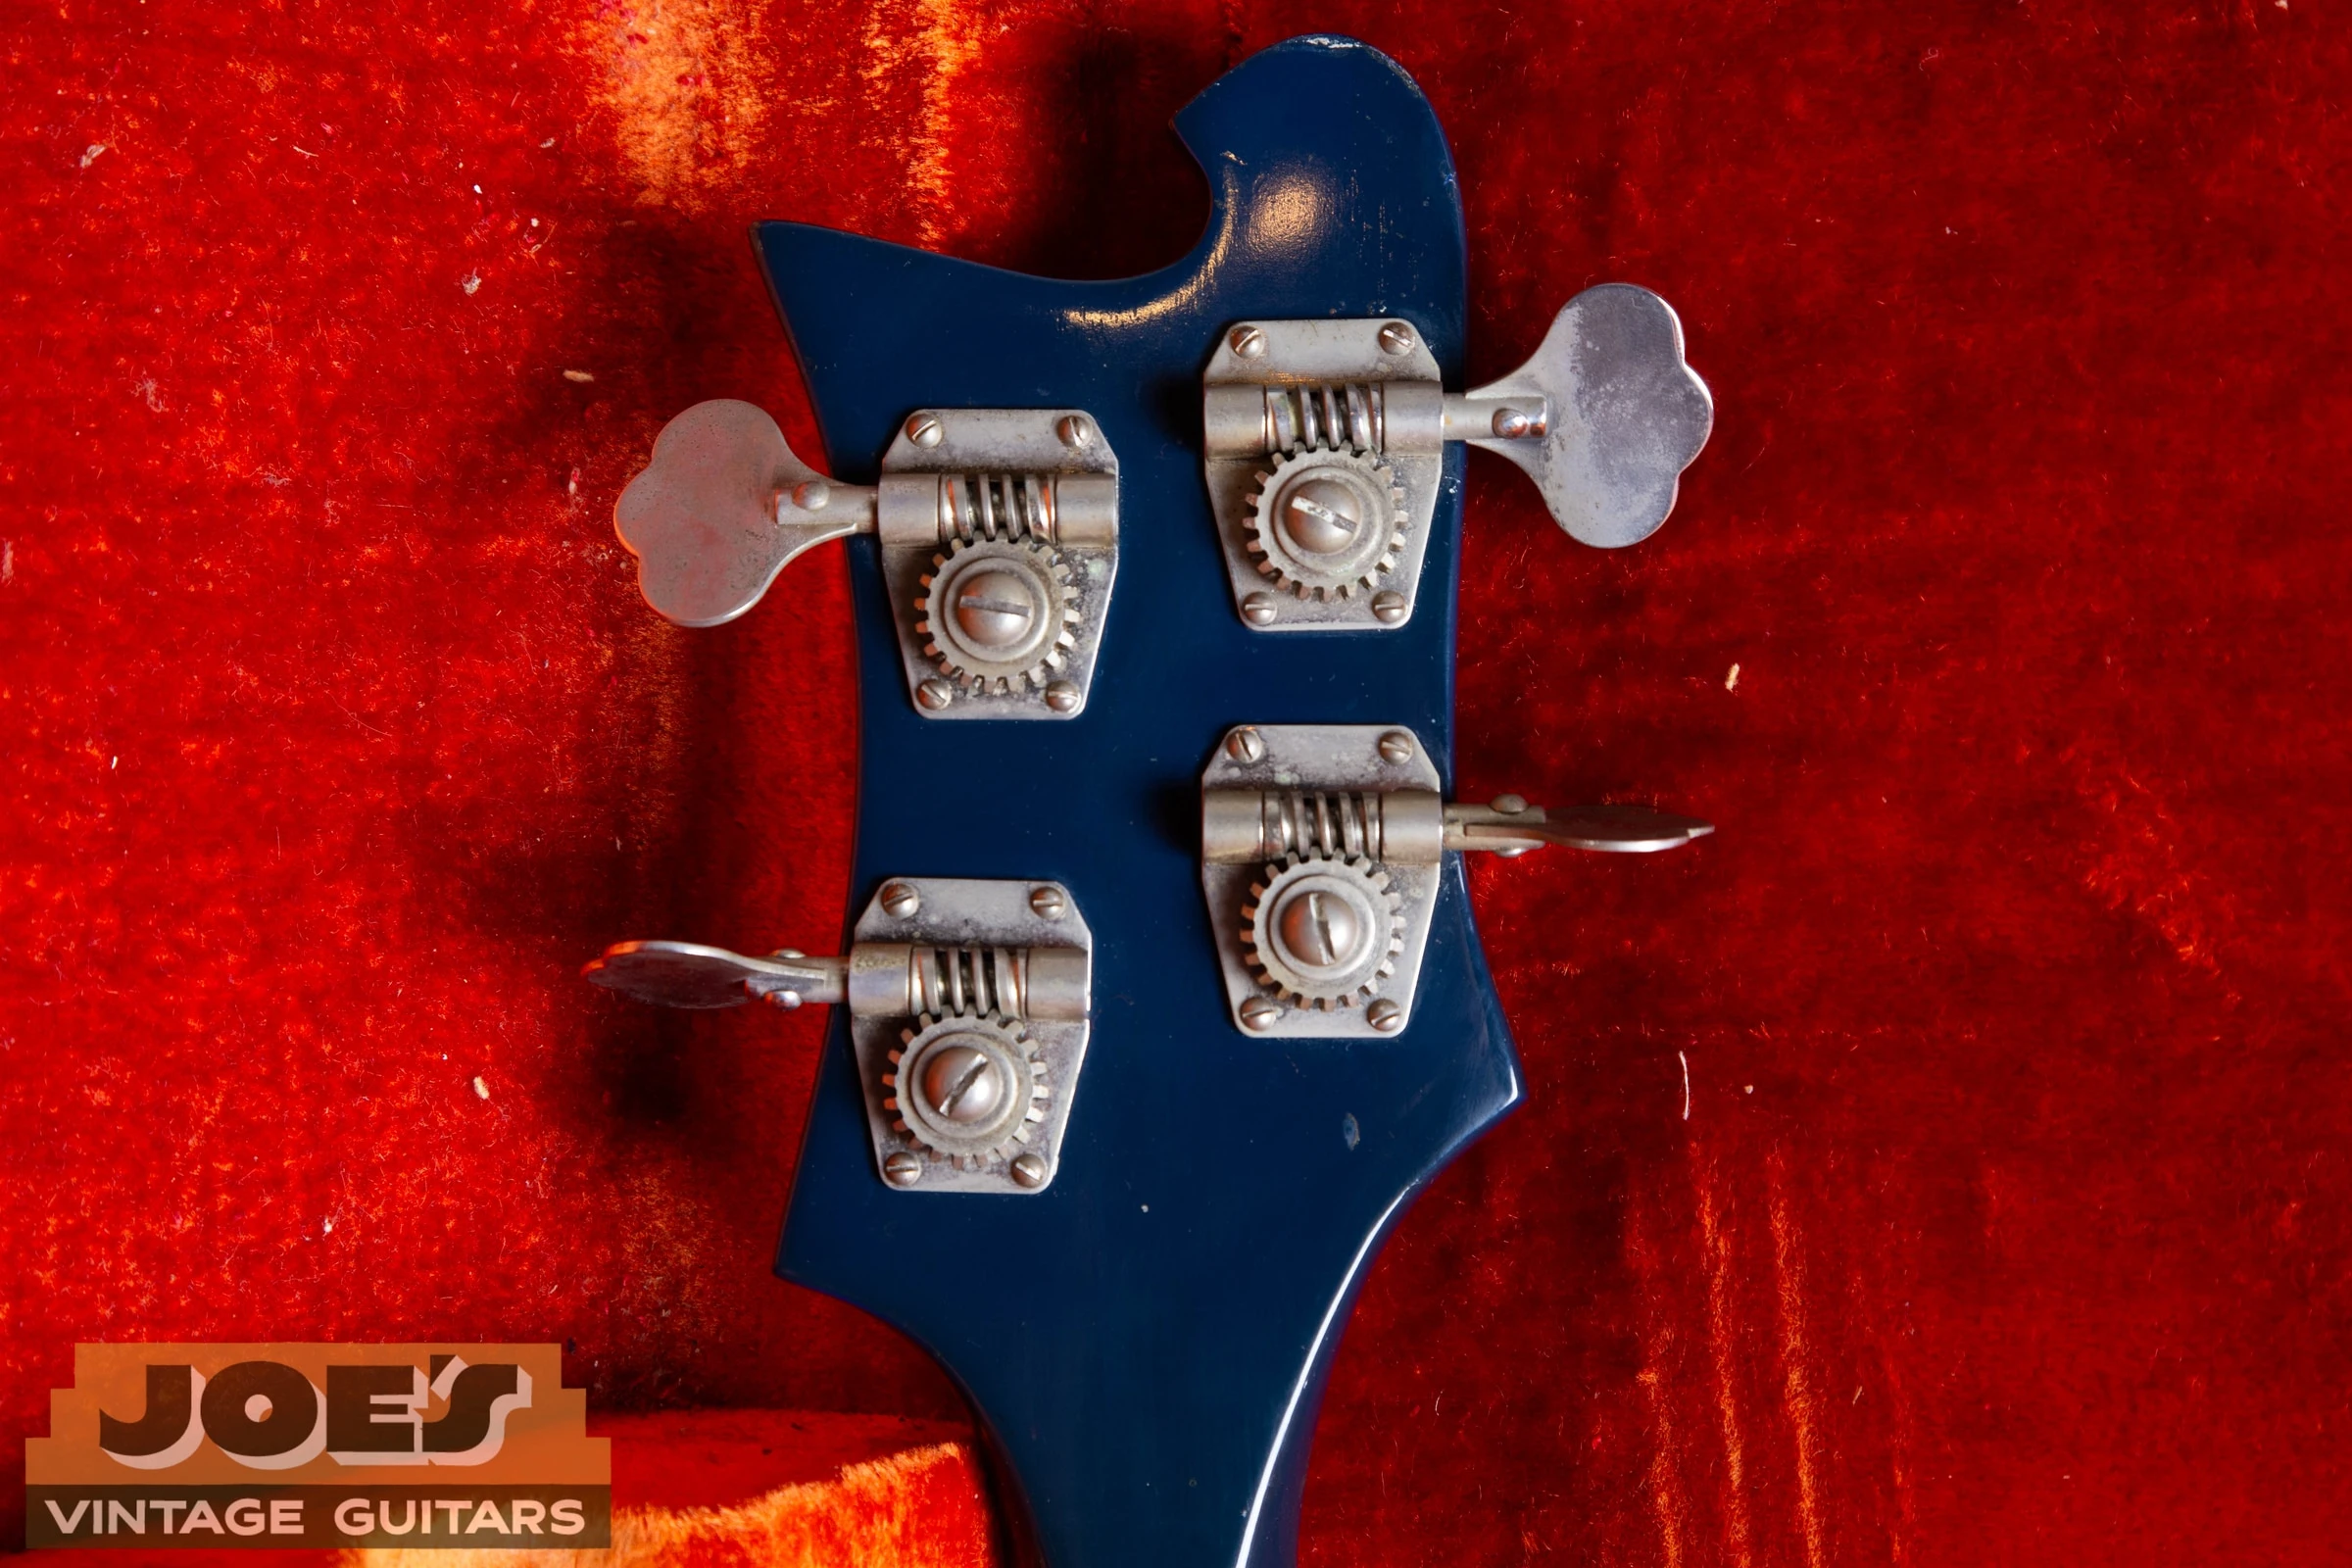
Azureglo or another unusual color needs evidence of original finish before it receives a premium. Compare exposed and protected areas through a qualified inspection, and record any overspray. Rear headstock views can reveal changed tuner footprints even when the front appears untouched.


Authentication Checklist
Keep four questions separate: is it a Rickenbacker, is the model correctly identified, is the date supported, and which parts or finishes remain original? A positive answer to one does not settle the others.
- Record the identity. Save the complete serial photograph, model claim, measurements and any dated paperwork. Use the serial lookup only for the formats it covers.
- Compare independent details. Check body construction, neck, pickups, tuners and controls against the same model and period. One replaced part may explain a mismatch; several unexplained conflicts need closer inspection.
- Describe condition precisely. Separate wear, refret, replacement nut, repaired breaks, routing, touch-up, overspray and refinishing. See our photo guide to refinishing clues.
- Inspect internally when justified. Have a qualified repairer document hidden routes, wiring and component dates if a disputed claim affects the purchase. Do not force old screws, fragile guards or an unfamiliar neck adjustment.
- Keep uncertainty visible. “Consistent with this period” is different from a proven exact date or a claim that every solder joint is untouched. Photos can guide an appraisal; some findings require an in-person examination.
Photos For An Appraisal
Take unfiltered photographs in even light. Include the full front and back, both headstock faces, the entire serial or other markings, pickups, controls, bridge, neck joint and any damage. Add the measurements or model-specific views described above. Photograph the case, paperwork and removed parts separately.
You do not need to take the instrument apart for an initial review. If a detail cannot be seen, say so. A clear statement of known repairs and unknown history is more useful than an unsupported claim of complete originality.
Have A Rickenbacker To Identify Or Sell?
Send Joe your photos and any known history. We can help identify the instrument, discuss its condition and make an offer if you are ready to sell.
Sources And Further Reading
Factory documents establish period model descriptions. Instrument-specific references help compare construction; their originality claims are not independent certifications.
- Rickenbacker January 1977 Factory Price ListLists original-era 4005 and six-string bass variants.
- Joe’s 1968 Azureglo 4005 Archive ListingThe owned instrument pictured throughout this guide.
- Current Rickenbacker Guitar And Bass ModelsManufacturer descriptions identify modern recreations separately from original production.
Photo Credits And Scope
Photographs are from Joe’s Vintage Guitars’ instrument archive. Captions identify the actual instrument shown, including related-model and later-production comparisons. Full frames and existing watermarks are retained. A photograph of another model is not evidence of the correct construction for yours.