

Basses · Short-Scale And Full-Scale Solidbodies
Rickenbacker 3000 And 3001 BassesAuthentication Guide
The 3000 and 3001 are distinct Rickenbacker bass designs with a smaller market than the familiar 4001. Their neck construction, scale and single-pickup electronics should be evaluated directly. A bolt-on neck is not evidence of a fake when it belongs to the correct model, and a 4001 price is not a useful substitute for a matched 3000-series comparison.
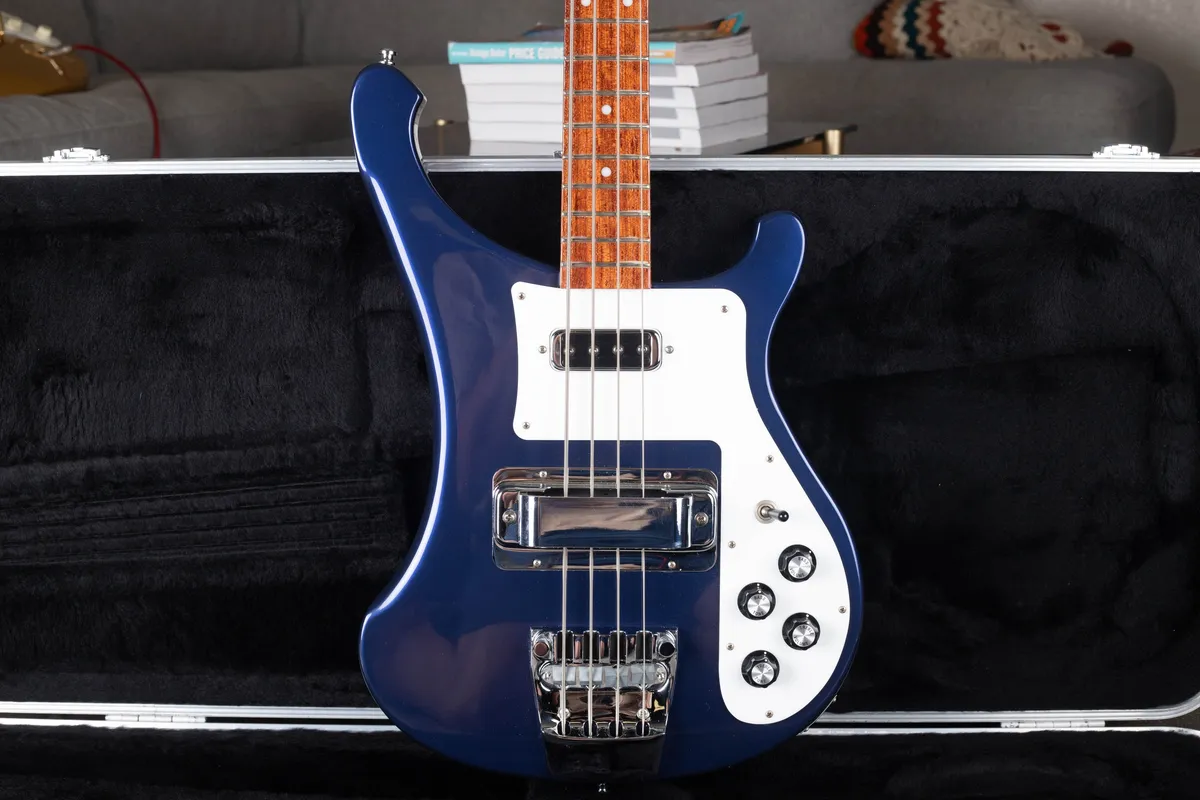
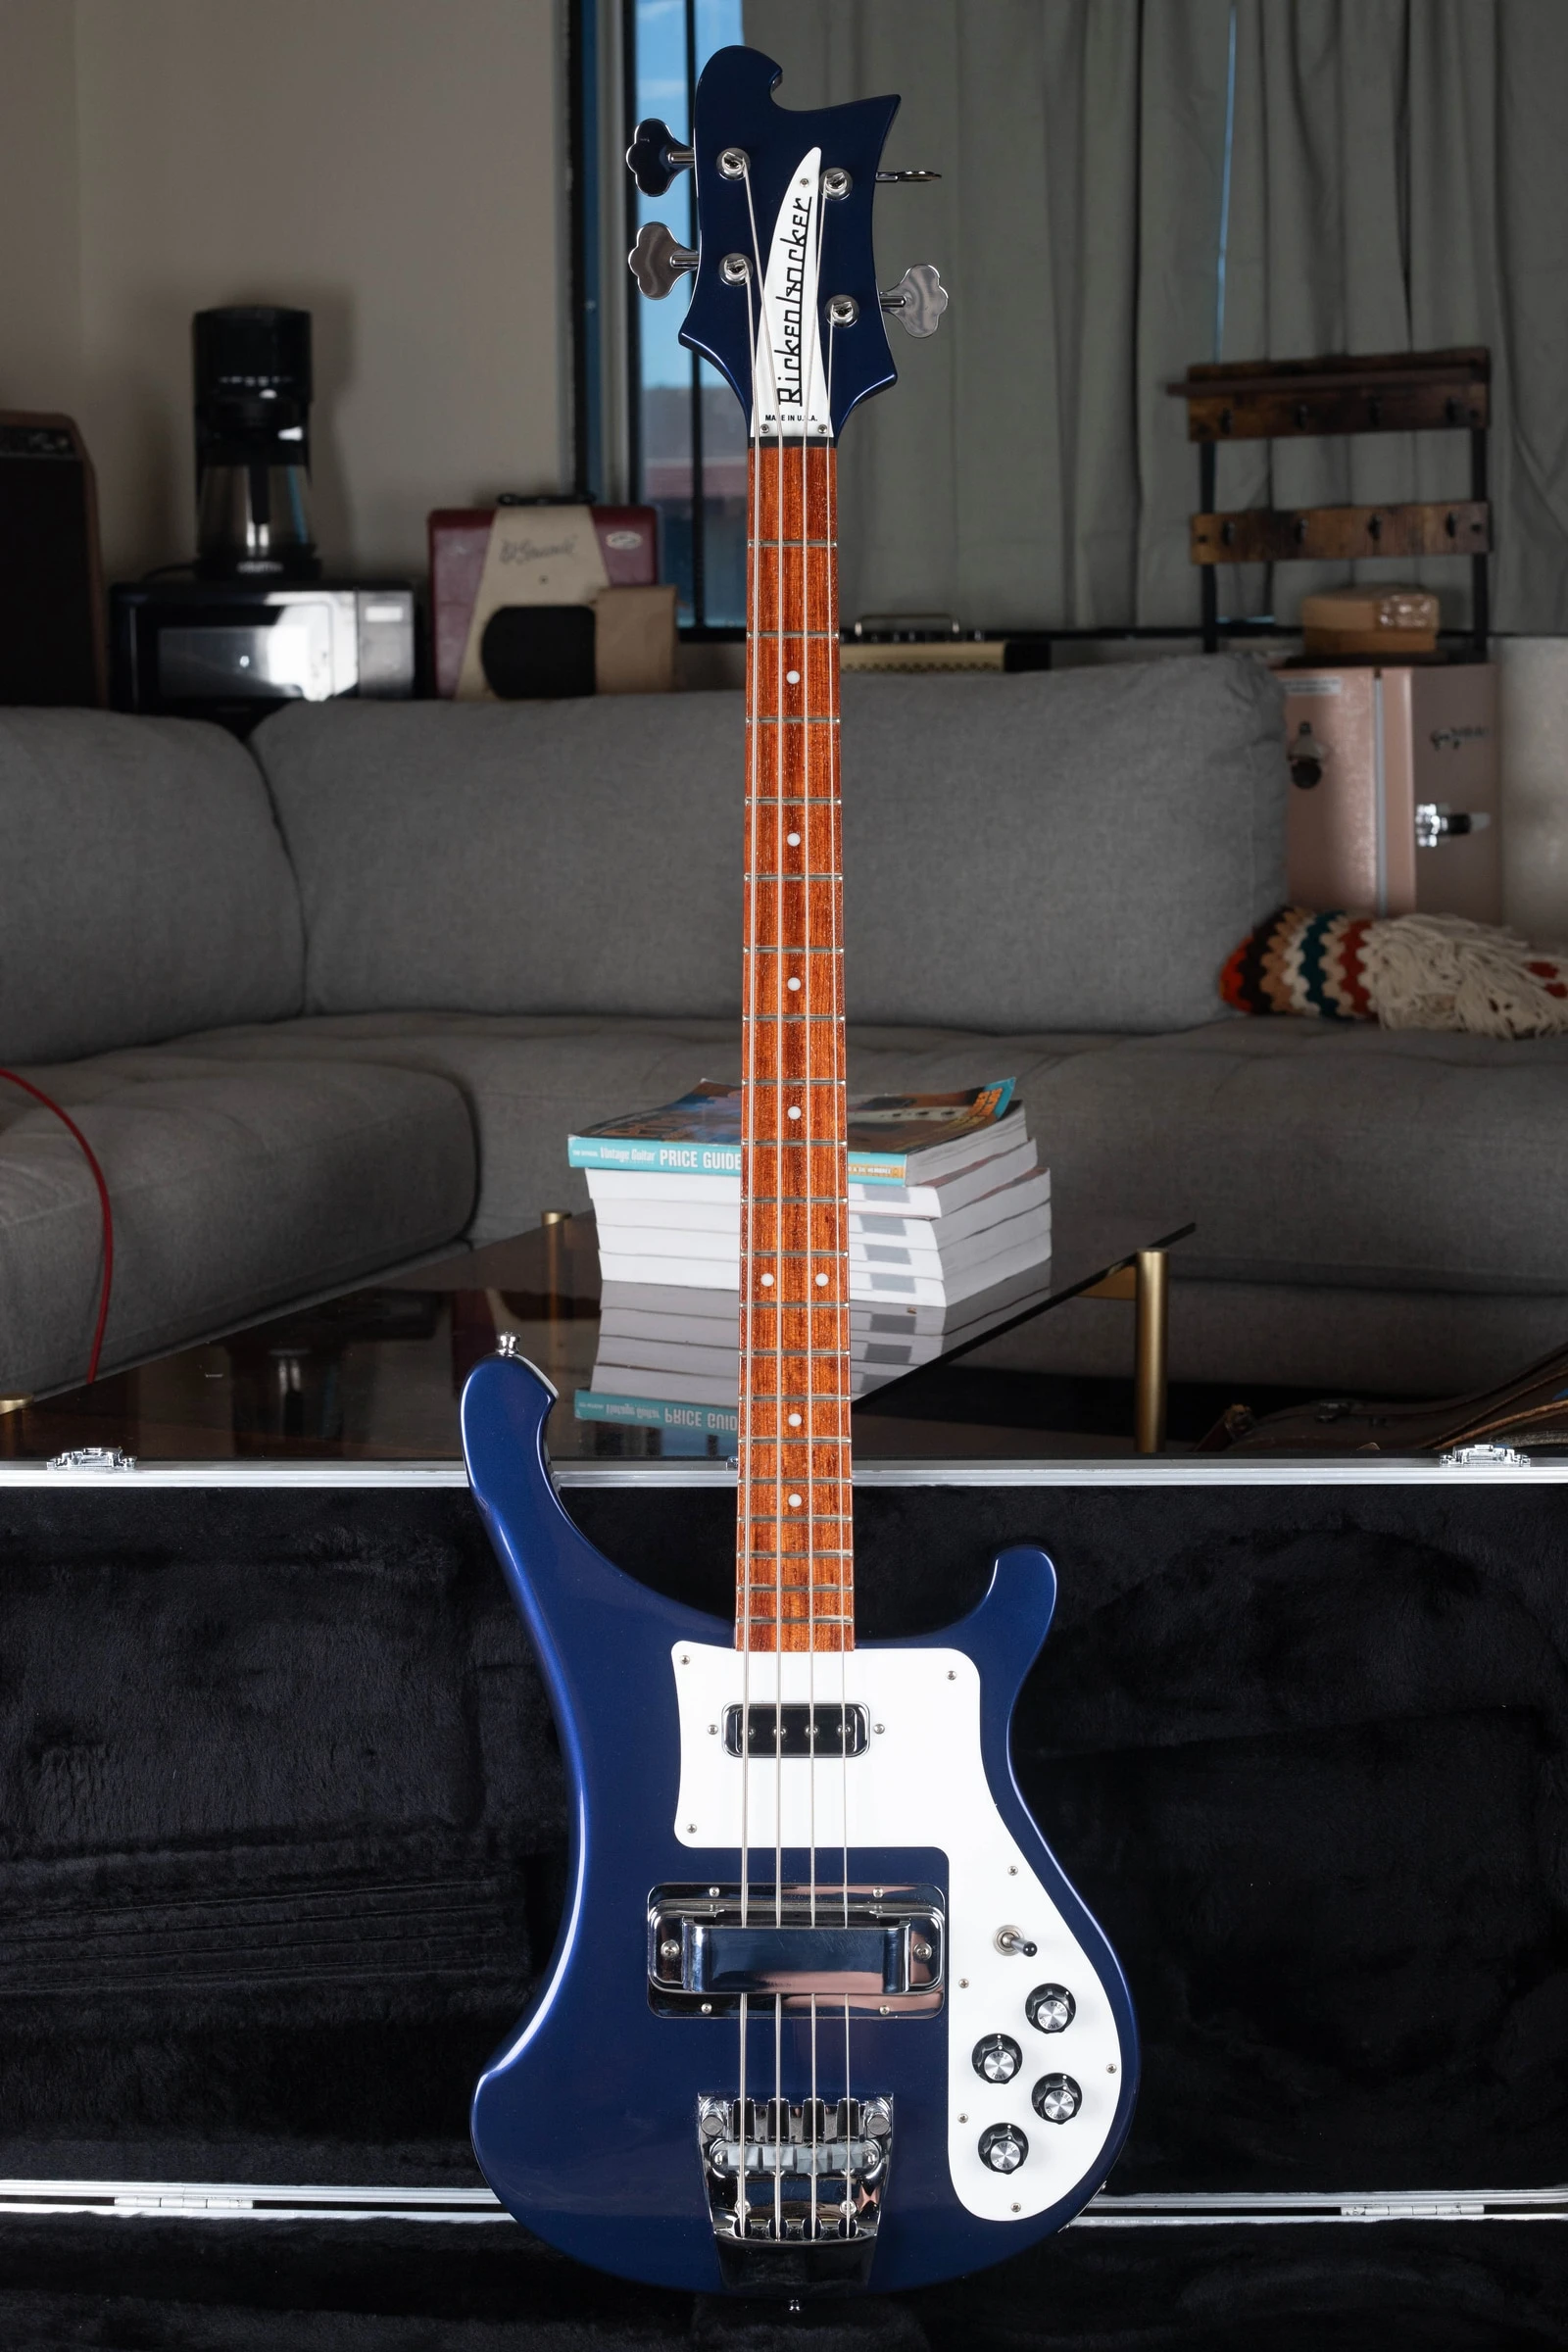
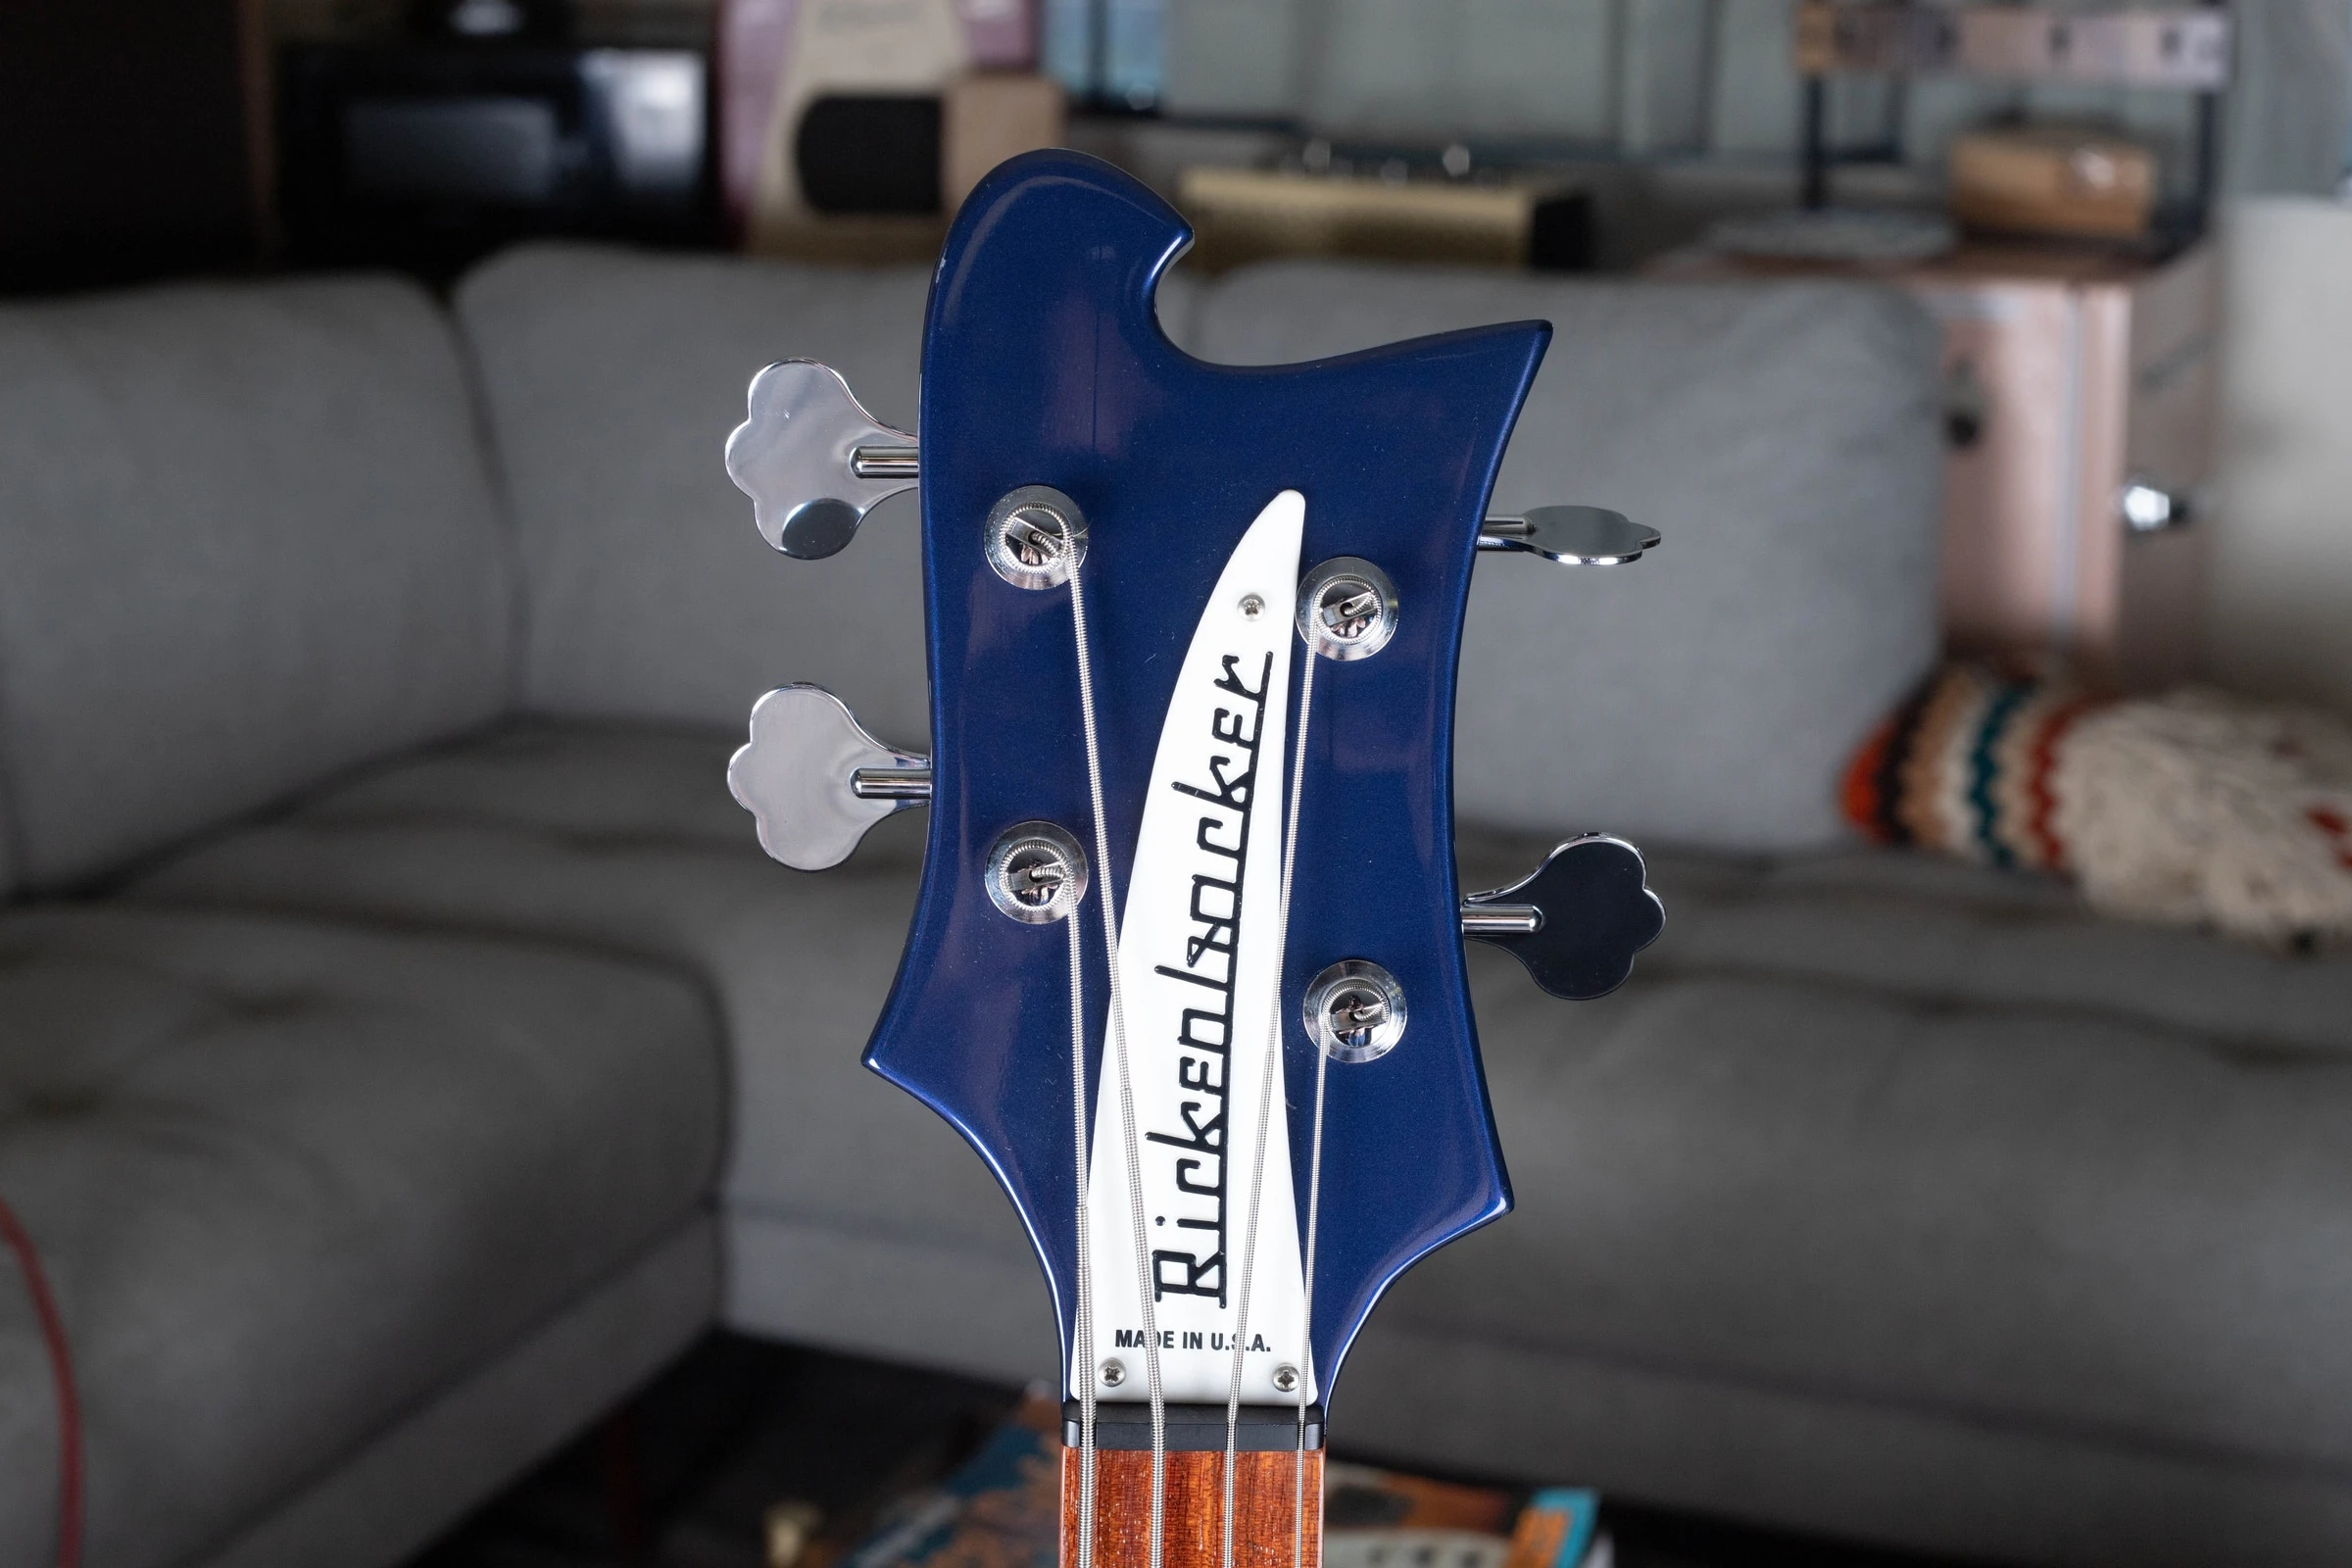
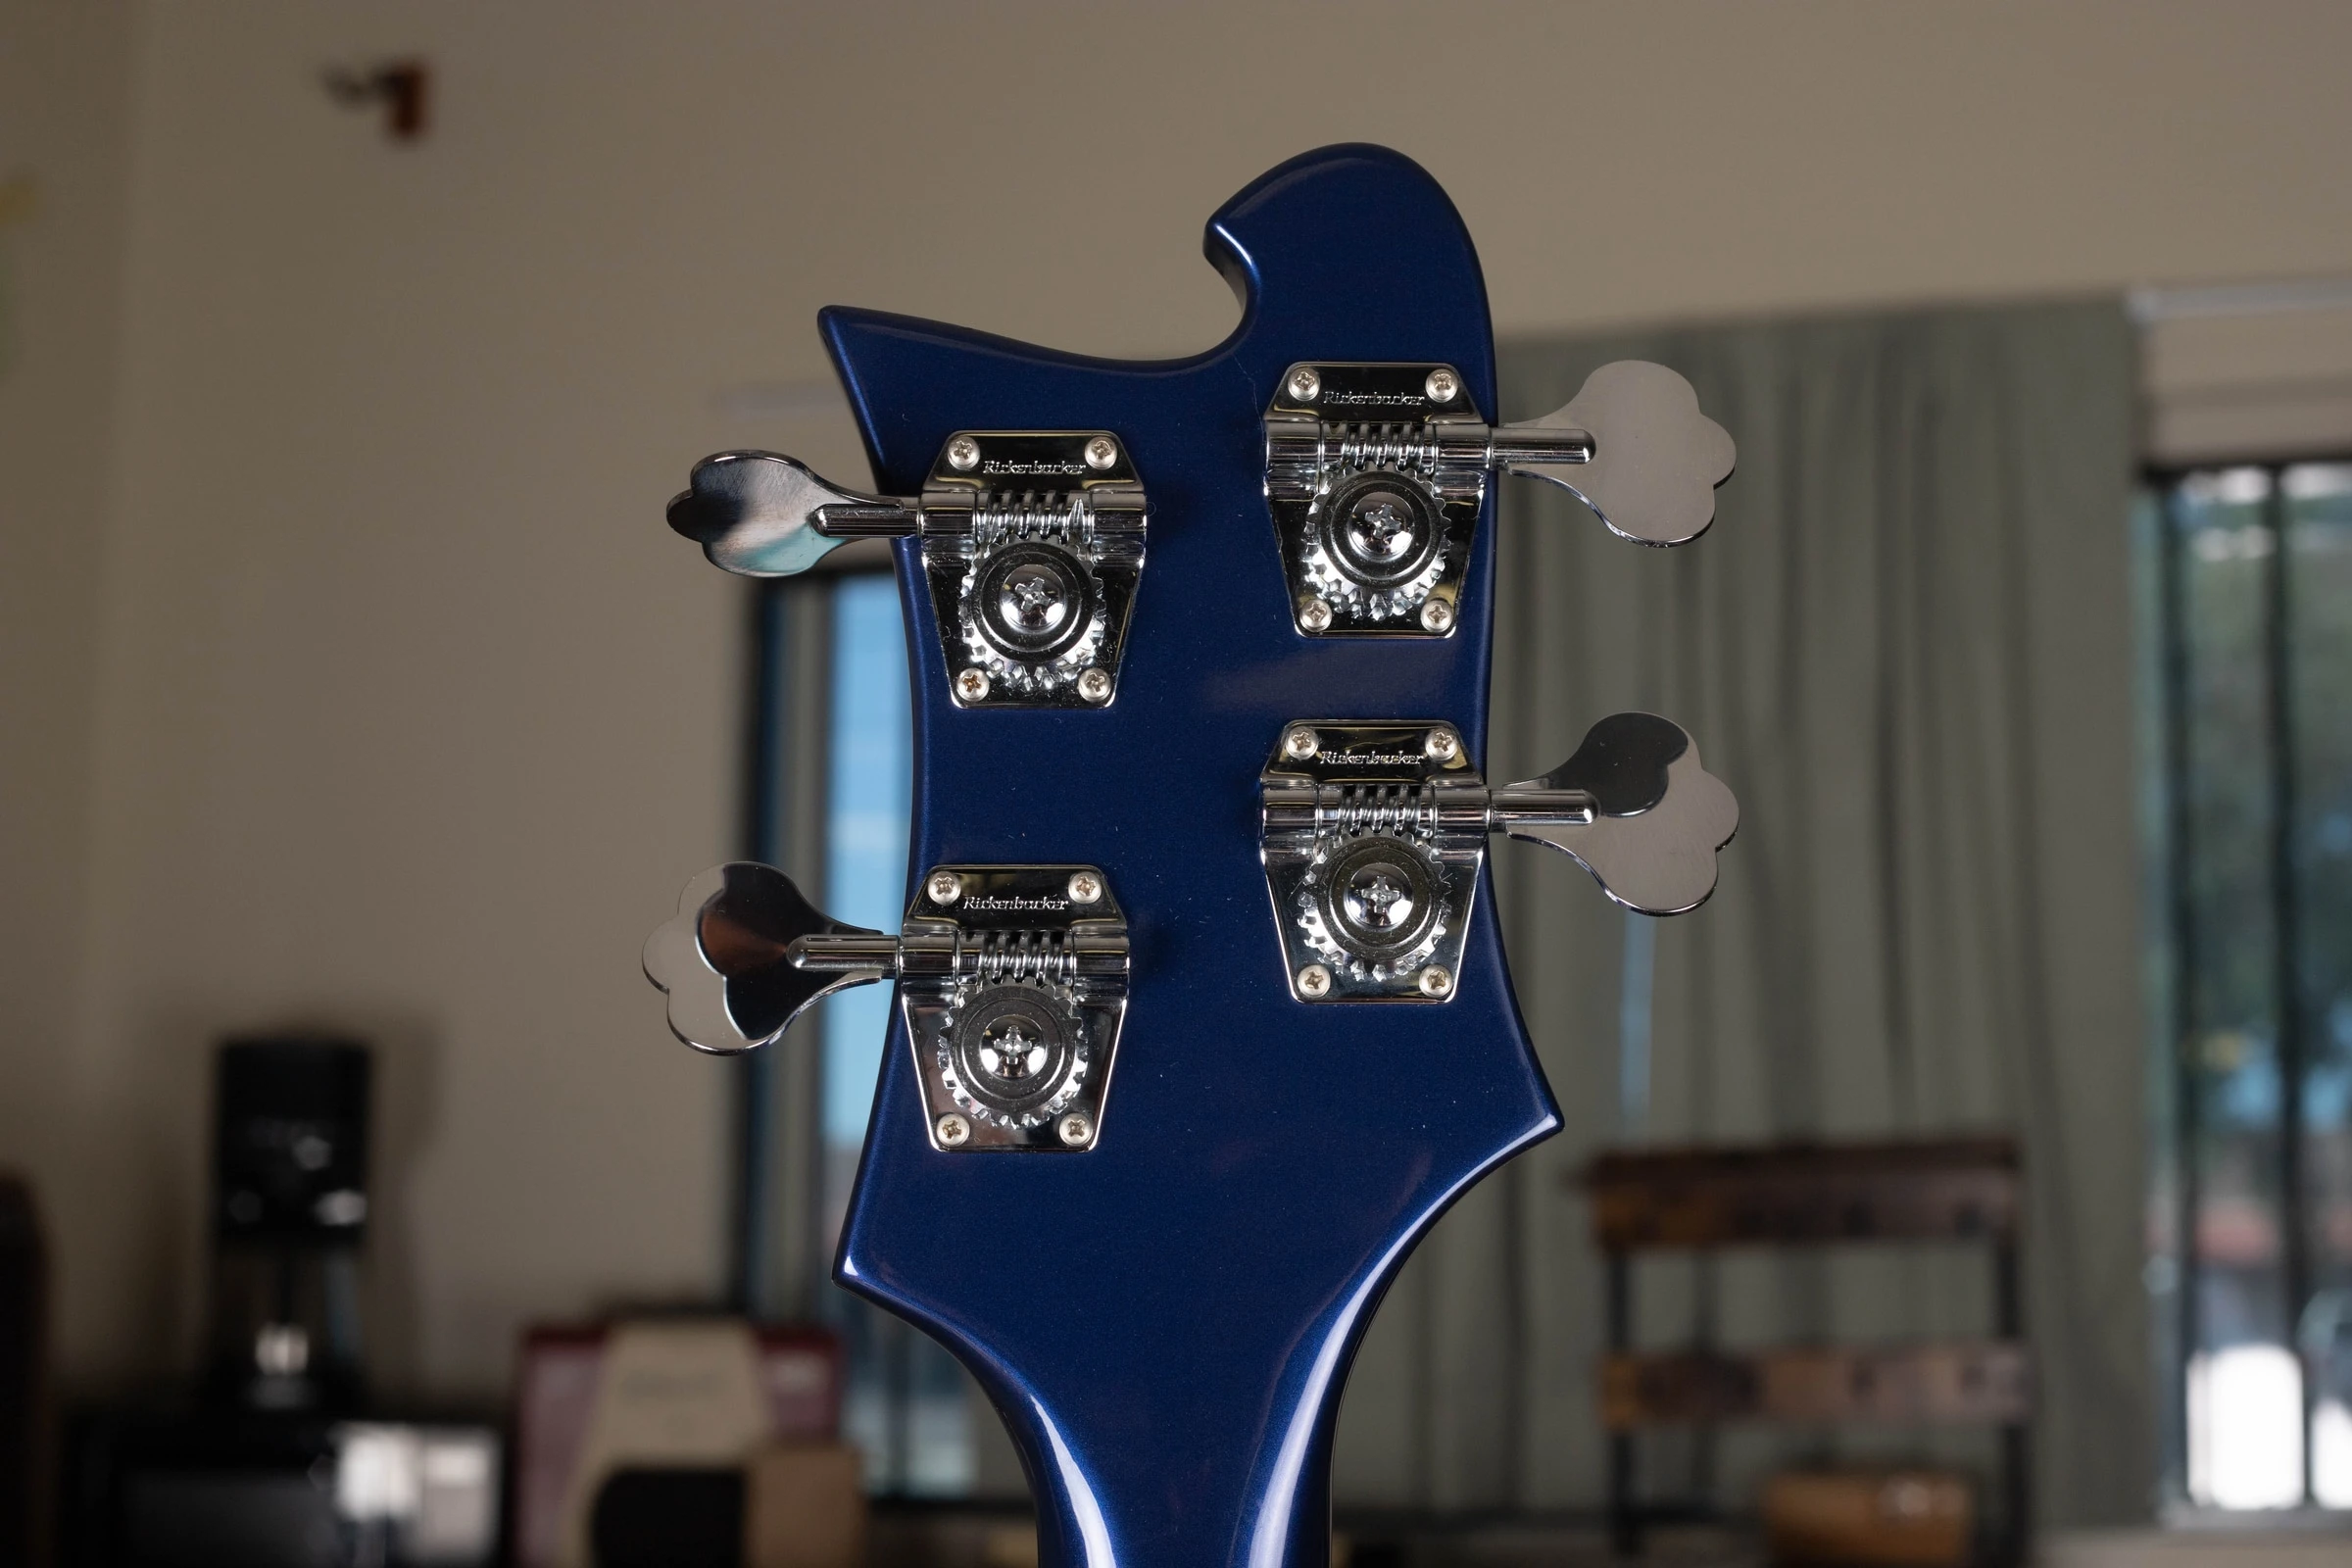
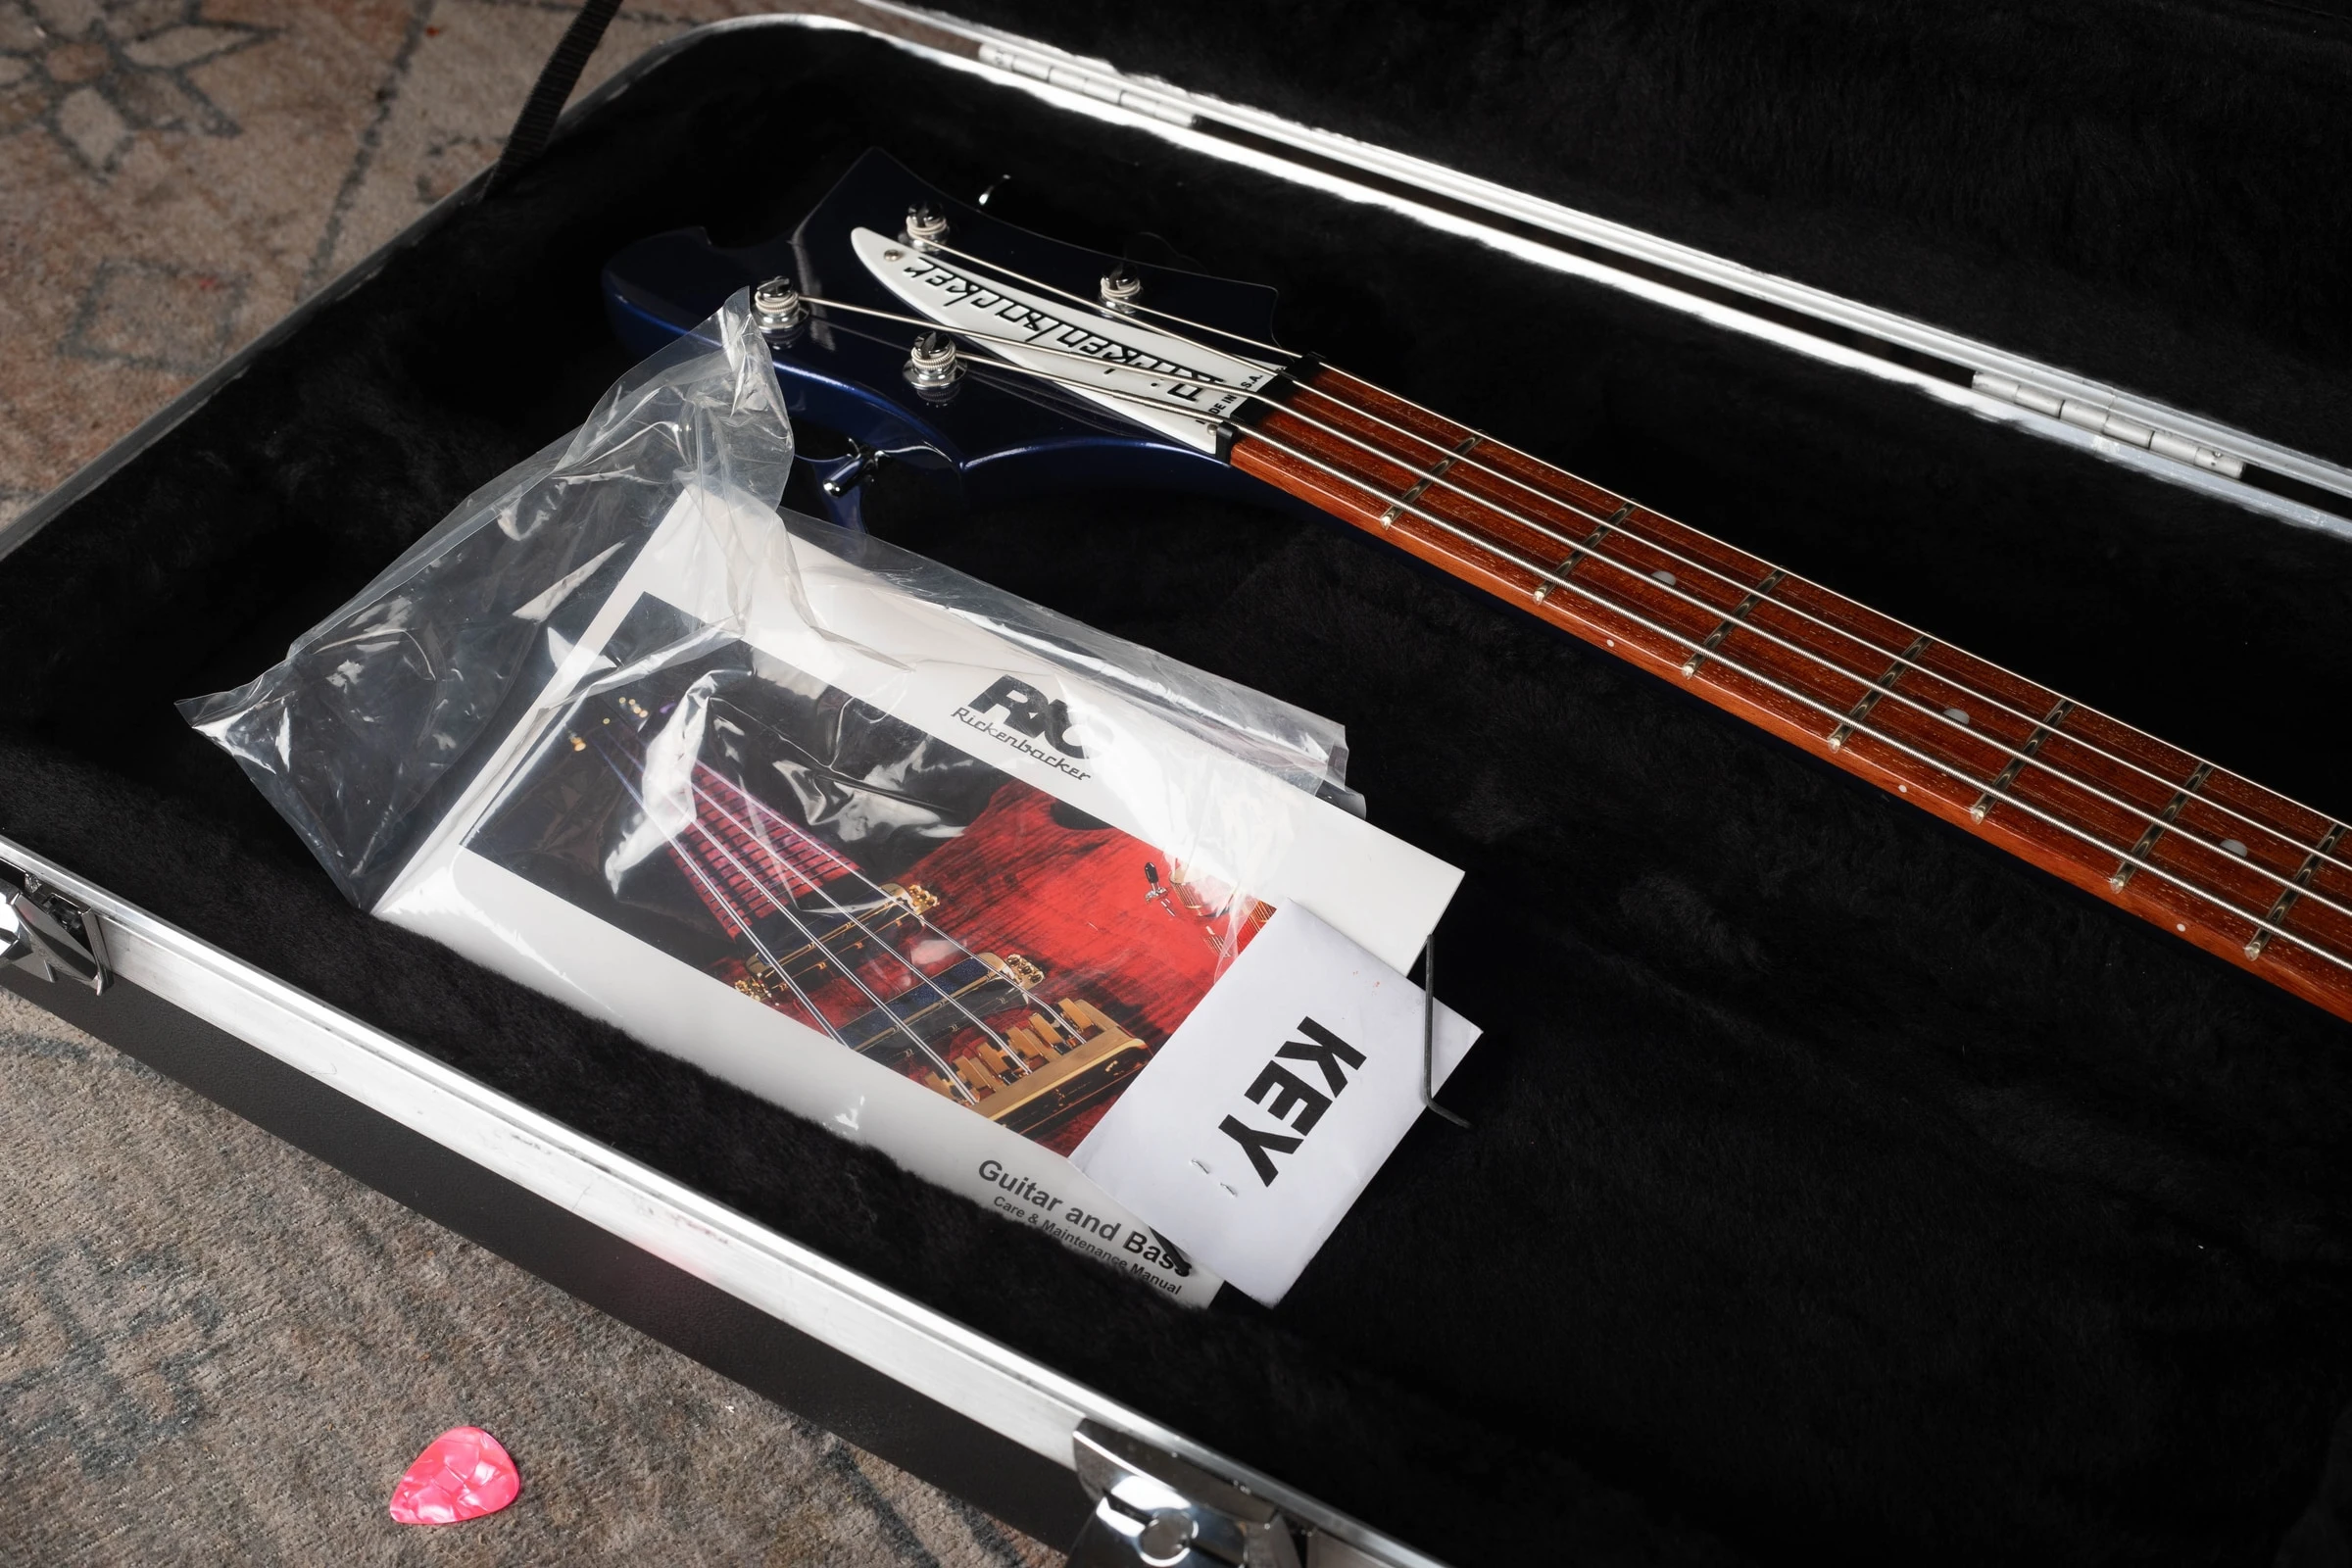
About These PhotosThe photos show a 1989 4003 for general inspection and condition comparisons. It has different neck construction, pickups and hardware from a 3000 or 3001. Click a detail photograph to enlarge it.
Identify Before You Compare
Models And Variants
- 3000
- Short-scale bass; verify scale, neck and original control configuration.
- 3001
- Full-scale relative with its own control arrangement.
- Modified Examples
- Replacement pickups, guards and bridges need explicit disclosure.
Measure The Scale And Inspect The Neck Joint
Measure nut to twelfth fret and double it, then photograph the neck attachment. The short-scale 3000 and full-scale 3001 should not be identified solely by a seller’s title. Their bolt-on construction differs from the familiar 4001/4003 layout.
Check neck alignment, the joint and screw area for cracks, enlarged holes or evidence of a replacement neck. A properly fitted original neck is part of the model’s identity. Our comparison 4003 photos cannot establish the correct joint or body shape for these basses.
Verify The Single-Pickup Circuit
Photograph the pickup, guard, controls and output. Compare the specific model’s circuit rather than applying a standard four-knob 4001 checklist. The 3000 and 3001 can have different control arrangements, so record what each control actually does.
Look for altered pickup openings, added switches or a replacement guard concealing extra routes. A common aftermarket pickup may make a usable player, but its presence should be disclosed. Keep original pickup parts and wiring if they survive.
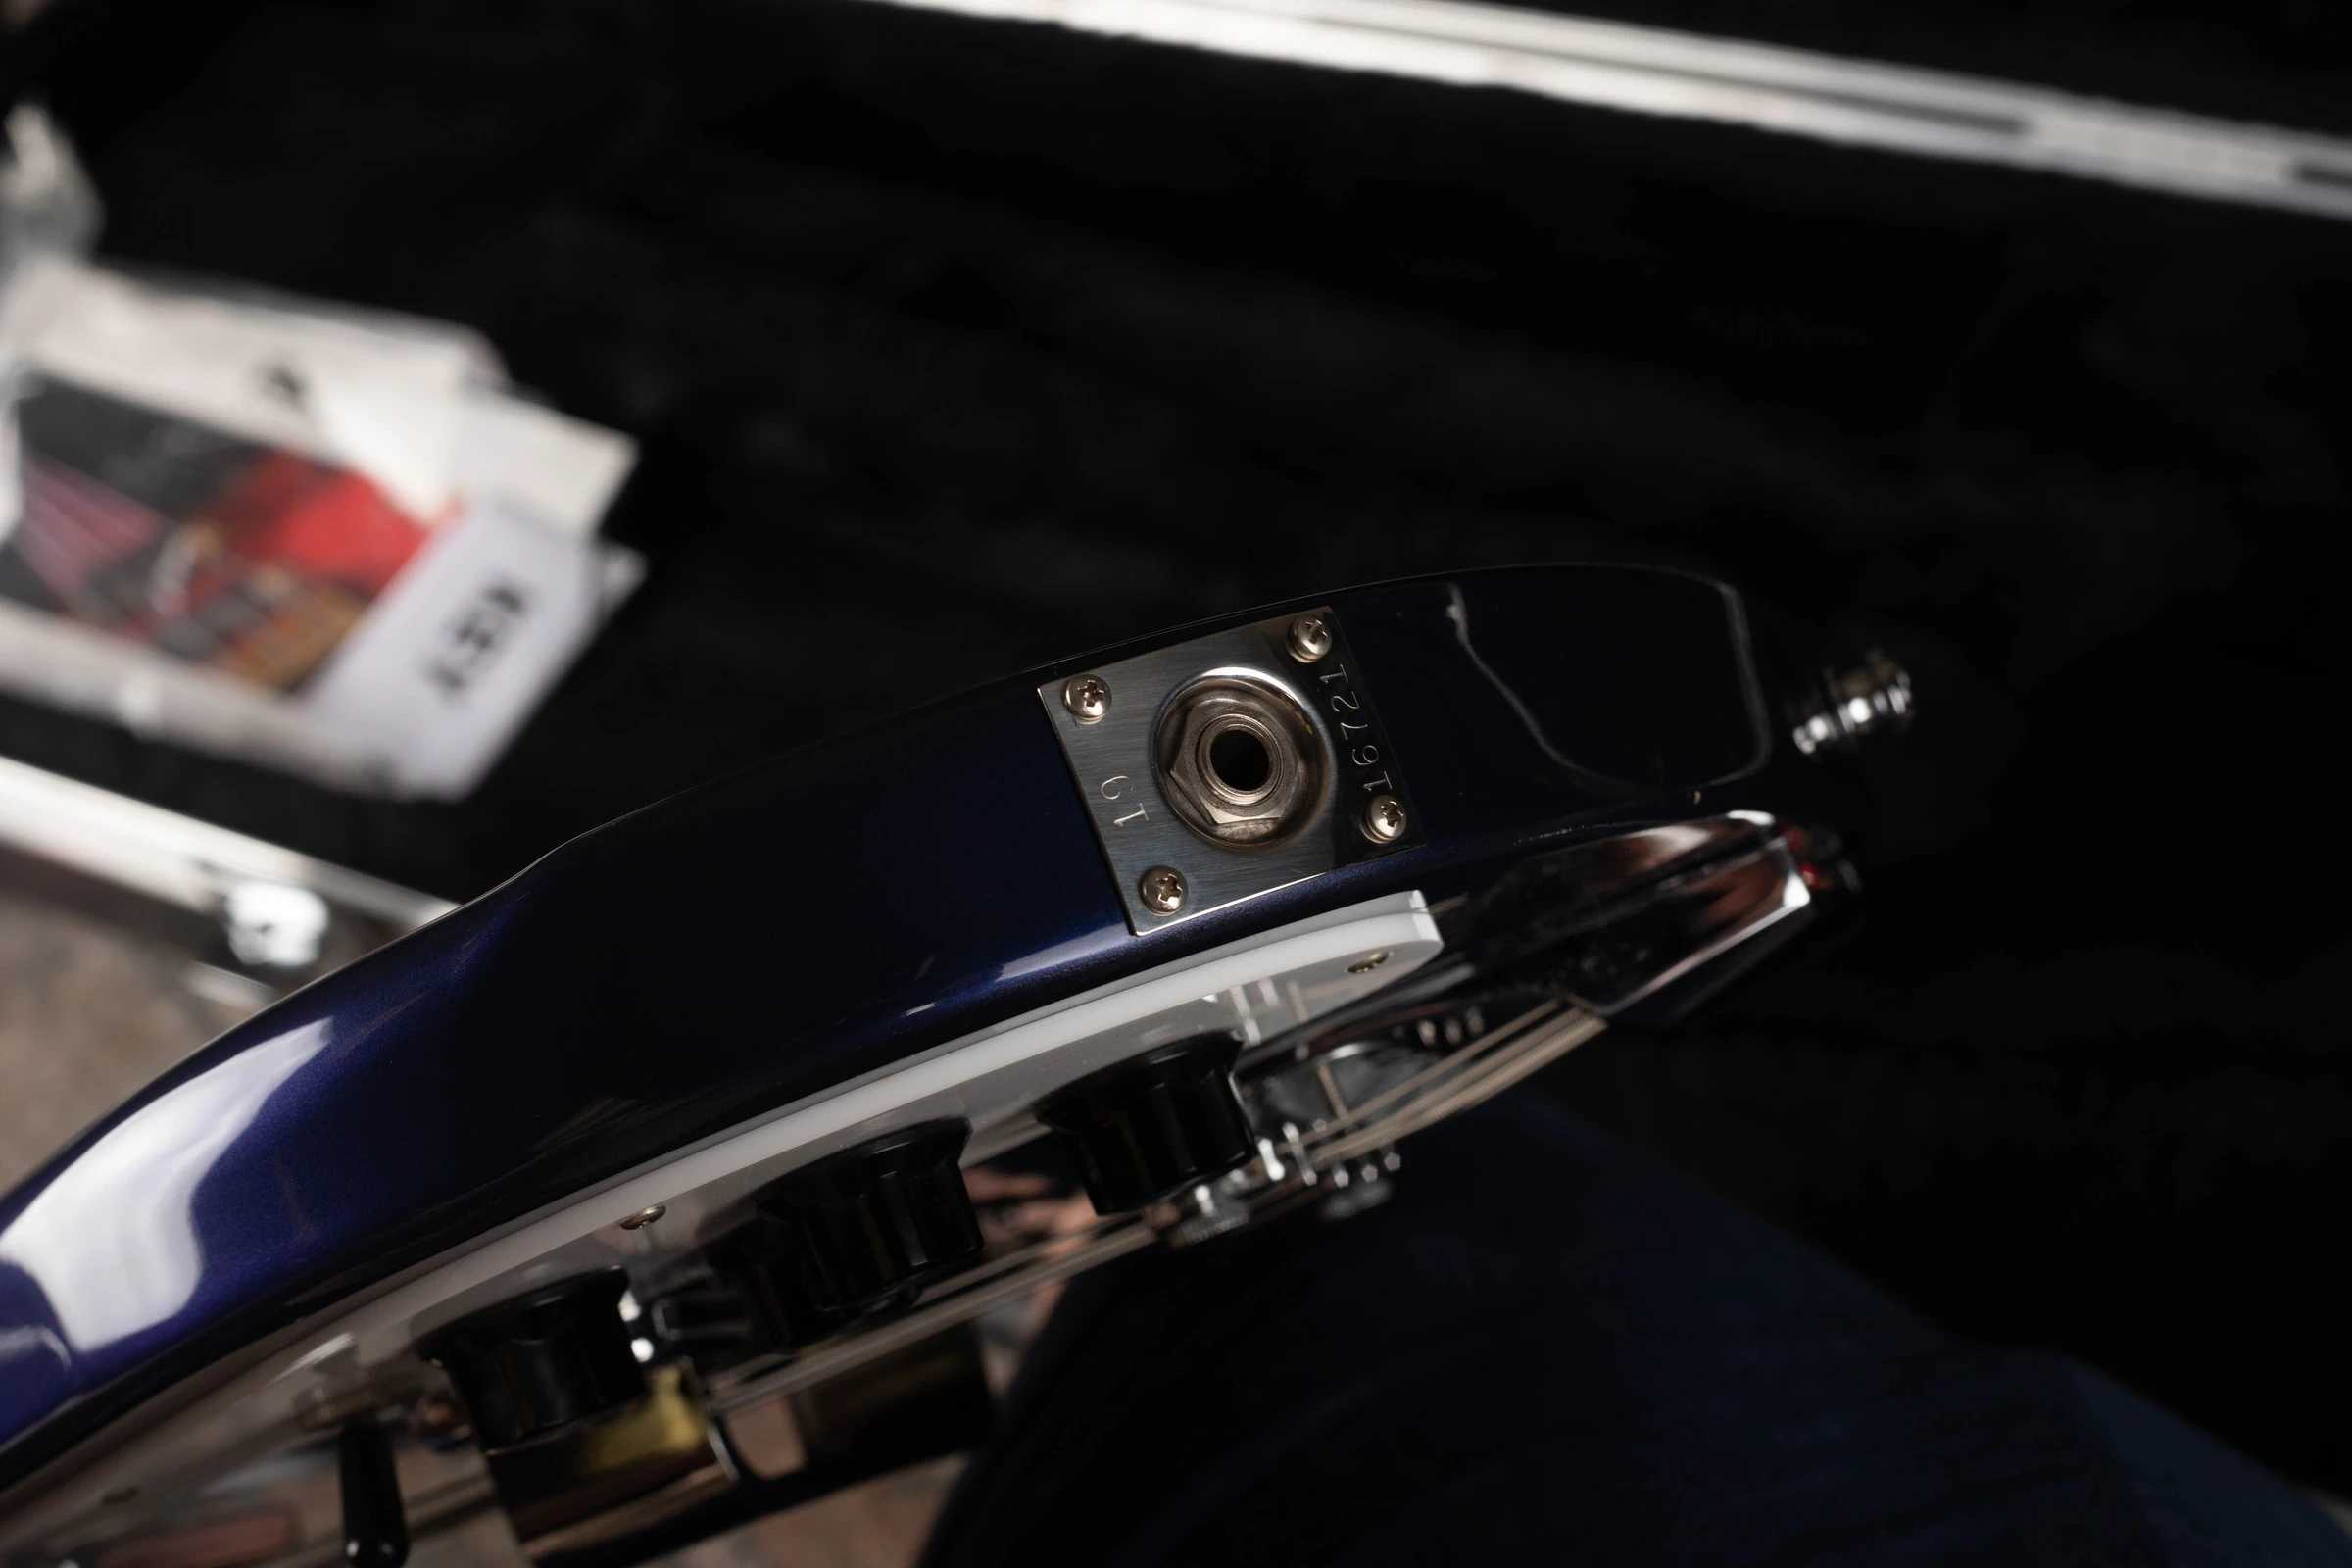
Inspect The Bridge And Fingerboard
Check saddle adjustment, bridge mounting and string alignment along the fingerboard. Replacement hardware may leave a visible footprint or new screw holes. Test intonation and action at normal tension, and record any setup limitation.
Inspect the fingerboard surface and fretwork without assuming it should match the glossy board on a different Rickenbacker family. A refret, altered radius or replacement nut should be documented. Examine the rear headstock for changed tuners and repair evidence.
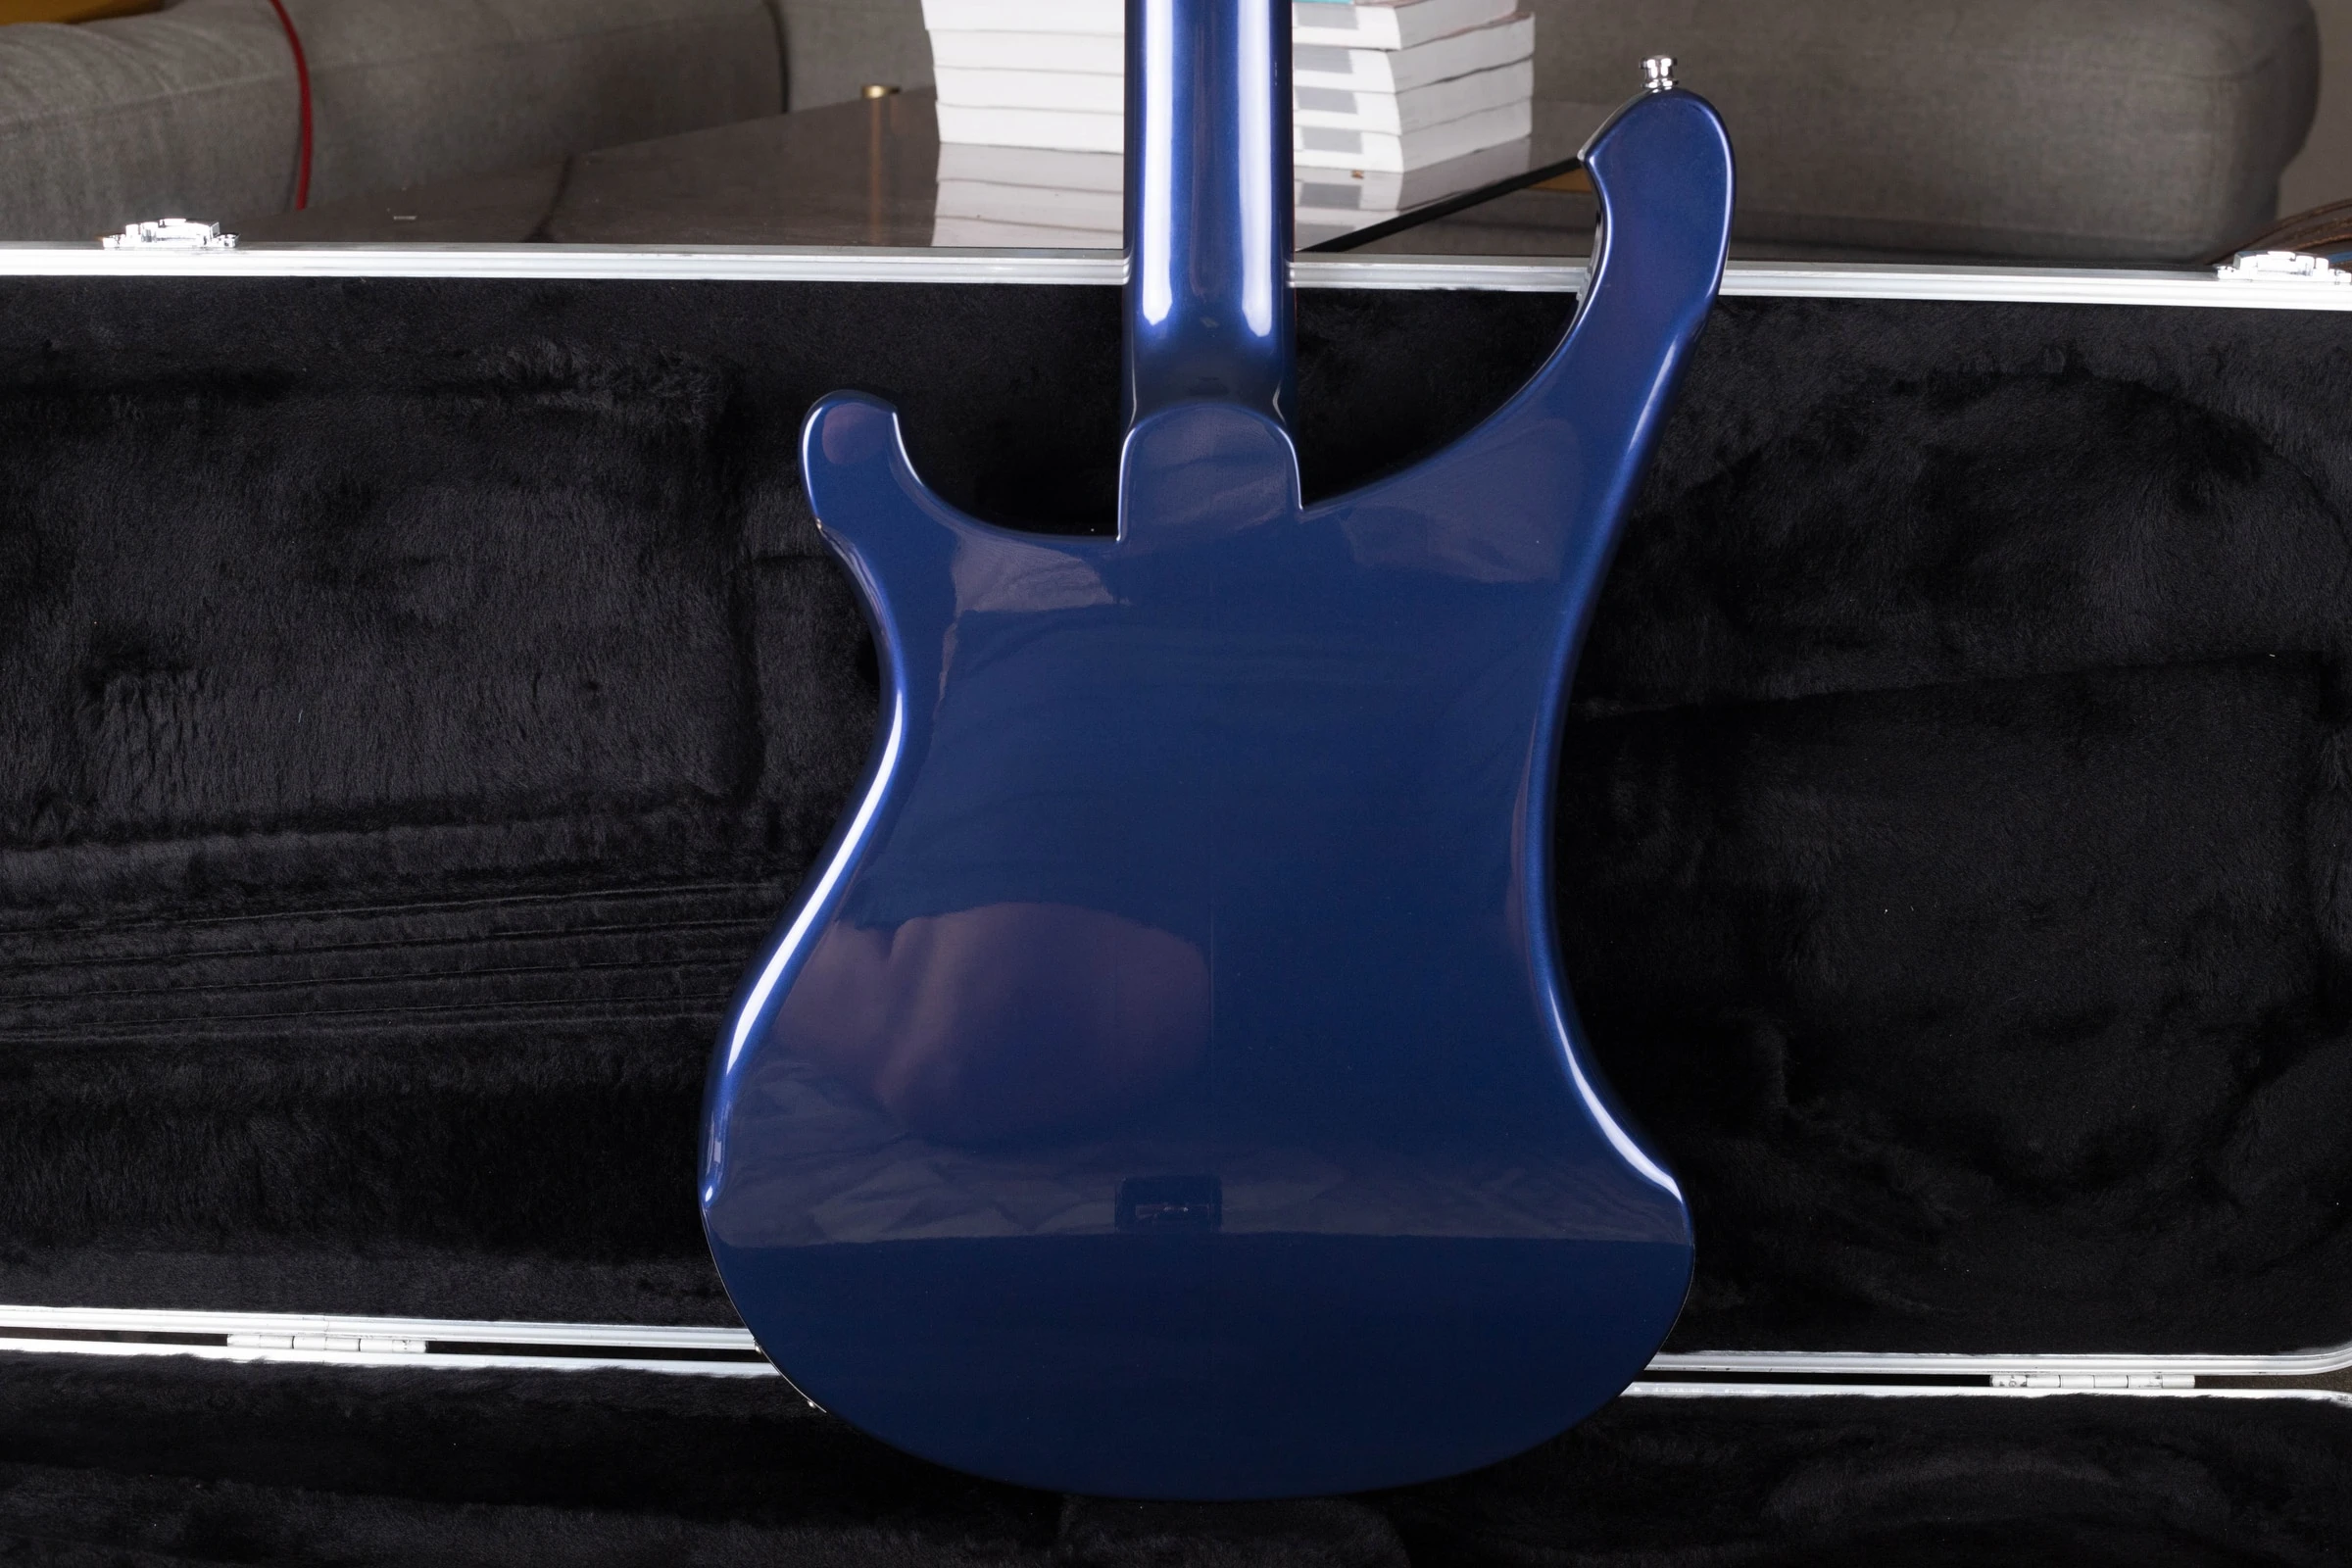
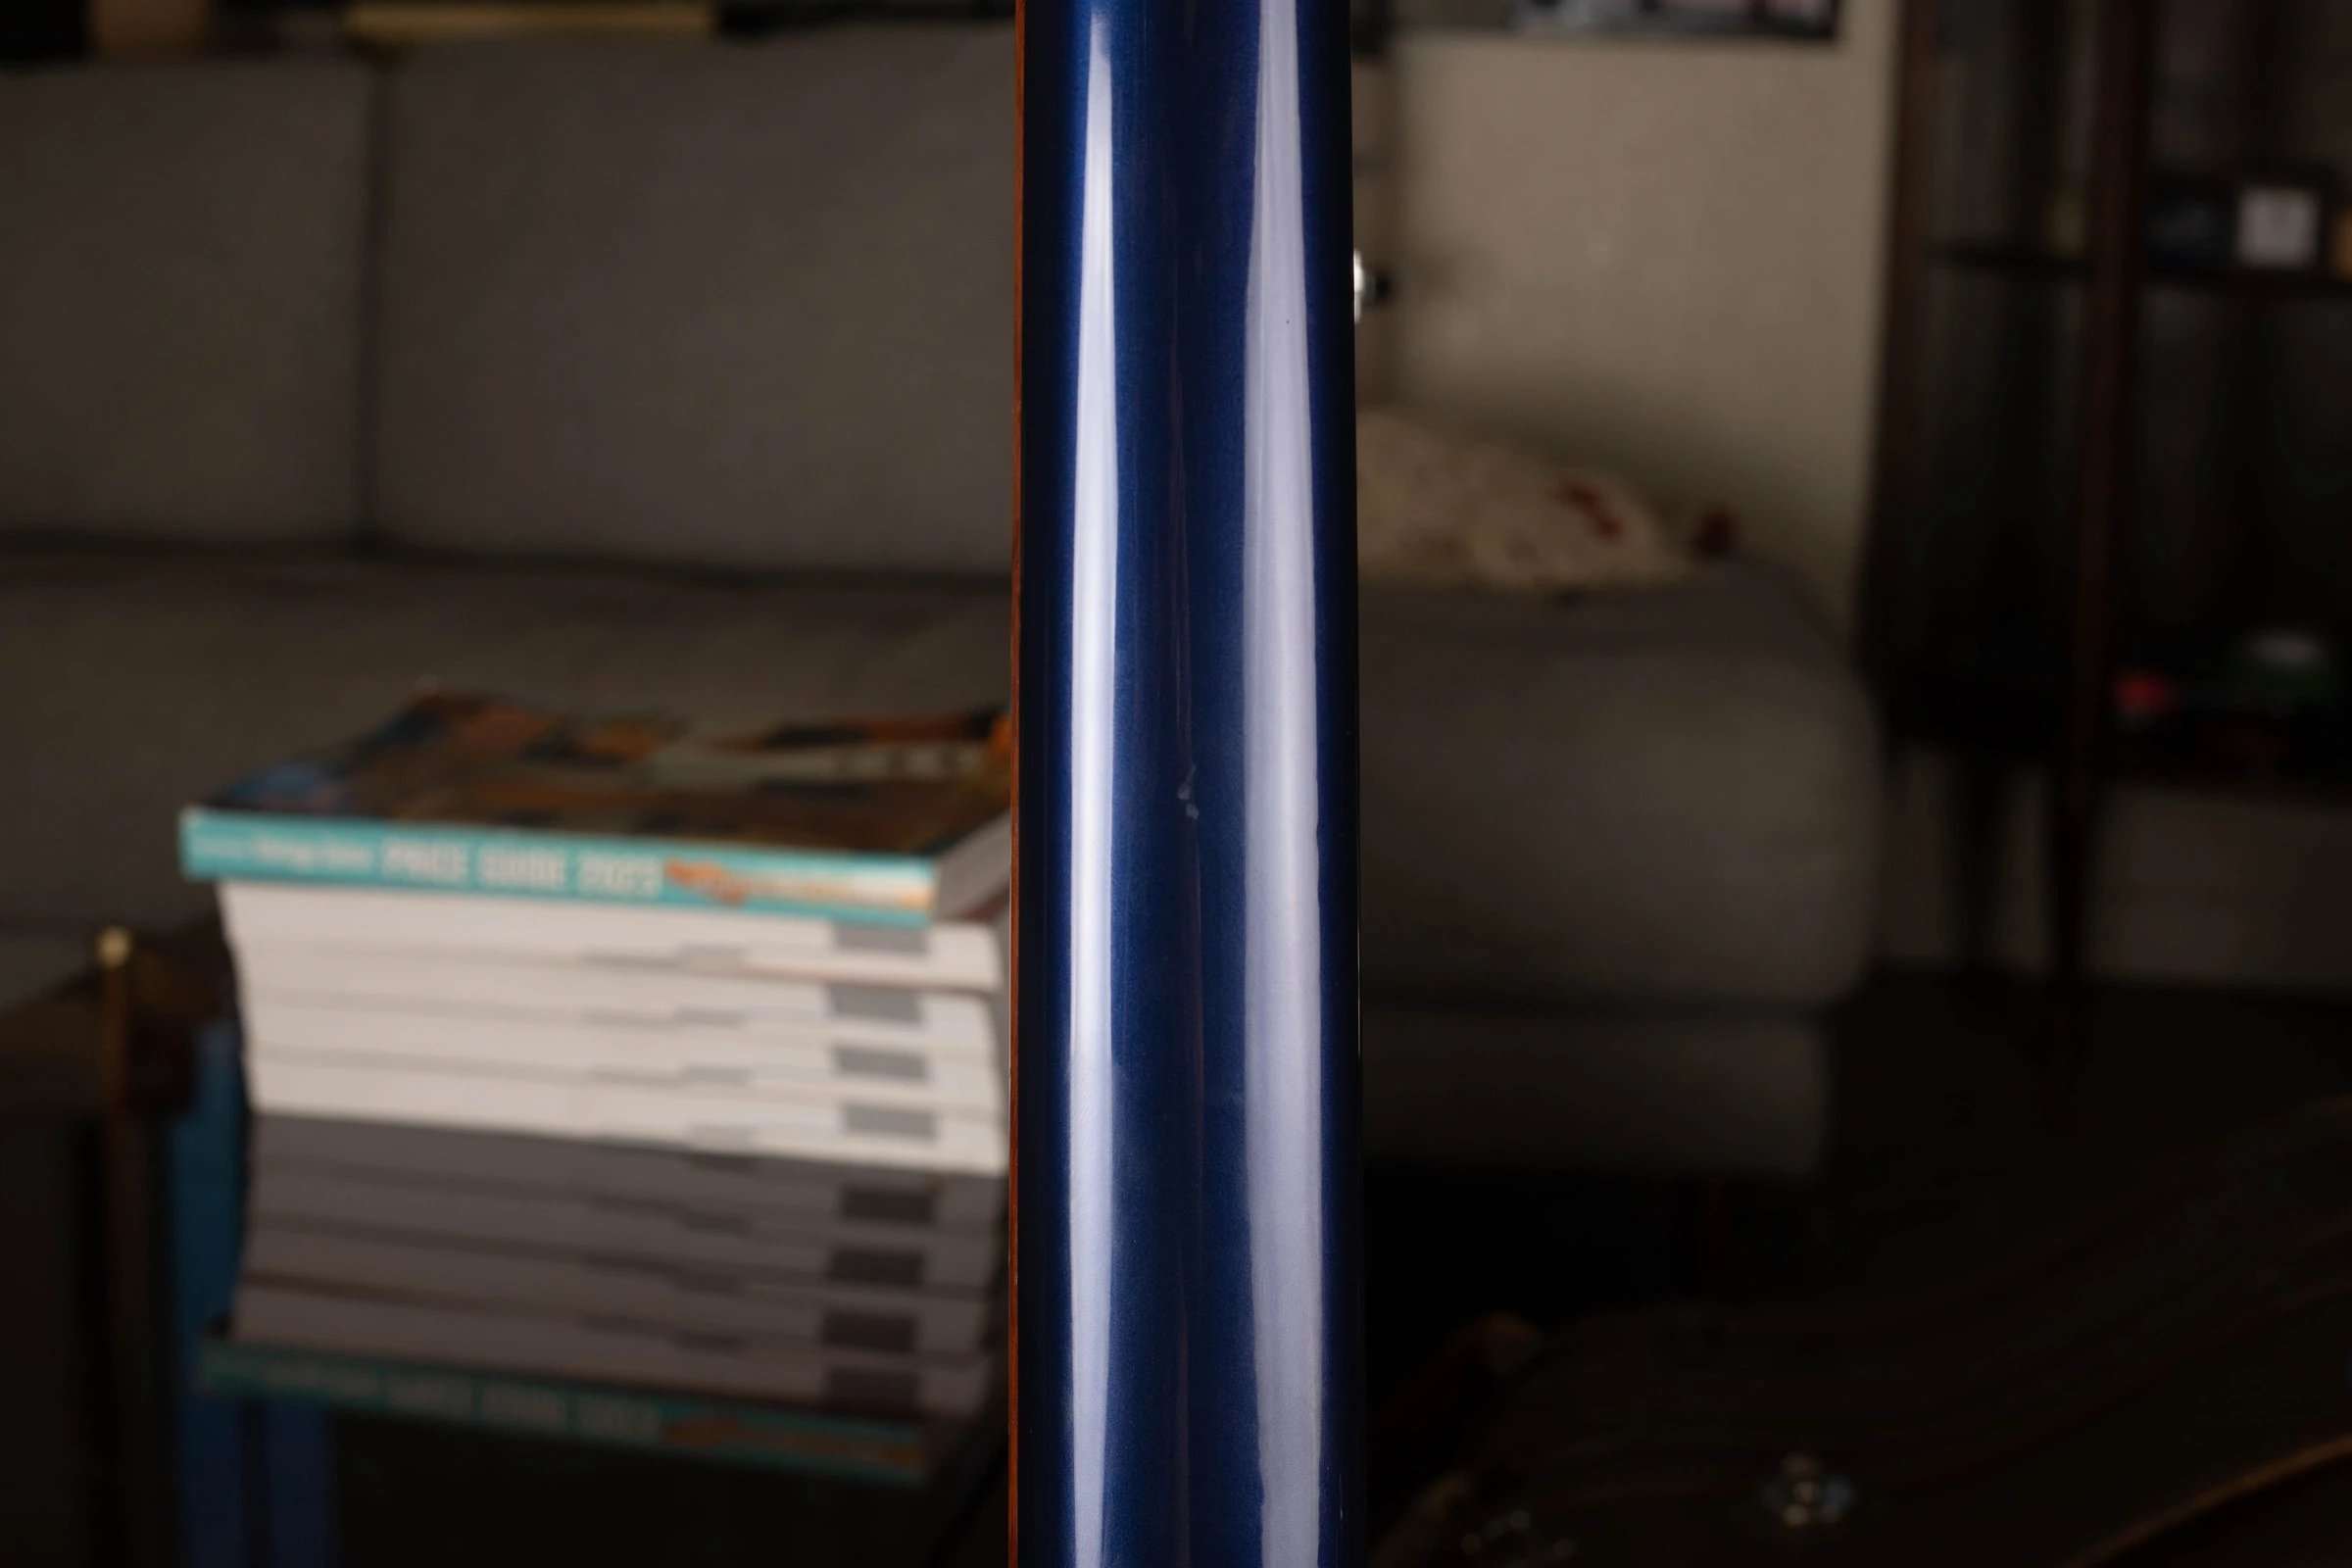
Corroborate The Date And Finish
Use the complete serial alongside construction and any dated paperwork. A replacement plate can carry a plausible date while the neck or body tells a different story. Photograph labels and markings before cleaning or polishing them.
Check finish around the neck joint, pickup opening and hardware footprints. An attractive refinish is still a refinish. Keep plain wear, local touch-up and stripped or repainted surfaces in separate descriptions so a buyer can compare the bass accurately.
Authentication Checklist
Keep four questions separate: is it a Rickenbacker, is the model correctly identified, is the date supported, and which parts or finishes remain original? A positive answer to one does not settle the others.
- Record the identity. Save the complete serial photograph, model claim, measurements and any dated paperwork. Use the serial lookup only for the formats it covers.
- Compare independent details. Check body construction, neck, pickups, tuners and controls against the same model and period. One replaced part may explain a mismatch; several unexplained conflicts need closer inspection.
- Describe condition precisely. Separate wear, refret, replacement nut, repaired breaks, routing, touch-up, overspray and refinishing. See our photo guide to refinishing clues.
- Inspect internally when justified. Have a qualified repairer document hidden routes, wiring and component dates if a disputed claim affects the purchase. Do not force old screws, fragile guards or an unfamiliar neck adjustment.
- Keep uncertainty visible. “Consistent with this period” is different from a proven exact date or a claim that every solder joint is untouched. Photos can guide an appraisal; some findings require an in-person examination.
Photos For An Appraisal
Take unfiltered photographs in even light. Include the full front and back, both headstock faces, the entire serial or other markings, pickups, controls, bridge, neck joint and any damage. Add the measurements or model-specific views described above. Photograph the case, paperwork and removed parts separately.
You do not need to take the instrument apart for an initial review. If a detail cannot be seen, say so. A clear statement of known repairs and unknown history is more useful than an unsupported claim of complete originality.
Have A Rickenbacker To Identify Or Sell?
Send Joe your photos and any known history. We can help identify the instrument, discuss its condition and make an offer if you are ready to sell.
Sources And Further Reading
Factory documents establish period model descriptions. Instrument-specific references help compare construction; their originality claims are not independent certifications.
- Rickenbacker January 1977 Factory Price ListSeparates the short-scale 3000 from the full-scale 3001.
- Rickenbacker 3000-Series Circuit ReferenceFactory circuit index includes the 3000/3001 family; compare the actual model and period.
Photo Credits And Scope
Photographs are from Joe’s Vintage Guitars’ instrument archive. Captions identify the actual instrument shown, including related-model and later-production comparisons. Full frames and existing watermarks are retained. A photograph of another model is not evidence of the correct construction for yours.