

Gibson L-7 Identification · Acoustic Archtops
Gibson L-7 Authentication Guide
Measure the body, establish whether it’s a cutaway and read the factory evidence before judging the appointments or electrical equipment.
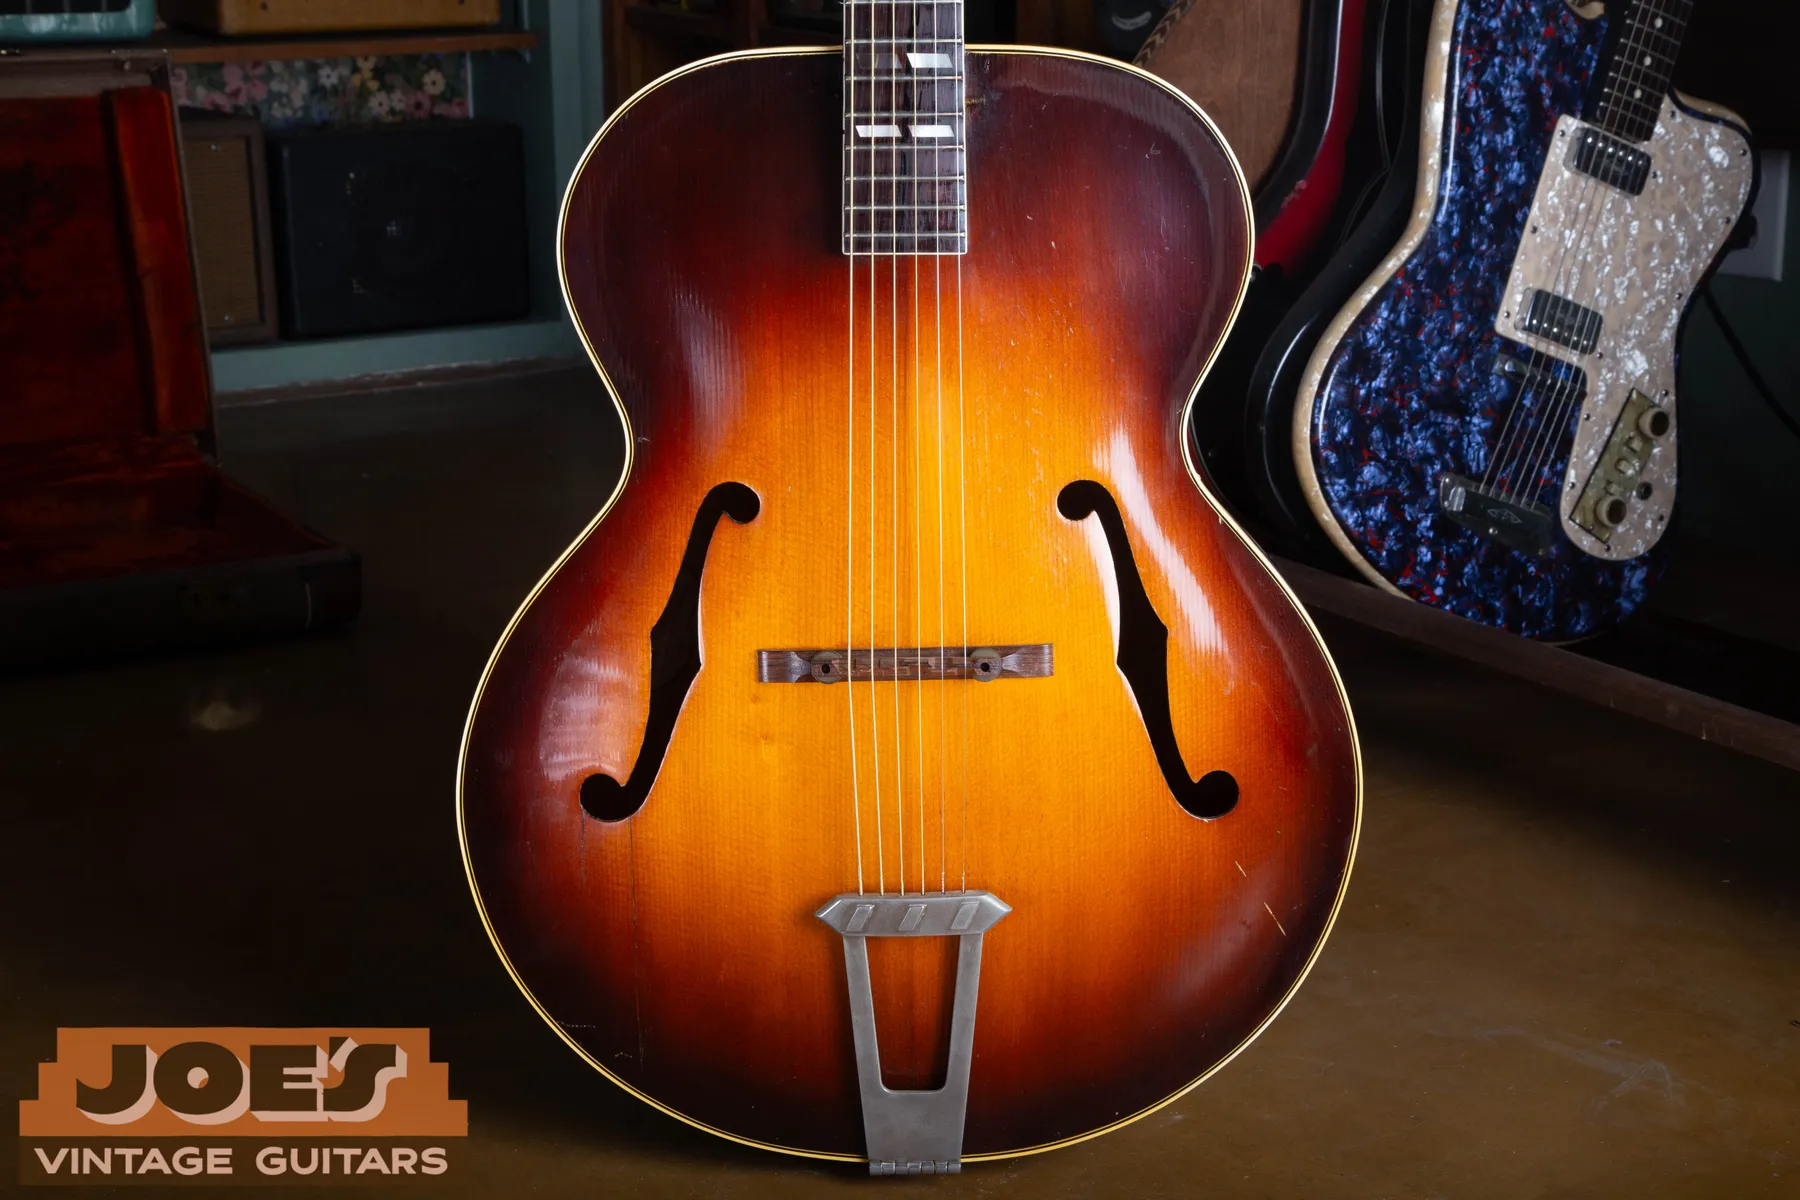
A Gibson L-7 identification starts with body size, cutaway and construction, followed by the label and appointments. Early 16-inch guitars, later 17-inch noncutaways and the L-7C need different comparisons. Joe’s 1947 archive example has a readable A 976 label and a noncutaway body. Once those details are established on your guitar, the L-7 value guide provides the corresponding price groups.
Authenticity And Originality Are Assessed From The Information Provided. A Hands-On Inspection Can Change The Conclusion.
Size, Construction And Appointments
What Makes An L-7 An L-7?
The L-7 is an acoustic archtop family with f-holes, a floating adjustable bridge and a tailpiece. Its outline overlaps other Gibson archtops, so a sunburst body and Gibson logo are only the beginning. Measure the lower-bout width and record the neck, fingerboard and headstock in the same photo set.
Gibson’s 1934 Catalog W documents a 16-inch-wide L-7 with a carved spruce top and carved maple back. It lists maple rims, a mahogany neck and a rosewood fingerboard. The illustration shows decorative fingerboard inlays, a raised guard and a noncutaway outline. This early specification differs from the later 17-inch guitar.
The 1962 catalog supplies a separate reference for the L-7C: a 17-inch body, 25½-inch scale and three-piece curly maple neck. Its rosewood fingerboard carries shaped inlays. The carved spruce top, arched maple back and maple rims belong to that dated specification, rather than a universal recipe for every L-7.
Keep the model distinction from an L-5 in view. Similar dimensions or an attractive figured back don’t establish the higher model. The factory label, headstock treatment, fingerboard pattern and hardware must be assessed together. A changed tailpiece or guard can otherwise make a body-only photograph misleading.
Choose A Reference Before Judging A Detail
Early, Advanced And Postwar L-7s
The 16-Inch L-7
The early pricing group covers 1932 to 1934, and the 1934 factory catalog confirms the smaller body specification. Measure the guitar directly. An older case that fits tightly or a photograph taken at an angle can’t substitute for the lower-bout measurement.
The early catalog appointments should be compared with an early guitar. Later double-parallelogram inlays and postwar headstock details are different reference points. If a neck or fingerboard has been replaced, the body evidence becomes especially important.
The 17-Inch Advanced Group
The 1935 to 1939 reference group identifies the 17-inch L-7 with X-bracing. Bracing is an interior construction feature. An exterior view can’t prove the pattern, and the appearance of a top arch is insufficient to distinguish it.
If a repairer has documented the interior, keep those photographs with the guitar. Otherwise, a light and mirror inspection can be arranged when necessary. Don’t remove a back or loosen a brace to answer an identification question.
Postwar Noncutaways And Cutaways
The postwar references separate the noncutaway L-7 from the L-7C. The body outline is the first check. A later pickup attached to either version needs its own description and doesn’t automatically establish a factory electric model.
Serial systems, logos and inlays can help narrow the period after the body is identified. Each feature has to be considered in light of possible repairs or replacement parts. A complete original-looking exterior still deserves a review of its label and neck joint.
Prewar Body And Decorative Inlays
A 1937 Gibson L-7 From Joe’s Archive
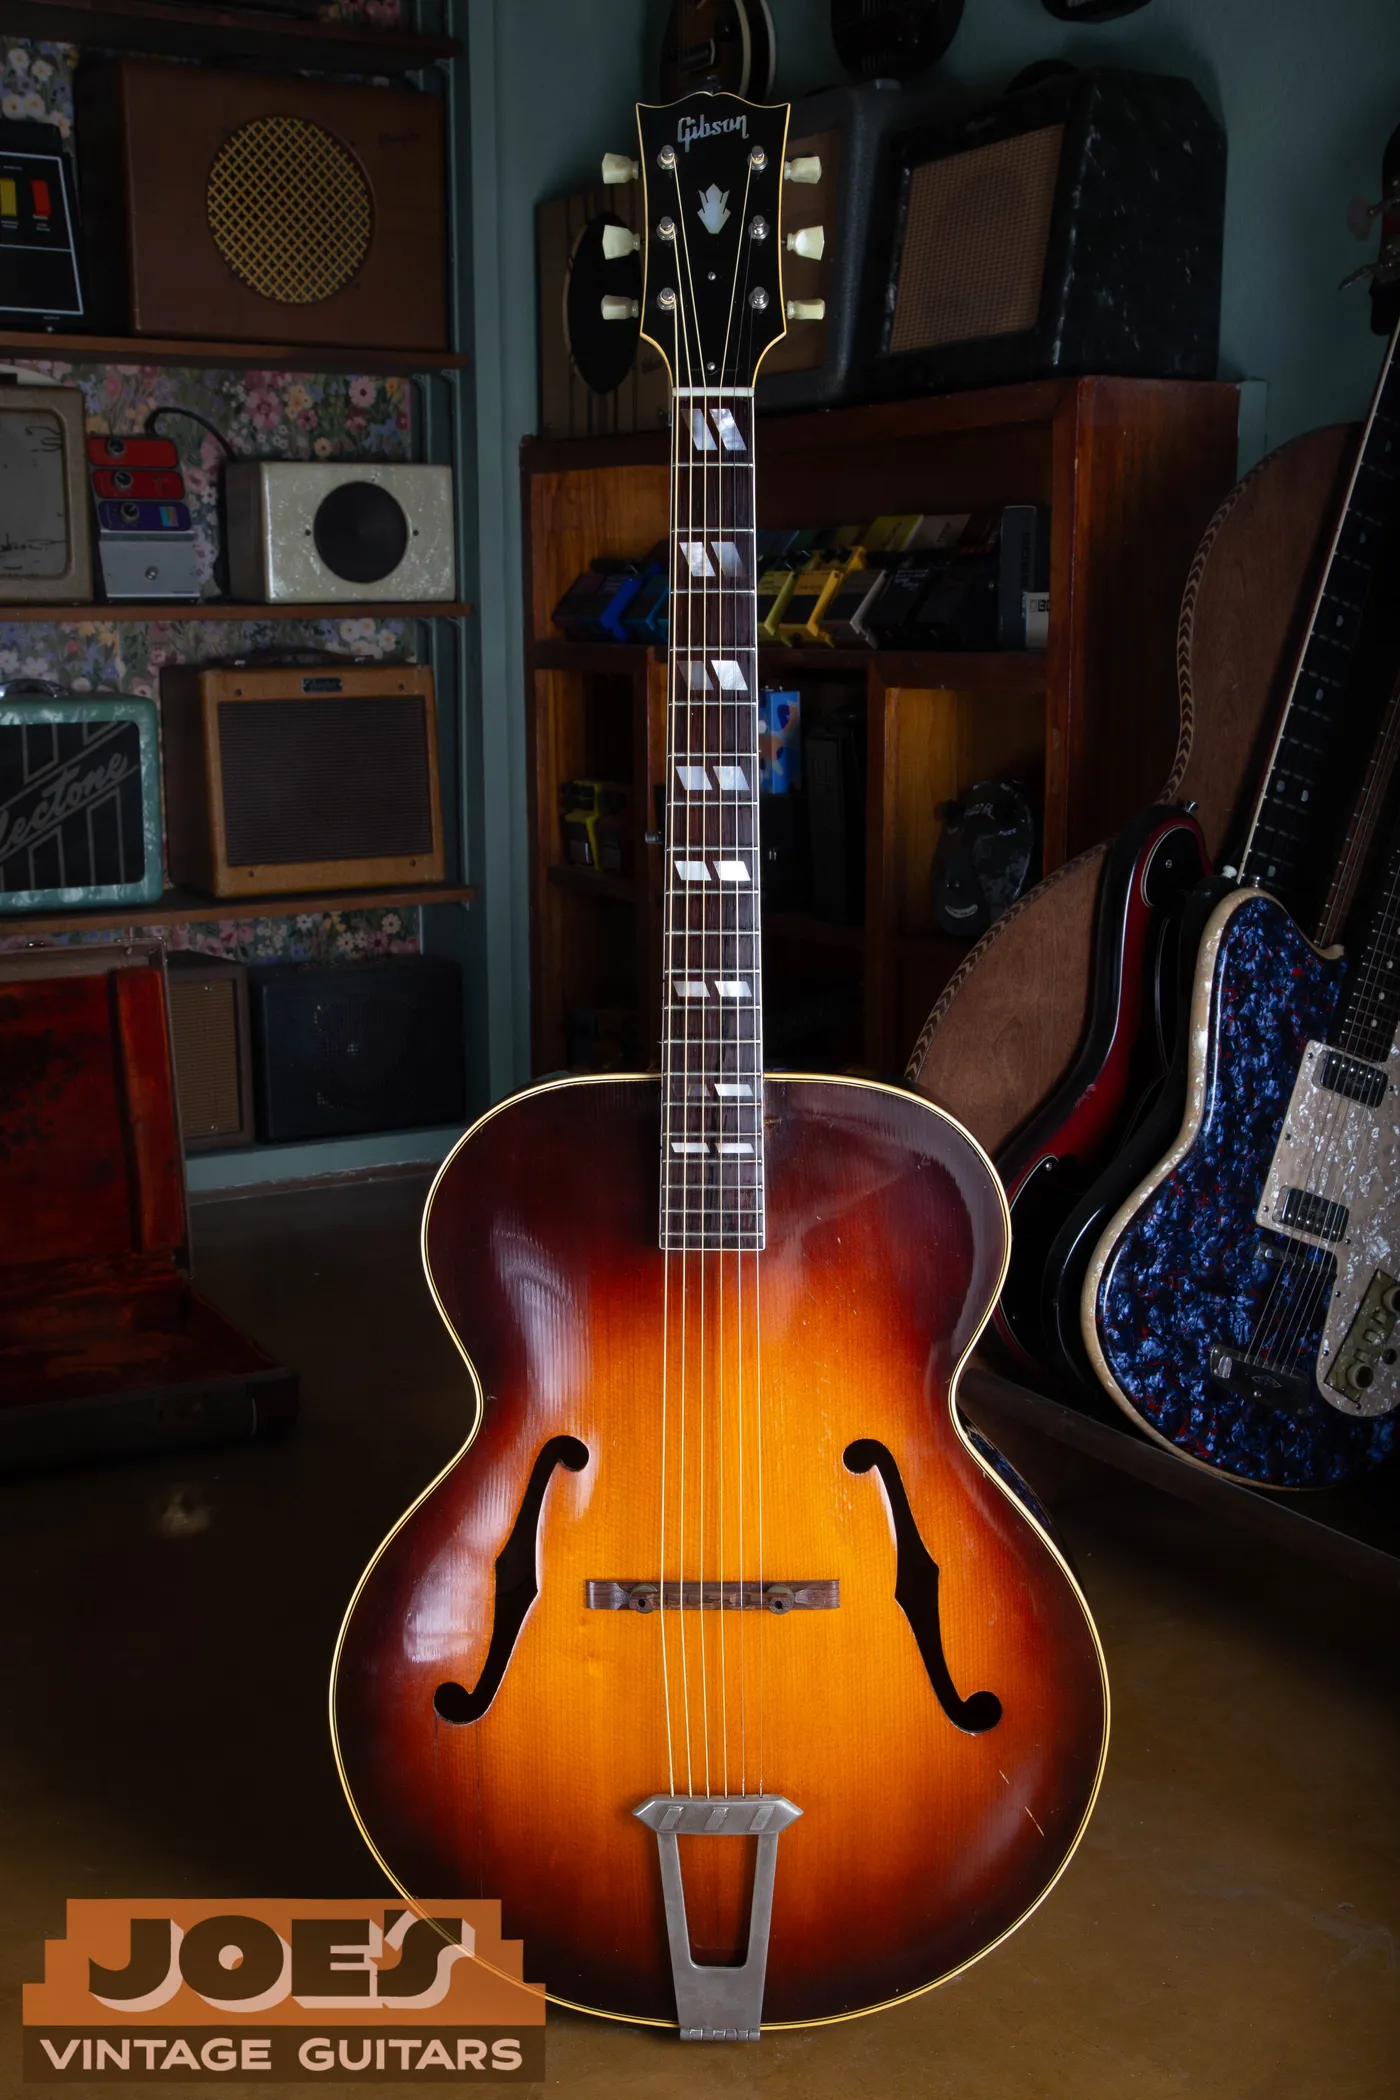
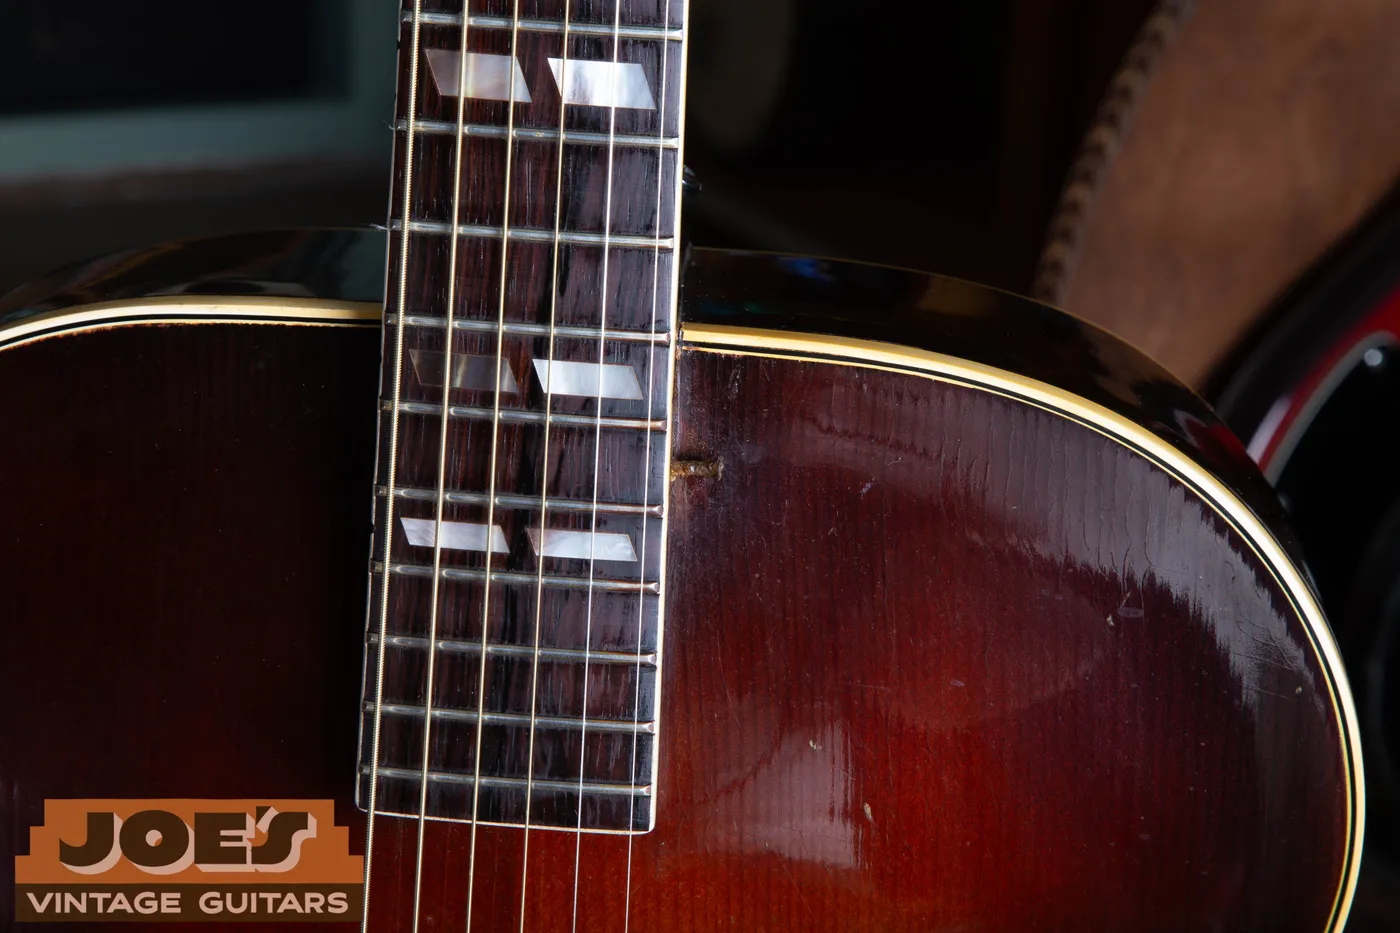
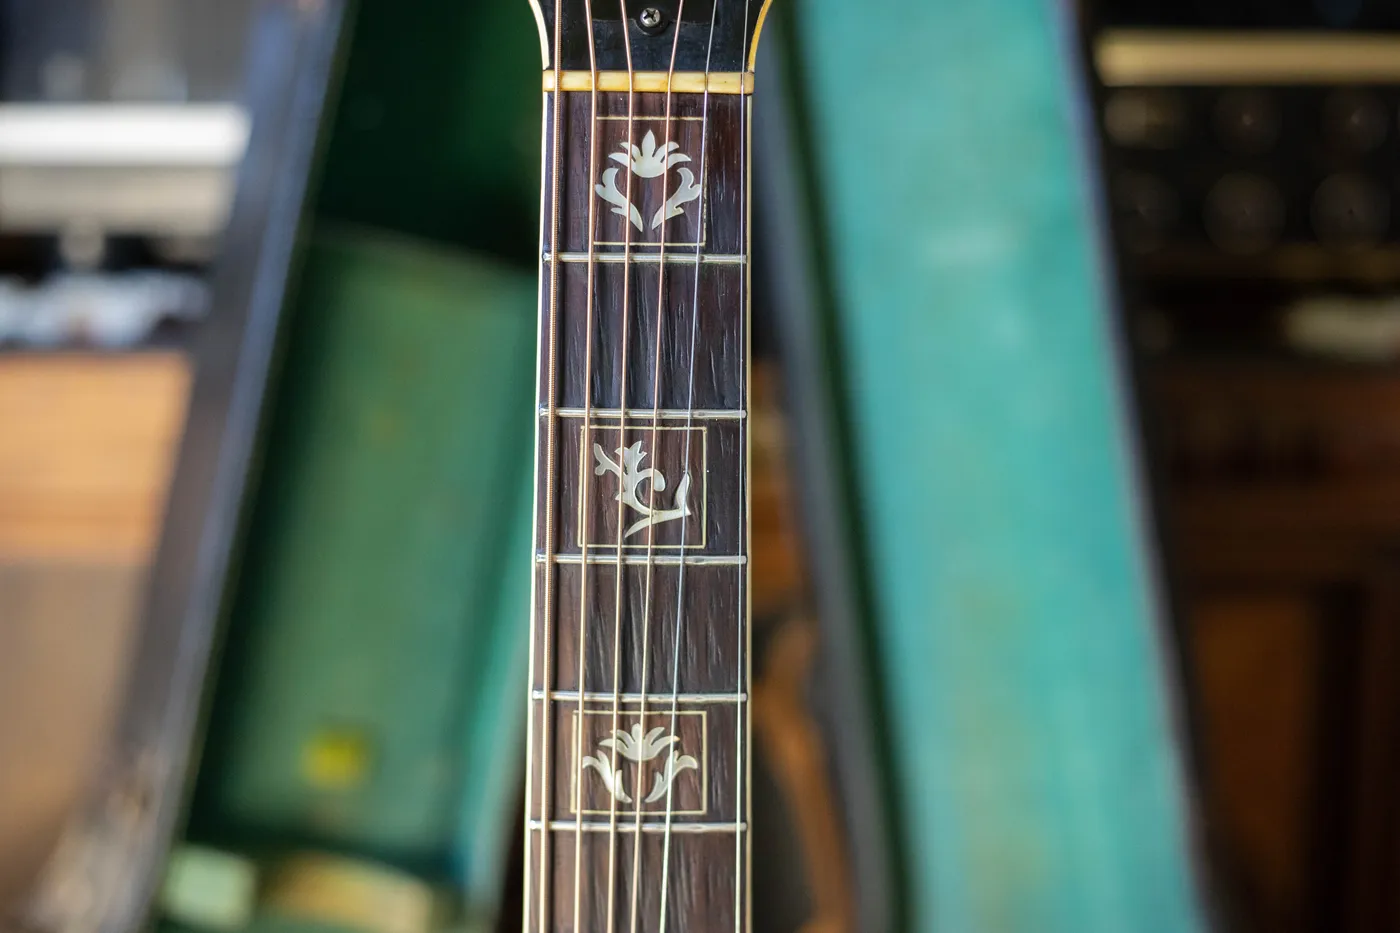
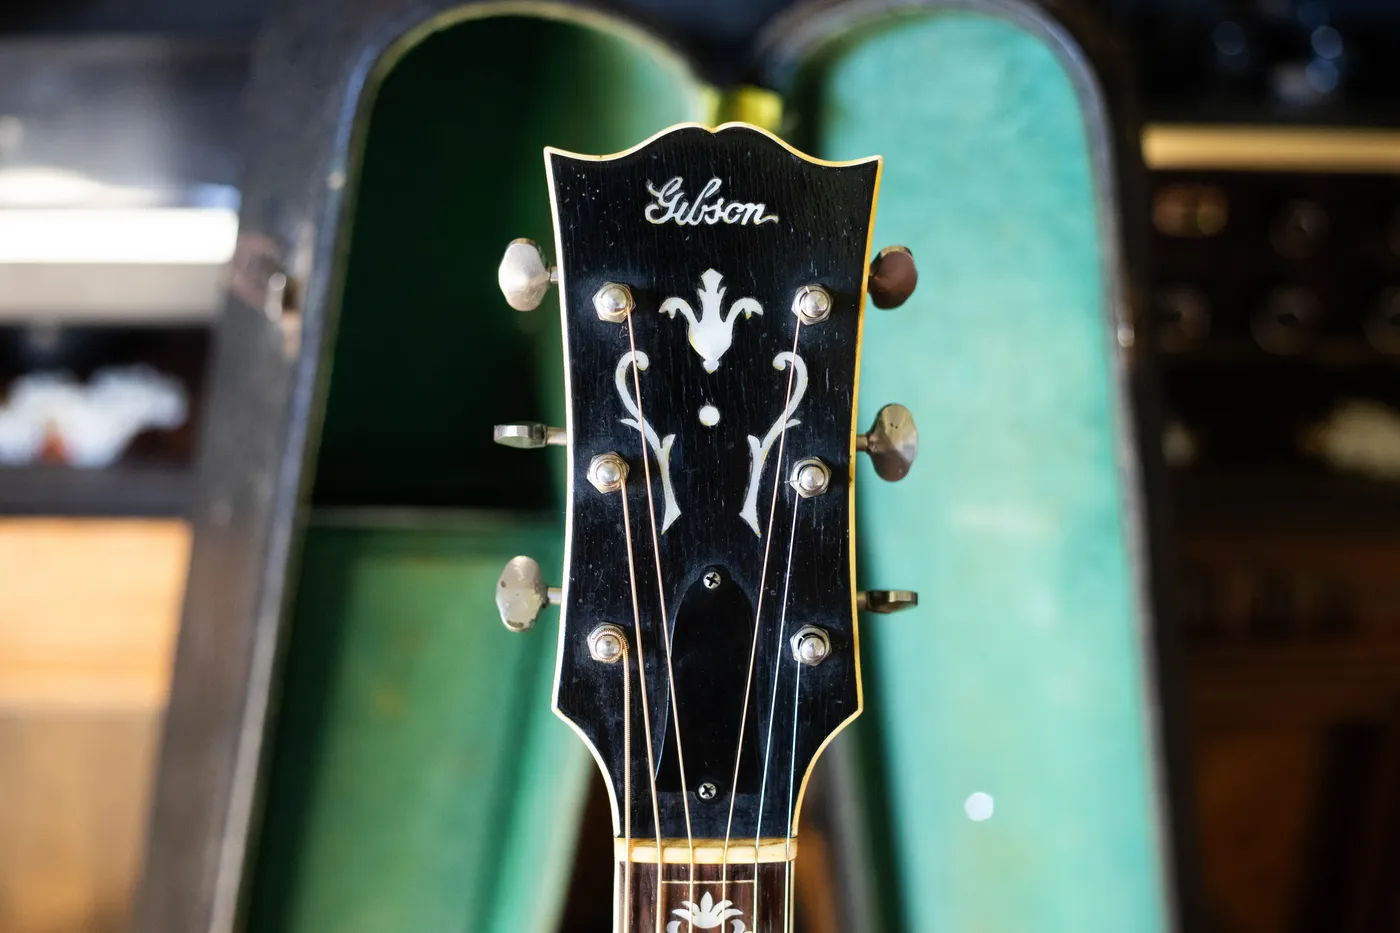
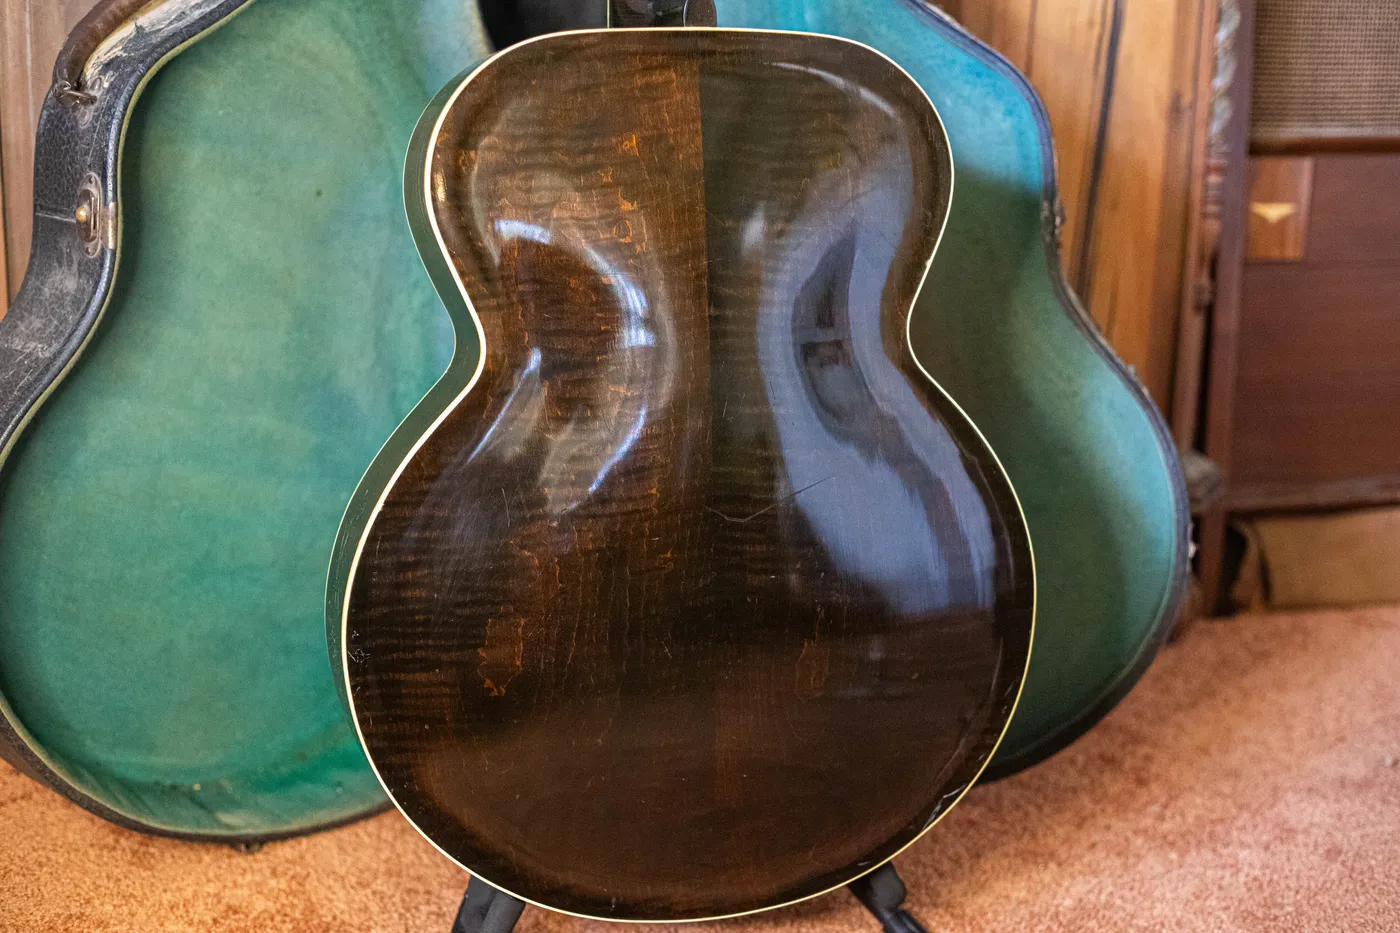
Joe’s 1937 L-7 shows the sunburst noncutaway body and elaborate fingerboard and headstock appointments of this prewar example. The headstock ornament and individual fingerboard patterns give a useful comparison with the later split-parallelogram inlays shown below.
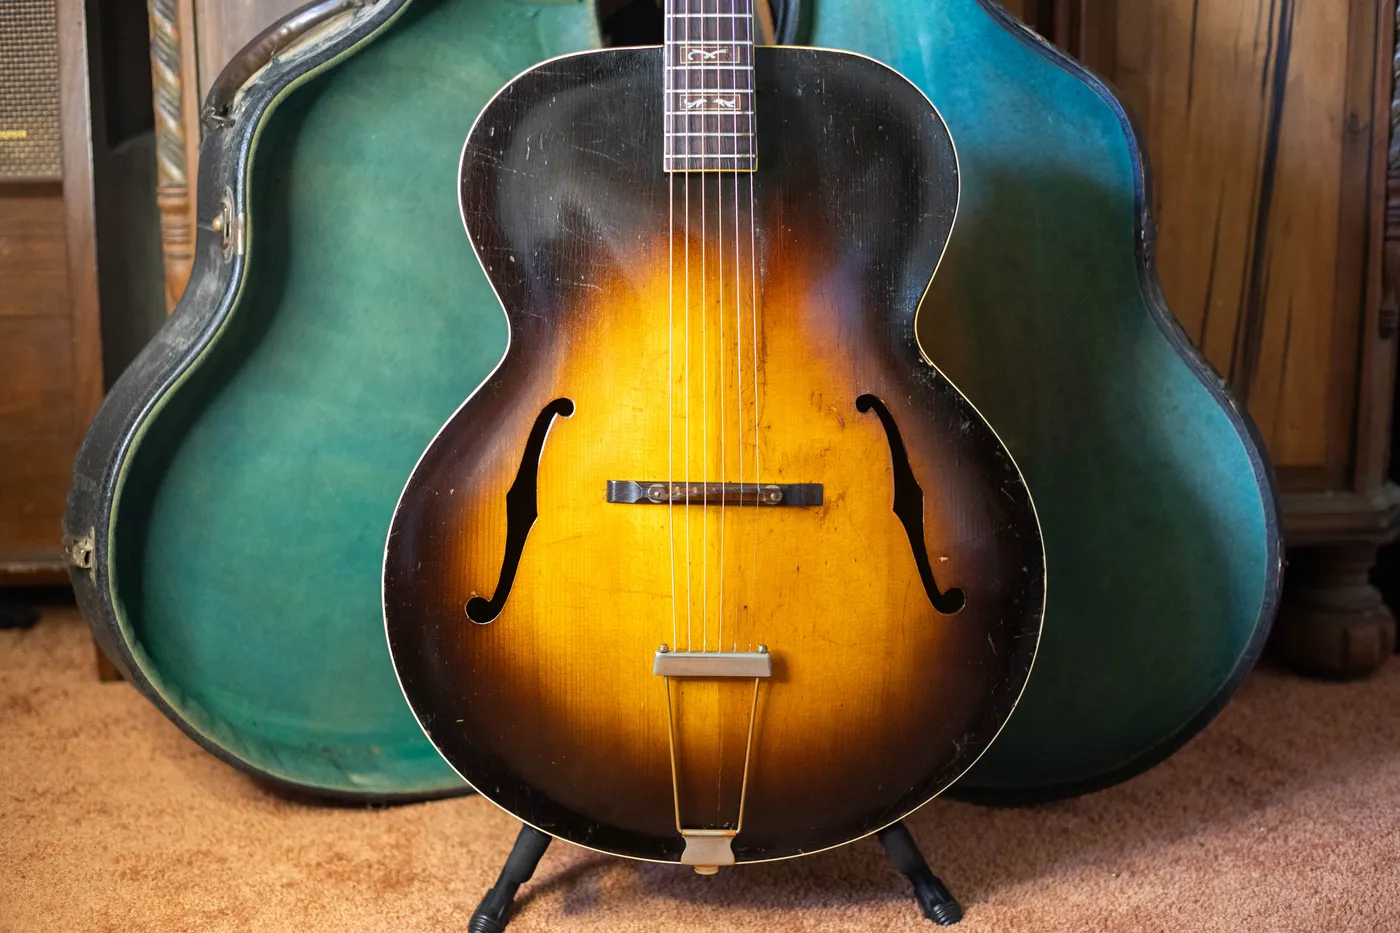
The front and back views record the body outline, binding and visible hardware. Use these photographs with the body measurement and factory markings when identifying another guitar. The exterior photographs do not establish its internal bracing.
A Brief Wartime Return To An Earlier Ornament
The Fleur-De-Lis Headstock On A 1944 L-7
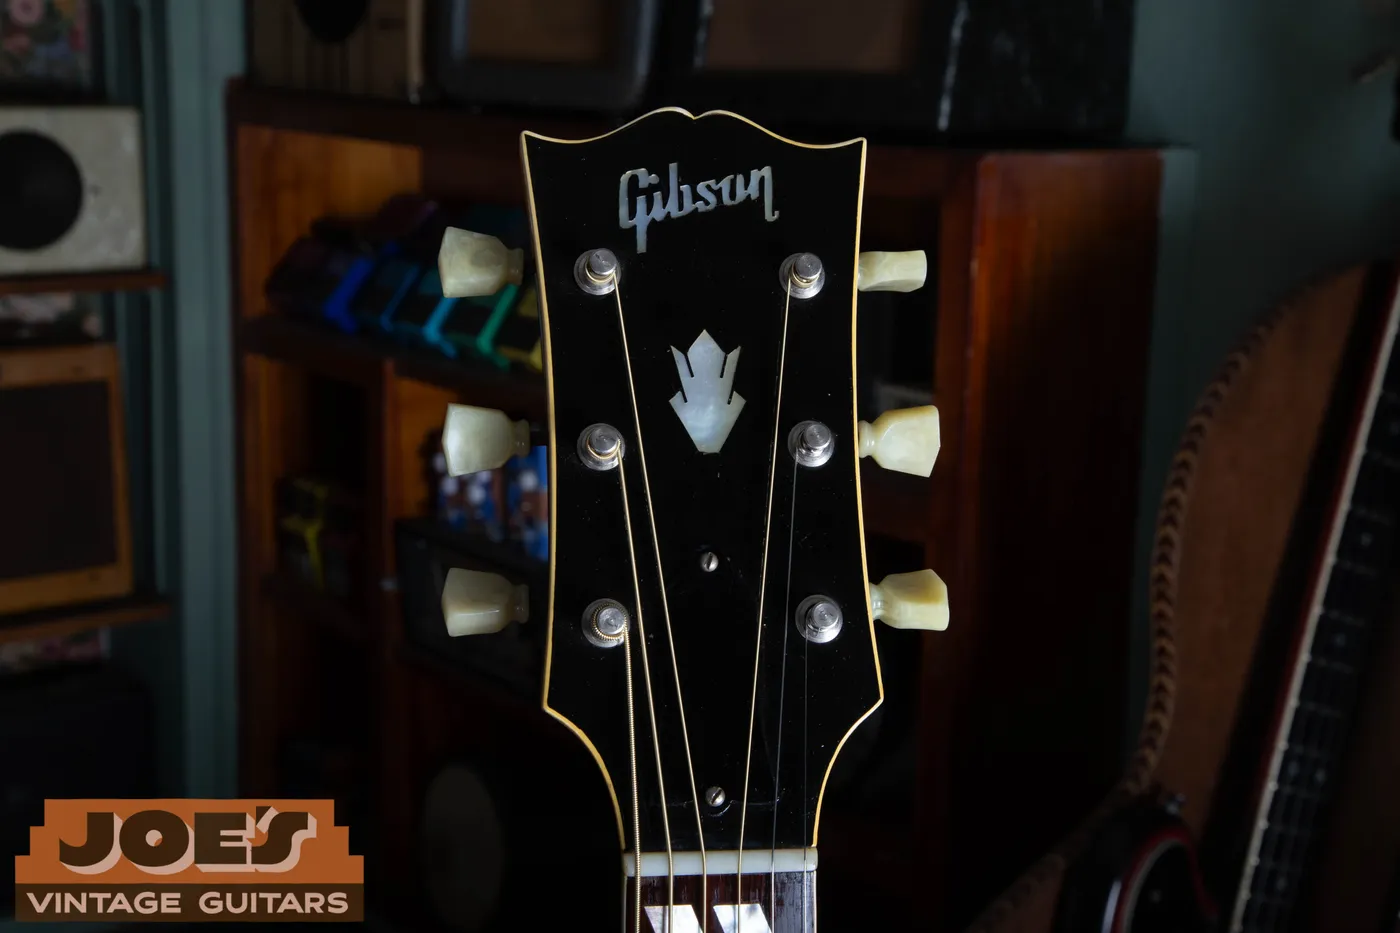
The fleur-de-lis beneath the script Gibson logo is the detail to look for on Joe’s 1944 L-7. Its narrow central point and outward-curving side leaves are clearly visible in the close-up. Compare that shape with the ornate headstock on the 1937 guitar and the crown on the 1947 example.
This was a brief wartime return to an earlier L-7 appointment. Gibson’s 1934 Catalog W already illustrates a fleur-de-lis on the model. A separately documented 1944 L-7 in archtop.com’s instrument archive records the wartime reuse of the earlier script logo and fleur-de-lis. The ornament therefore needs to be read with the label, body and fingerboard to establish a date.
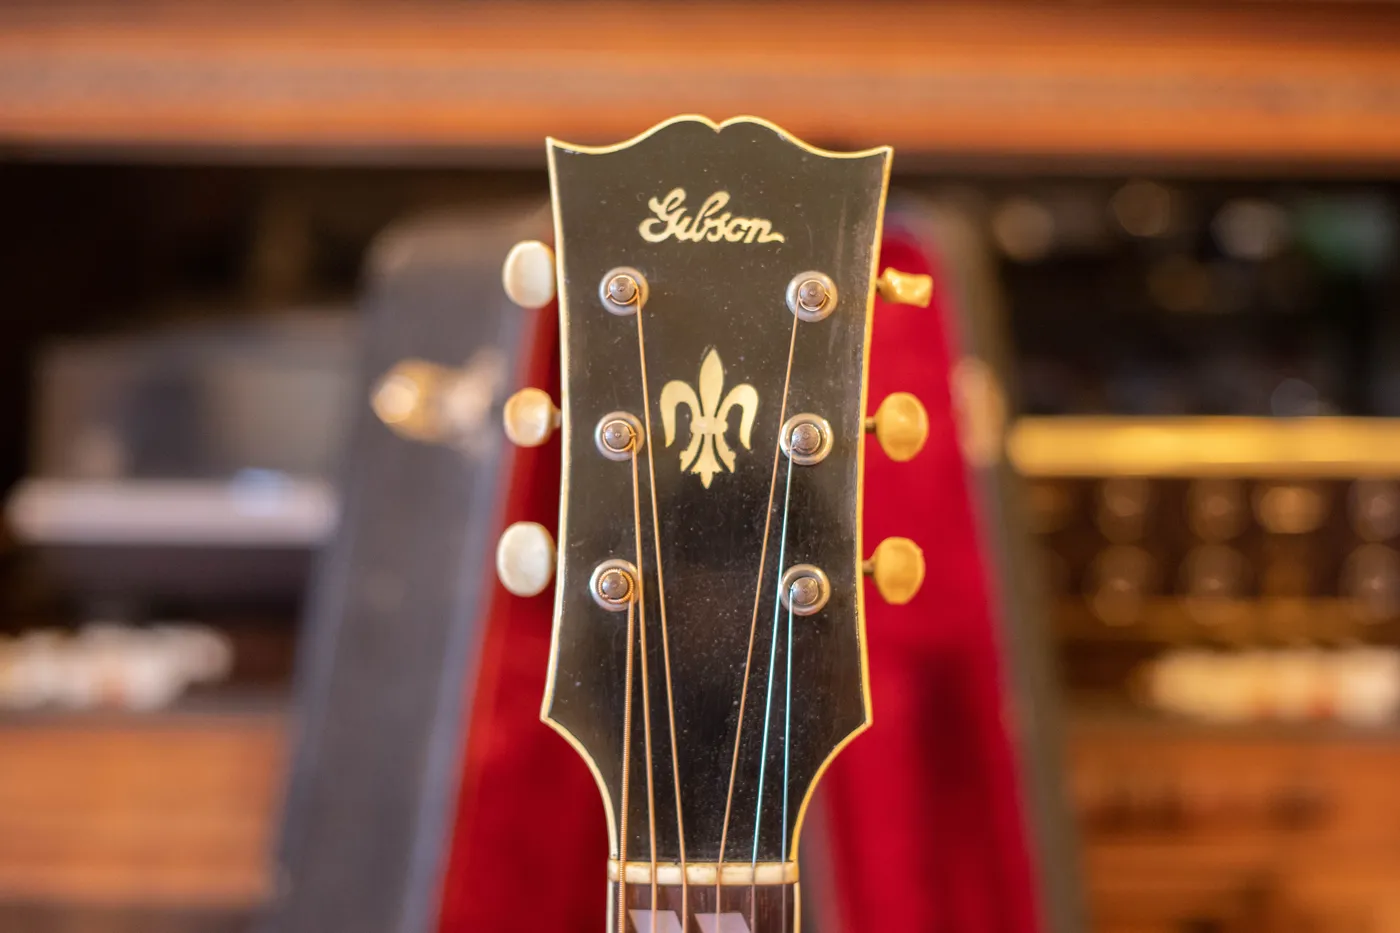
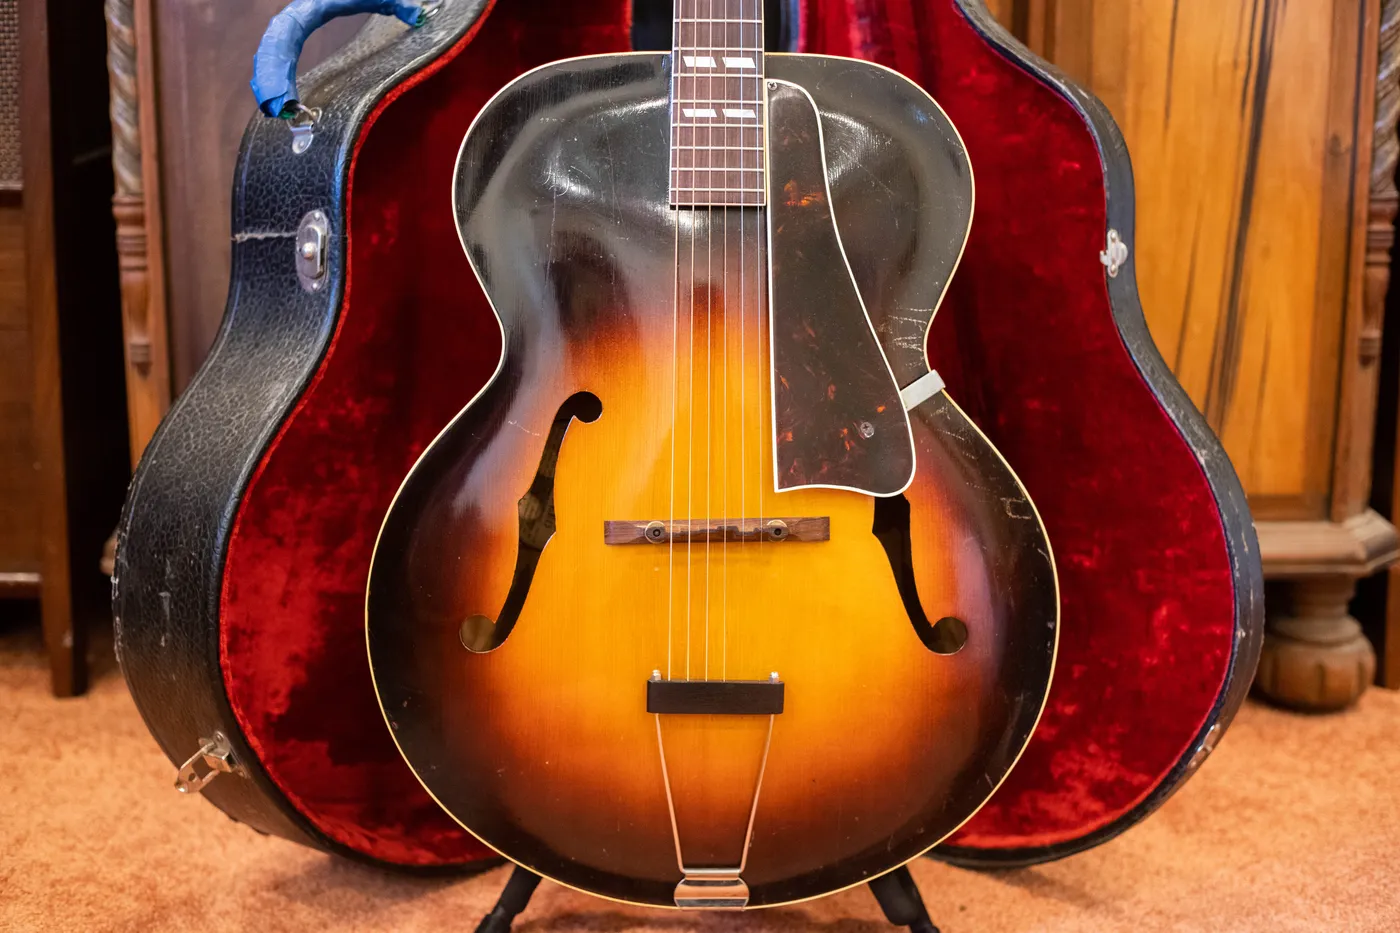
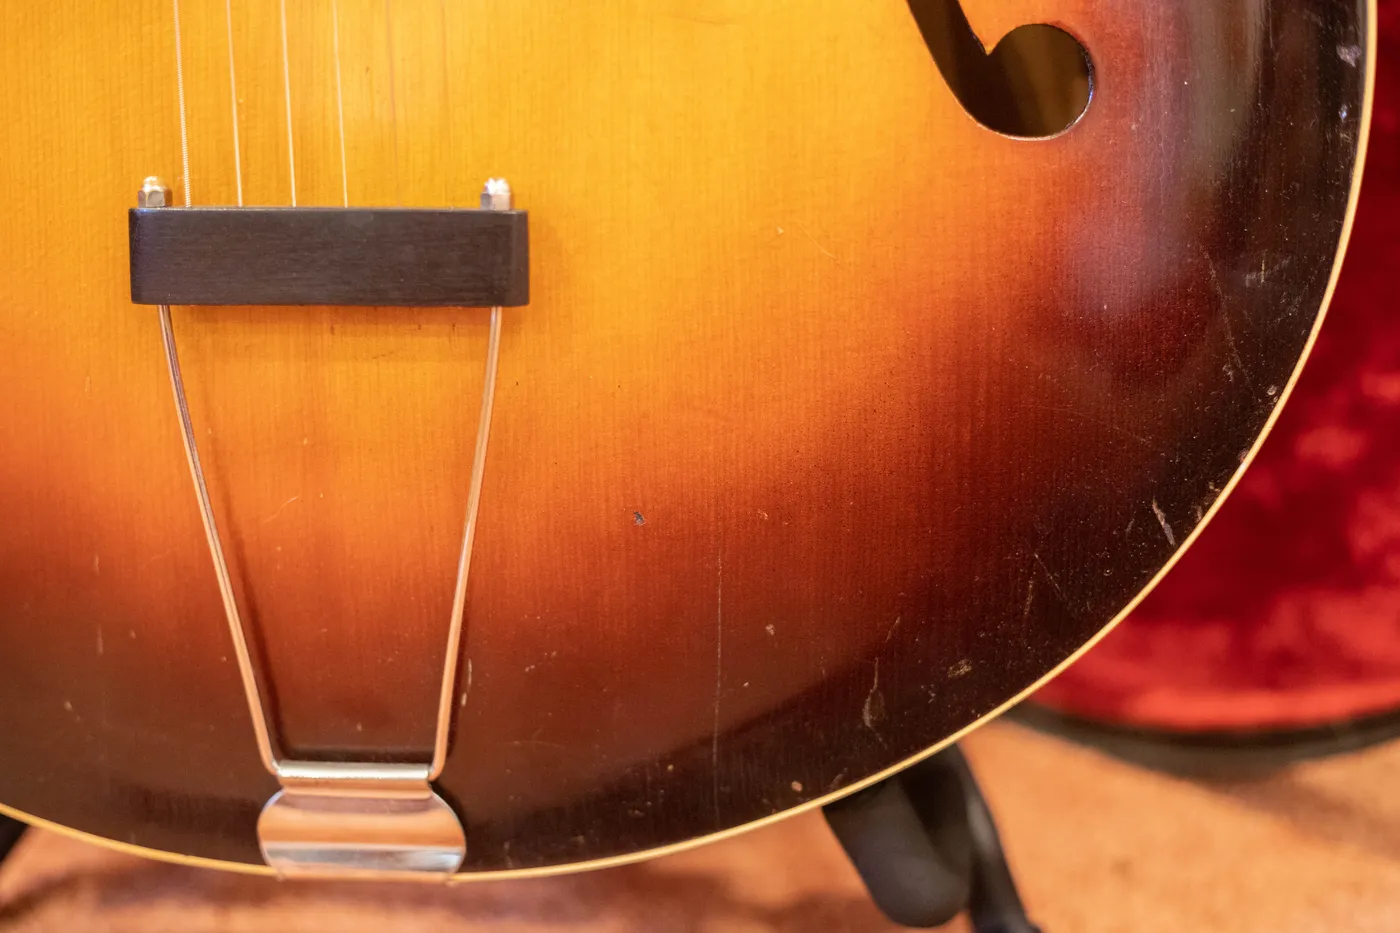
The same 1944 guitar pairs that headstock with split-parallelogram fingerboard inlays and a wooden crossbar on its trapeze tailpiece. Photograph these features together when documenting a wartime L-7. A headstock close-up gives a useful clue, while the complete instrument supplies the context for it.

1947 Noncutaway And 1949 Cutaway
Postwar L-7 And L-7C Examples From Joe’s Archive
1947 Gibson L-7
A Label That Can Be Read
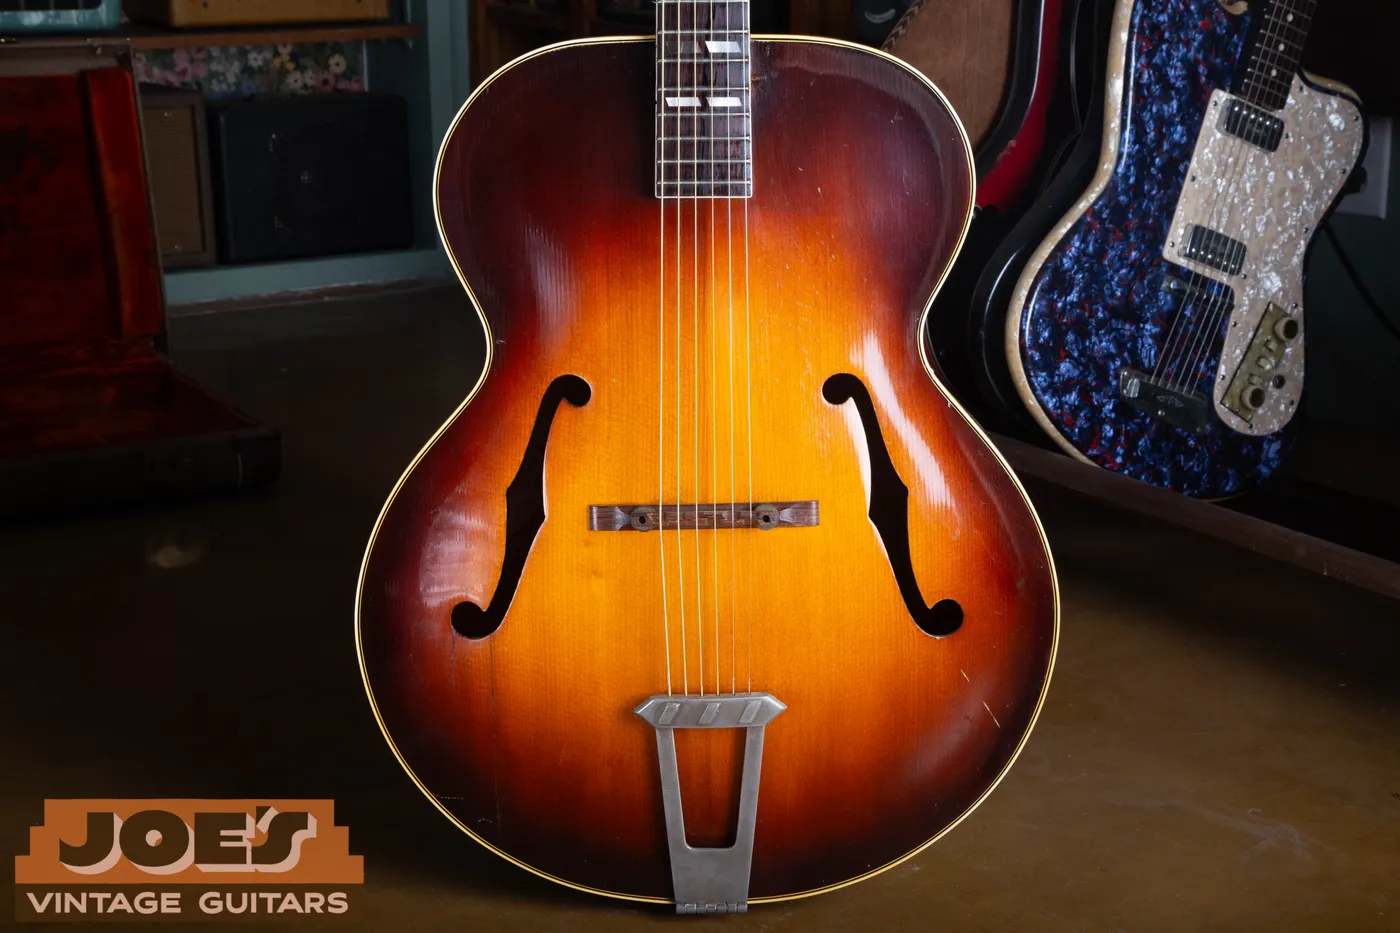
The 1947 example has the postwar block Gibson logo, crown headstock ornament and double-parallelogram fingerboard pattern. Its label reads A 976, which falls in the Gibson serial reference’s 1947 A-prefix range. The full front, headstock and label photographs provide several connected checks.
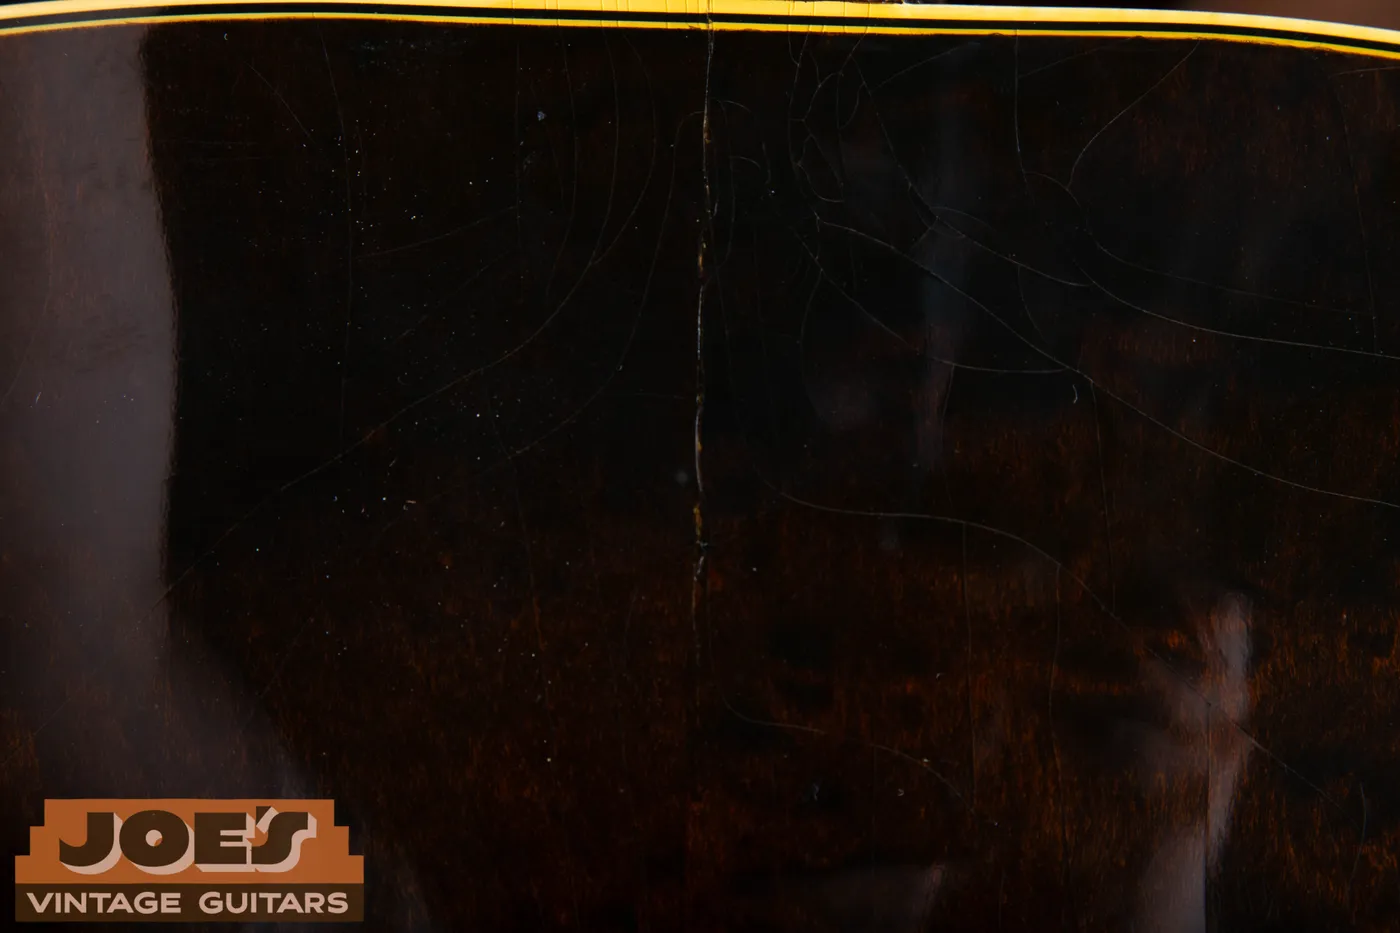
The back photograph shows the figure and body binding. Figure is a useful description of appearance, but it should not be turned into an unsupported claim about a particular grade of wood or a custom order.

1949 Gibson L-7C
A Personalized Guard On A Cutaway Body
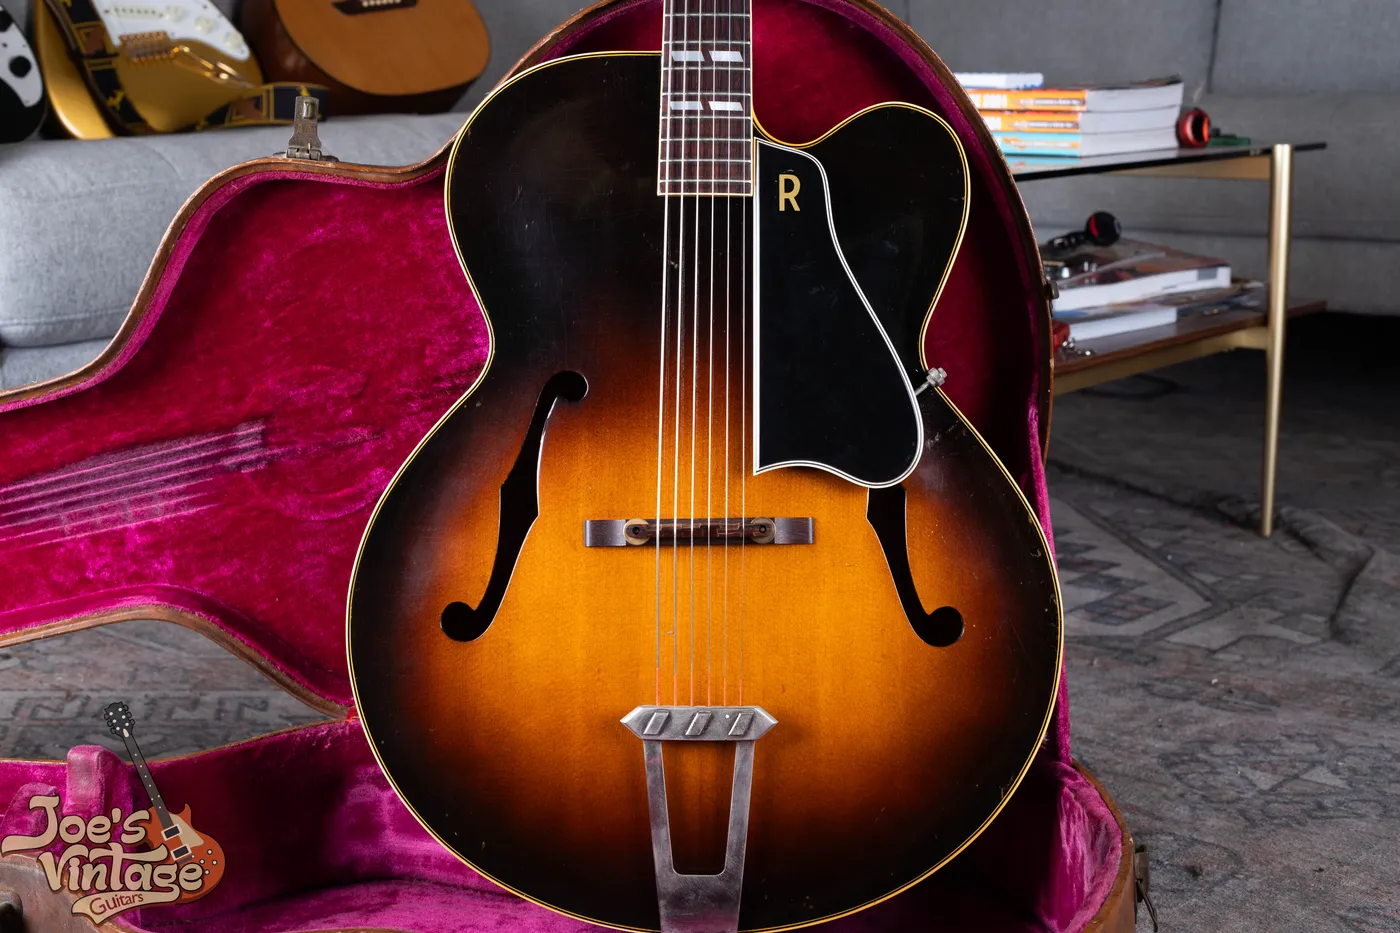
This 1949 L-7C has a rounded cutaway on the treble side and a personalized pickguard. The cutaway gives access beside the upper fingerboard. The lettering records part of this instrument’s history and should be documented separately from its factory model.
The 1962 Catalog As A Dated Comparison
How To Recognize The L-7C
The C version has a rounded cutaway on the treble side. Gibson’s 1962 dimensions are 17 inches wide, 21 inches long and 3⅜ inches deep, with 20 frets and a 25½-inch scale. The listed acoustic hardware includes a rosewood bridge, Gibson tailpiece, nickel-plated parts and enclosed tuners.
Measure scale from the nut to the center of the twelfth fret and double that distance. This avoids confusing the compensated bridge position with nominal scale. Record the result alongside body width because two instruments can look similar in a photograph while having different proportions.
The three-piece maple neck listed for this catalog model is another comparison point. Photograph the rear neck in even light where the grain and seams can be seen. A darkened finish or an old repair may make the construction difficult to resolve in pictures.
The natural finish designation may appear as L-7CN. Establish original finish before relying on that description, since a stripped sunburst can also expose pale wood. A model suffix in a sale description is a claim to check against the actual finish and factory evidence.
Compare the guard’s shape and mounting to the cutaway body. A replacement guard can change the appearance without changing the underlying model. Keep any removed guard and photograph extra holes or bracket changes so the parts history remains understandable.
Document The Assembly And The Body
L-7E, L-7CE And Added Pickups
The historical reference separates a 1936 custom electric group with a Charlie Christian-style pickup from later L-7E and L-7CE groups using McCarty pickup assemblies. These are specific configurations. A contemporary floating pickup on an acoustic L-7 should be described by its actual installation.
Start by showing where the pickup is attached. A guard-mounted assembly, a fingerboard-mounted pickup and a unit routed into the soundboard involve different modifications. Include controls and the output connection, since a body photograph can hide changes beneath the guard or at the endpin.
An old pickup may have been fitted long after the guitar was made. Its apparent age doesn’t prove factory installation. Look for invoices, early photographs and service records that connect the assembly to the instrument. If that history is unavailable, preserve the uncertainty instead of assigning a rare designation.
Don’t confuse the electric suffix with the acoustic cutaway suffix. L-7C establishes the cutaway acoustic body; electrical equipment needs further evidence. A factory electric claim should explain both the model and the installation rather than relying on one letter in an advertisement.
Existing repair photographs can show mounting holes and wiring without new disassembly. For an initial assessment, send what is accessible. A specialist can decide whether a closer inspection is necessary and how to carry it out without damaging the top or the old guard.
The A-Prefix Example
Read An L-7 Label And Corroborate It
Within The 1947 A-Prefix Range
The number is visible on the white label of Joe’s 1947 L-7. The house serial reference gives A 100 through A 1305 for 1947. That supports the archive date when considered with the photographed guitar.

The Gibson number guide distinguishes this A-prefix system from prewar serials and factory order numbers. Preserve spaces and letters when copying a mark. The same digits interpreted in a different numbering system can produce a different answer.
For later instruments, choose the appropriate impressed-number or later serial format before decoding it. Reused ranges require supporting physical evidence. A number lookup that supplies two possible years is the beginning of the investigation, rather than a reason to select the more valuable year.
Compare the headstock with the Gibson logo reference. Then examine the tuner installation using the tuner guide. Replacement machines may cover older screw holes, and period-correct hardware can still have been installed later.
Keep label damage in the condition description. A torn corner or faded model field doesn’t independently prove a counterfeit. Conversely, a clean and plausible label can’t authenticate changed body construction. The label is strongest when it agrees with the rest of the instrument.
Geometry And Repairs
Inspect The L-7 As A Working Acoustic Guitar
The bridge should be photographed from both sides with the strings visible above it. Include the neck joint and a view along the fingerboard. These images help distinguish an apparent bridge-height issue from a question that requires an in-hand setup examination.
Check body seams, the area around the tailpiece attachment and the top near the f-holes for visible repairs. Take a wide photograph before the close-up. A local crack, a repaired center seam and changed binding occupy different parts of the condition record and should be described separately.
Interior patches and loose braces require professional judgment. A photograph may show a cleat without establishing whether the repair is stable. State any rattling or movement you have noticed, but avoid testing a suspected loose area by pressing on the soundboard.
Once the model is supported, take the repair record to the L-7 value guide. Joe’s photo review can identify the next useful question, while final conclusions about hidden work or stability may depend on examining the instrument.
Send The Evidence
Send Joe Your L-7 Identification Photos
Include the full front, body width, label, headstock and bridge profile. Photograph any pickup assembly and explain what is known about its installation.
Body, Neck And Added Equipment
Evaluate An L-7 With Conflicting Appointments
A 16-inch body with later-looking headstock appointments needs a careful comparison. First confirm the measurement. Then inspect the neck joint and any record of neck or fingerboard work. A replacement neck can change many visible dating clues while leaving the earlier body intact. The description should preserve that possibility until the physical evidence is resolved.
A 17-inch noncutaway guitar described as an L-7C presents a simpler initial issue: the body doesn’t show the cutaway indicated by the suffix. That can be a cataloging mistake rather than a problem with the guitar. The 1949 archive photograph on this page demonstrates why the visible outline takes priority over an earlier model description.
An L-7 with a McCarty-style assembly requires inspection of the assembly itself and its attachment to the instrument. A correct period component can be installed later. Original paperwork, an old photograph or documented service history can help establish the connection, while the body and label continue to establish the acoustic model underneath.
The bracing description should likewise follow direct evidence. A period commonly associated with X-bracing is a reason to check the interior, but it can’t prove the pattern in an individual repaired guitar. A replacement top or changed brace can alter the relevant construction. Record what an interior photograph actually shows and distinguish it from the expected specification.
A personalized guard can be retained as part of the ownership record without treating the lettering as factory ornament. Ask whether earlier photographs show the same guard and whether any removed original survives. This approach keeps the instrument’s history visible while preserving a precise account of its current parts.
Together, these checks produce a model description that another reviewer can follow: measured body generation, cutaway status, readable factory evidence, installed equipment and documented changes. A single attractive feature can’t settle the complete identification.
Factory Catalogs And Numbering References
L-7 Identification Sources
- Gibson 1934 Catalog W, Printed Page 13
Original 16-inch L-7 construction and appointments.
- Gibson 1962 Catalog, Page 40
L-7C dimensions, neck, scale and acoustic hardware.
- The Official Vintage Guitar Price Guide, 2026 Edition
L-7 body, bracing and historical electric groups, page 171.
- 1944 Gibson L-7: archtop.com Instrument Archive
A documented wartime example with the earlier script logo and fleur-de-lis headstock ornament.
- Gibson Serial Numbers And FONs
Postwar A-prefix ranges and other Gibson dating systems.
Questions AboutGibson Identification
Is Every Gibson L-7 A 17-Inch Guitar?
Does The C In L-7C Mean Cutaway?
Does A Pickup Make My Guitar An L-7E?
What Year Is A 976 On The Archive L-7?
The Last Word
Keep The Evidence Together
Use body size, cutaway and factory evidence to establish the L-7 version. The L-7 value guide then connects that identification with condition and price.
Authenticity And Originality Are Assessed From The Information Provided. A Hands-On Inspection Can Change The Conclusion.